Water bath canning tomatoes is surprisingly simple because you'll likely already have most of the basic equipment in your kitchen – a large pot, sharp knife, and colander are the main tools you'll need. The natural acid levels in tomatoes make them perfect for water bath canning, requiring only a splash of lemon juice for safe preservation. You don't need special skills or complicated techniques; just wash, blanch, peel, and pack the tomatoes into sterile jars before processing. Plus, the whole process takes under two hours from start to finish. Discover how a few straightforward steps can stock your pantry with garden-fresh flavor.
Basic Equipment You Already Own
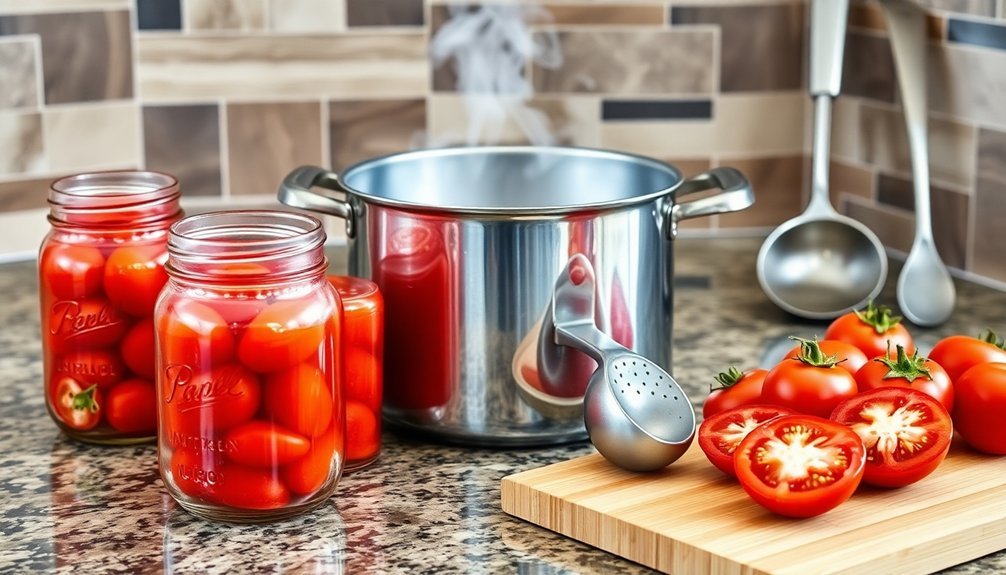
In your kitchen, you'll likely find many of the basic tools needed for water bath canning tomatoes. You're already equipped with the essential items: a large saucepan for blanching tomatoes, a sharp knife for peeling and coring, and a colander for dipping tomatoes between hot and cold water baths.
A nonmetallic spatula will help you remove air bubbles from filled jars, while a lint-free cloth is perfect for wiping jar rims clean. Adding bottled lemon juice to your tomatoes is essential for safe preservation.
Your dishwasher or oven can sanitize jars and lids, though a microwave works too. You'll need a stockpot deep enough to submerge your jars in water, and if you don't have a dedicated water bath canner, you can use a rack inside your stockpot.
Don't forget to keep extra hot water on hand – you might need to top off the canner during processing.
For organization and storage, simple household items like towels for cooling jars and markers for labeling will complete your setup.
The most important thing to remember is that you don't need to buy everything at once – start with what you have and add specialized tools like jar lifters and canning funnels as needed.
Selecting Perfect Canning Tomatoes
When selecting tomatoes for water bath canning, you'll want to choose fully ripe specimens rather than green ones, as mature fruits provide the best flavor and texture for preservation.
Test each tomato's firmness by giving it a gentle squeeze – it should feel solid but slightly yielding, without any soft spots or wrinkled skin.
Your best choices will be disease-free tomatoes that show no signs of cracks, spots, or decay, ensuring the highest quality results in your preserved jars. Paste tomatoes like Celebrity and Red Pear Abruzzese varieties are ideal choices due to their meaty texture.
Ripe Vs Green Varieties
Success in home-canned tomatoes starts with choosing between ripe and green varieties, each offering distinct advantages for preservation.
When selecting ripe tomatoes, you'll want firm, fresh specimens, avoiding any that are soft, over-ripe, or from dead vines. You'll need about 2 1/2 to 3 1/2 pounds of fresh tomatoes for each quart jar.
Green tomatoes offer a different approach to canning. You'll select firm, unripened tomatoes that fit comfortably in wide-mouth quart jars. While naturally more acidic than ripe ones, they still require added acidity for safe preservation. Wide-mouth quart jars are recommended for easier filling and removal of the preserved tomatoes.
The preparation methods differ considerably between the two varieties. Ripe tomatoes require peeling through a hot water bath followed by cold water immersion, then coring and quartering. You'll need to crush and heat them immediately to prevent juice separation.
Green tomatoes, however, don't need peeling – just wash them and slice them into ½-inch pieces.
Both varieties require 2 tablespoons of bottled lemon juice per quart jar and optional salt for seasoning.
You'll process both types for 45 minutes in a boiling water bath canner, ensuring proper headspace and removing air bubbles before sealing.
Testing Tomato Firmness
Testing tomatoes for firmness stands out as one of the most essential steps before canning. When you're selecting tomatoes, you'll want to gently squeeze each one to check for consistent firmness throughout the fruit. You don't want any soft spots, as these can indicate early stages of decay that'll compromise your entire batch.
As you evaluate each tomato, make sure it's completely free of mold and hasn't come from frost-damaged vines. You'll need about 2 1/2 to 3 1/2 pounds of firm tomatoes for each quart you're planning to can, so keep this ratio in mind while selecting your produce.
Once you've chosen your tomatoes, you'll test their quality further during the washing process. If you find any that feel mushy or show signs of decay while cleaning them, set these aside.
Best Disease-Free Specimens
Selecting the right tomato variety stands as the foundation for successful canning. You'll want to focus on proven varieties like Roma, San Marzano, and Amish Paste, which offer the ideal characteristics for preserving. These varieties feature thick, meaty flesh and small seed cavities, making them perfect for both whole canning and sauce-making.
When choosing your specimens, look for tomatoes with low moisture content, as they'll require less cooking time to achieve the desired thickness. Disease-resistant varieties like Marglobe will give you healthier yields and more consistent results.
You'll also benefit from determinate plants like Roma, which fruit all at once, making it easier to plan your canning sessions.
Don't forget to take into account acidity levels in your selection. Some varieties, like San Marzano, may need additional lemon juice or citric acid to meet USDA safety guidelines. The Rutgers Original Tomato offers an excellent balance of acidity and sweetness, often requiring minimal adjustments.
For the best results, choose tomatoes with high flesh-to-skin ratios, as they'll produce richer, thicker sauces without excess water content.
Quick Preparation Steps
You'll find that preparing tomatoes for water bath canning starts with an easy blanching process to slip off the skins effortlessly.
Before filling your sanitized jars, you'll need to guarantee they're properly cleaned and heated to the right temperature in simmering water.
Your tomatoes can then be packed into the warm jars using a funnel, making sure to add the required acidification and maintain proper headspace for safe preservation.
Easy Tomato Skin Removal
Peeling tomatoes for canning doesn't have to be a challenging task. You'll find the blanching method most effective for removing tomato skins quickly and efficiently.
Start by washing your tomatoes and cutting an X on the bottom of each one. Then, bring a large saucepan of water to a boil.
Drop your tomatoes into the boiling water for 30-60 seconds until you notice the skins beginning to loosen. You'll want to immediately transfer them to a bowl of ice-cold water to stop the cooking process.
Once cooled, you can easily peel the skins off starting from the X you cut earlier.
If you'd prefer not to use boiling water, you've got alternatives. Try freezing your tomatoes first, then submerging them in warm water. You can then squeeze them gently from the bottom, opposite the stem end, and the skin will slip right off.
This method works particularly well with Roma tomatoes, but you can use it for other varieties too.
Don't forget to remove the cores and trim away any bruised portions before moving on to the next canning steps.
You'll want to compost those skins and any trimmed pieces.
Simple Sanitizing Methods
Now that your tomatoes are peeled and ready, proper sanitization stands between you and safe canning. You'll need to guarantee all your equipment is clean and sterile before proceeding.
Start by washing your jars and caps in hot, soapy water, then rinse them thoroughly. Heat your jars and lids in simmering water at 180°F, but don't boil those lids – just keep them hot until you're ready to use them.
While your jars are heating, prepare your water bath canner by filling it halfway with hot water. You'll want to maintain the temperature at a steady simmer. Make sure you've got enough water to cover your jars by 1-2 inches during processing.
Here's your quick sanitizing checklist:
- Wash and rinse all equipment, including your wire basket and tongs
- Heat jars and lids separately – jars in simmering water, lids in hot (not boiling) water
- Keep your canning funnel and spatula clean and ready
- Prepare a clean, damp cloth for wiping jar rims
- Remove and fill jars one at a time to maintain proper temperature
Remember to handle hot equipment with sanitized tongs or a lid wand to prevent contamination during the filling process.
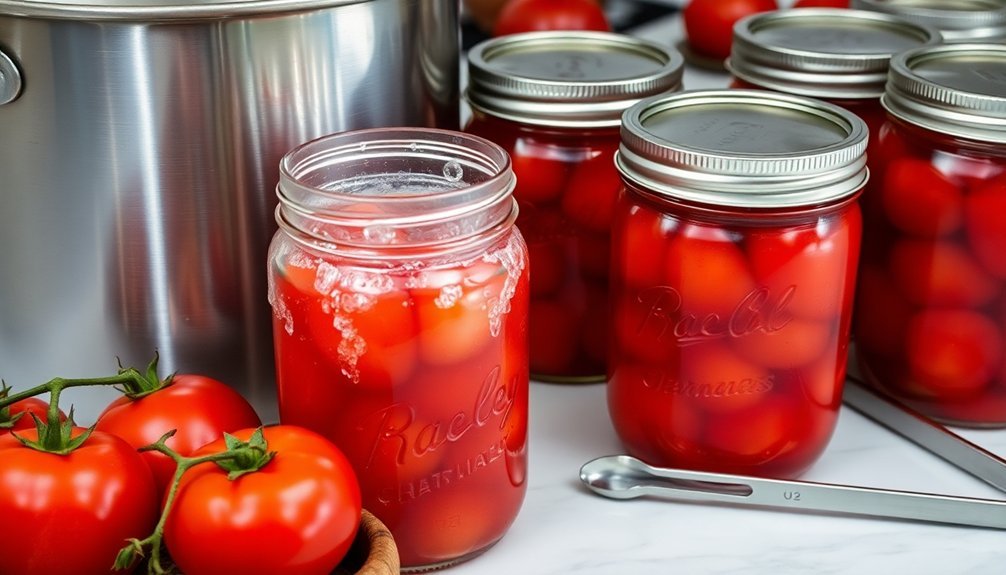
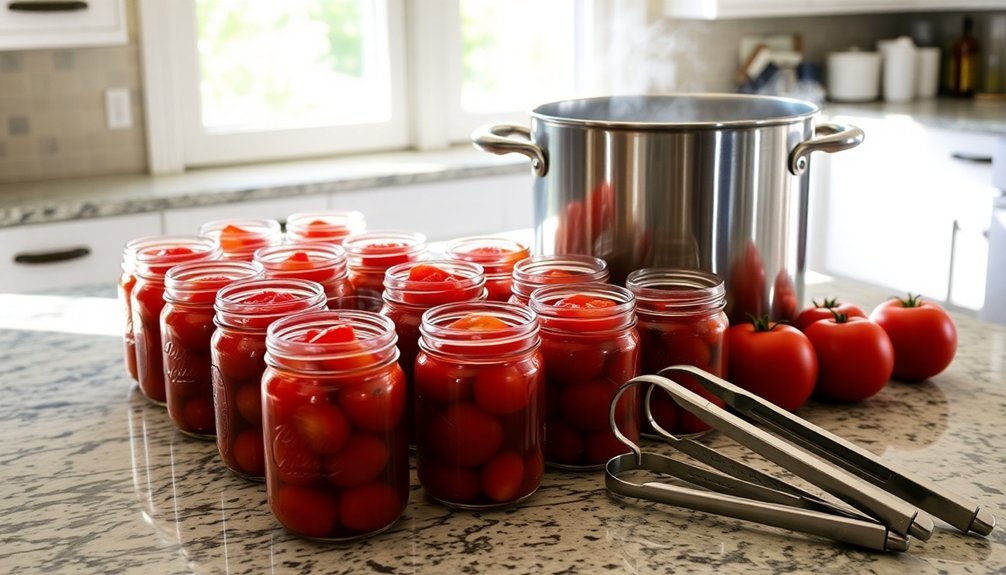
Basic Jar Filling Steps
Properly filling canning jars requires attention to detail and a methodical approach. You'll need to start by preparing your tomatoes through a quick blanching process. First, wash them thoroughly, then dip them in boiling water for 30-60 seconds until their skins split.
Immediately transfer them to cold water to stop the cooking process, then remove the skins and cores. You can leave the tomatoes whole, halved, or diced based on your preference.
When you're ready to fill your jars, pack the prepared tomatoes into hot, sterile mason jars, making sure to leave a ½-inch headspace at the top. Don't forget to add lemon juice – 1 tablespoon for pints or 2 tablespoons for quarts.
If you'd like, you can add salt for flavor. Fill any remaining space with hot water or tomato juice while maintaining that vital ½-inch headspace. Before sealing, remove any air bubbles by running a non-metallic utensil around the jar's interior.
Finally, wipe the jar rims with a damp paper towel and secure the lids and rings until they're fingertip tight.
Natural Acid Level Benefits
Understanding tomatoes' natural acid content provides key insights into safe canning practices.
You'll find that tomatoes naturally fall between pH 4.2 and 4.9, making them uniquely positioned for water bath canning. While they're not as acidic as fruits like lemons or apples, their natural acidity still contributes to preservation success when properly acidified.
Modern tomato varieties have evolved to offer milder flavors, which means they often have lower acidity levels than their heritage counterparts.
Green tomatoes actually provide more natural acid than ripe ones, though you'll still need to add acid for safe canning regardless of ripeness.
- Natural acids help create an environment that inhibits bacterial growth
- The borderline pH level of tomatoes makes them adaptable to various preservation methods
- Combined with added acids, tomatoes' natural acidity helps guarantee proper preservation
- Fresh tomatoes' natural acid content contributes to their distinctive flavor in canned products
- Understanding natural acid levels helps you make informed decisions about acidification amounts
These natural acid characteristics, when properly supplemented with additional acidification, create the foundation for successful water bath canning of tomatoes.
Safe Processing Temperature

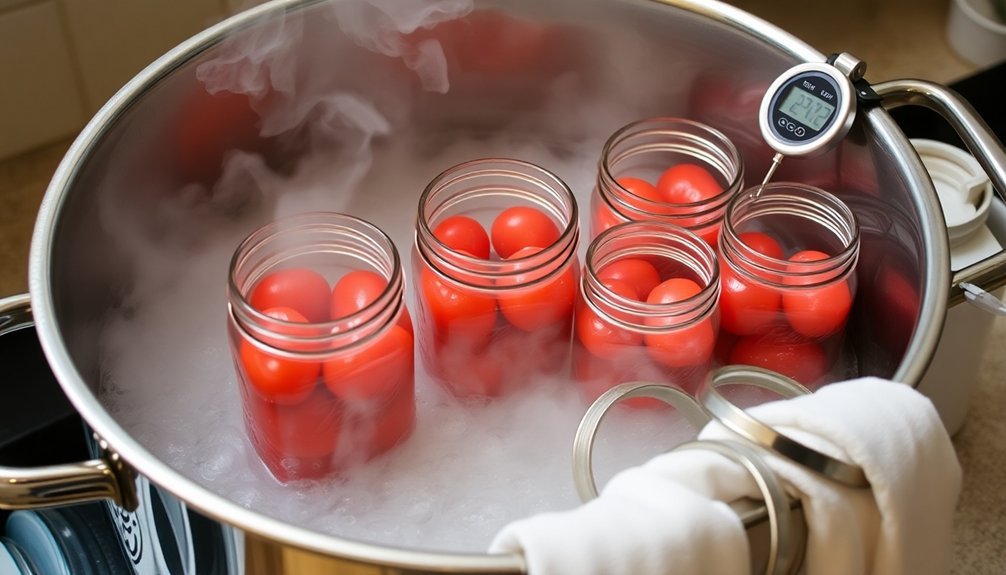
Building on tomatoes' natural acidity, maintaining the right processing temperature becomes a cornerstone of safe water bath canning. You'll need to achieve a boiling point of 212°F (100°C) at sea level, ensuring the water level stays at least 1 inch above your jars throughout processing.
| Altitude Range | Processing Time |
|---|---|
| 0-1,000 ft | 85 minutes |
| 1,001-3,000 ft | 90 minutes |
| 3,001-6,000 ft | 95 minutes |
| Above 6,000 ft | 100 minutes |
| Sea Level (pints) | 35-40 minutes |
You'll need to properly acidify your tomatoes to maintain a pH of 4.6 or below. For quart jars, add 2 tablespoons of bottled lemon juice or 1/2 teaspoon of citric acid. If you're using pint jars, use half these amounts.
After processing, let your canner sit for 5 minutes before removing the jars. This prevents temperature shock and helps maintain seal integrity. Remember, timing starts only when the water returns to a full boil after submerging your jars, and you must maintain that rolling boil throughout the entire processing period.
Manageable Time Requirements
Time management success in water bath canning starts with breaking down the process into manageable chunks. You'll find that most steps are straightforward and can be efficiently organized.
The preparation phase includes washing and sanitizing jars, which you can accomplish through various methods like a quick 30-second microwave process or a standard dishwasher cycle. When you're handling the tomatoes, the blanching process takes just minutes, and removing skins becomes effortless.
The actual canning process follows a predictable timeline, with processing times ranging from 35-50 minutes depending on your jar size. While the water bath processing requires attention, it's a perfect opportunity to clean up your workspace or prepare labels for your jars.
You'll need to factor in cooling time, but this passive waiting period doesn't require your active involvement.
Key time-saving elements include:
- Choose your jar sanitizing method based on available equipment
- Prep tomatoes in batches while water comes to a boil
- Pack multiple jars simultaneously to maximize efficiency
- Use the processing time to clean and organize
- Let jars cool overnight while you focus on other tasks
Simple Storage Guidelines
Proper storage techniques guarantee your canned tomatoes remain safe and delicious for months to come. You'll need to place your jars in a cool, dark environment with temperatures between 50°F and 70°F, making your pantry or basement ideal locations. After processing, remove the ringbands to prevent rust, and wipe each jar clean with a damp cloth.
| Storage Step | Key Action |
|---|---|
| Location Prep | Choose cool, dark spot away from sunlight |
| Jar Check | Test seal by pressing lid center – no movement |
| Organization | Label jars with contents and processing date |
| Maintenance | Monitor storage area and inspect jars regularly |
Before storing, verify each jar's seal by listening for the "ping" sound during cooling and checking that the lid doesn't flex when pressed. You'll want to arrange your jars without stacking them to prevent breakage and implement a first-in, first-out system for rotation. Keep your storage area clean, dry, and pest-free to maintain ideal preservation conditions. Regular inspection of your stored tomatoes helps identify any potential issues early, ensuring you'll enjoy safe, high-quality preserves throughout their shelf life.
Year-Round Tomato Enjoyment
While fresh tomatoes might seem like a seasonal treat, you can enjoy their vibrant flavors throughout the year with various preservation methods.
Water bath canning provides a reliable way to store your harvest, while freezing offers a simpler alternative that doesn't require special equipment. You'll find that combining different preservation techniques gives you the most flexibility in maintaining your tomato supply.
Before the first frost hits, you can extend your fresh tomato season by harvesting green tomatoes and letting them ripen indoors.
If you're interested in maintaining live plants, consider bringing them inside or using a greenhouse for continuous production. For the best results in preservation, select fully ripe tomatoes for canning and firm, unblemished ones for freezing.
- Store green tomatoes in a cool, dark place to naturally ripen over time
- Use pressure or water bath canning for shelf-stable tomato products
- Freeze whole tomatoes for easy sauce-making later
- Grow cherry tomatoes for their versatility in preservation
- Maintain live plants indoors during winter for fresh harvests
These methods guarantee you'll have access to homegrown tomato flavor whether you're making winter soups, summer sauces, or year-round pasta dishes.
Frequently Asked Questions
Can I Reuse the Metal Lids From Previous Canning Sessions?
You shouldn't reuse metal canning lids since they're designed for single use. The sealing compound won't reliably work twice, putting your food at risk. Instead, always use new lids for safe food preservation.
What Happens if My Jars Don't Seal Properly After Processing?
If your jars don't seal properly, you'll need to either reprocess them with new lids within 24 hours, store them in the refrigerator to use soon, or freeze the contents if the jar allows.
How Long Should I Wait Before Testing the Jar Seals?
You'll need to wait 12-24 hours for your jars to cool completely before testing the seals. After processing, let them sit in the canner for 5 minutes, then place them on a towel to cool.
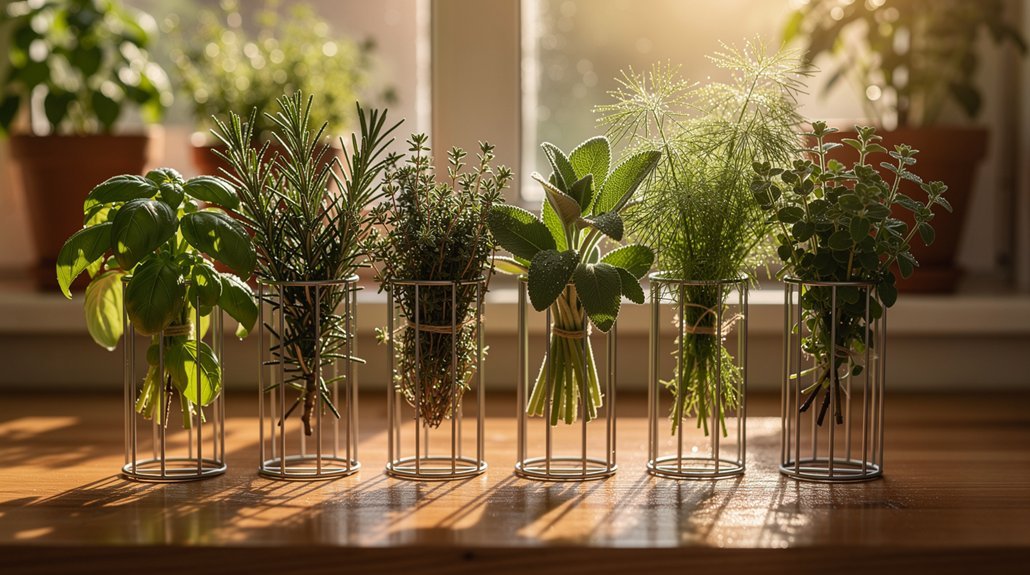
Can I Add Herbs and Spices to My Tomatoes Before Canning?
Yes, you can add herbs and spices to your tomatoes before canning. Just use small amounts of salt, basil, oregano, or parsley to maintain safe acidity levels. Don't forget to add your acidifier too.
Why Do My Canned Tomatoes Sometimes Float to the Top of Jars?
Your tomatoes float because they've got natural air pockets inside them. When you process the jars, these air spaces make them buoyant. Don't worry though – it's completely normal and won't affect their safety or taste.
In Summary
You'll find water bath canning tomatoes surprisingly approachable with basic kitchen equipment and straightforward steps. By choosing quality tomatoes and following simple preparation methods, you're taking advantage of their natural acidity for safe preservation. Since tomatoes only need boiling temperature to process safely, you'll spend minimal time in the kitchen while creating delicious homemade products that you can enjoy throughout the year.

Leave a Reply