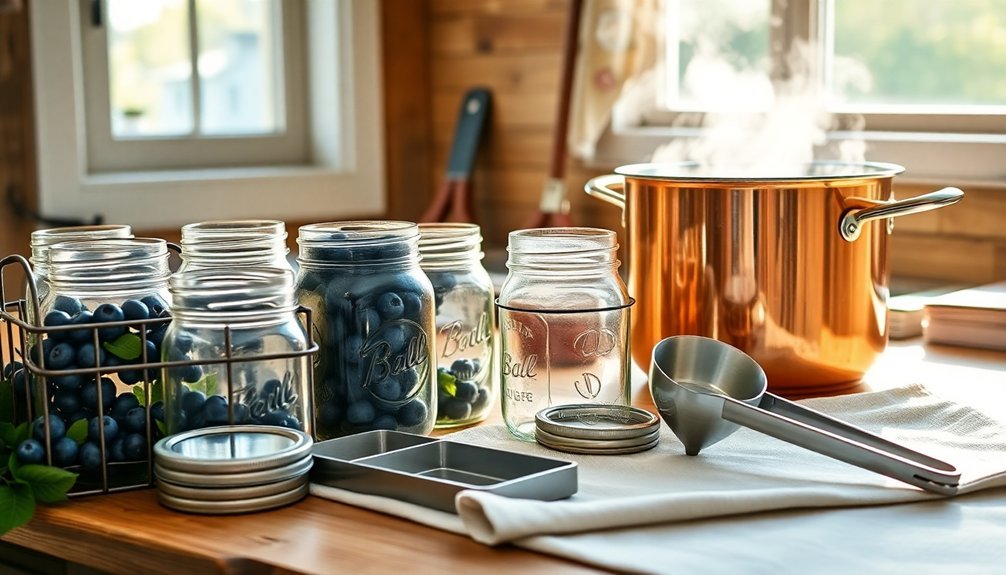
To start canning safely with the Blue Book, you'll need three essential elements. First, gather proper equipment including a jar lifter, canning funnel, and the right type of canner for your food (water bath for high-acid foods, pressure canner for low-acid). Second, always sterilize your jars by boiling them for 10 minutes, adding an extra minute for every 1,000 feet above sea level. Third, follow tested processing times exactly – don't reduce them, as this can compromise food safety. Understanding these fundamentals will open up a world of safe food preservation possibilities.
Essential Equipment Setup
Every successful canning project starts with the right equipment setup.
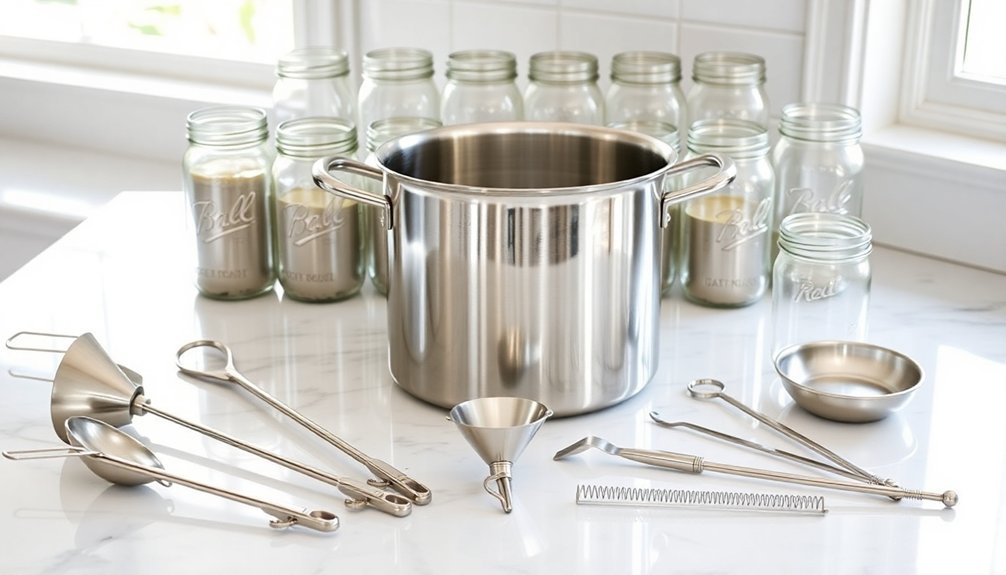
You'll need two essential categories of tools: those for handling hot jars and those for food preparation. Start with a jar lifter for safely moving hot jars and a canning funnel to prevent spills when filling them. Don't forget a lid lifter to protect your fingers from burns and a bubble remover to guarantee proper preservation.
For the actual canning process, you'll need either a water bath canner or pressure canner, depending on what you're preserving. Low-acid foods require a pressure canner, while high-acid foods can use a water bath canner. Make certain you have a proper canning rack to keep jars from touching each other or the pot's bottom. A Presto 23-quart canner is an excellent choice for beginners due to its large capacity.
Your basic kitchen tools will also play an essential role. Keep a non-reactive pot handy for preparing foods, along with measuring cups and a scale for precise portions.
You'll want a sturdy cutting board, paring knife, and colander for food prep. Don't overlook helpful accessories like a ladle for filling jars and kitchen tongs for arranging food items. These tools will make your canning process smoother and safer.
Proper Jar Sterilization Methods
Before starting any canning project, proper jar sterilization affirms food safety and prevents spoilage. You'll find three effective methods to sterilize your canning jars: boiling water, oven, and steam canner approaches.
For the boiling water method, place your clean jars right-side-up on a rack in a boiling-water canner. Fill with hot water one inch above the jar tops and boil for 10 minutes at altitudes under 1,000 feet. Add an extra minute for each 1,000-foot elevation increase. New canning jars require sterilization since they may contain dust and glass debris from manufacturing.
When using the oven method, preheat to 250-275°F, wash jars with hot soapy water, and place them on a baking tray for 10-30 minutes.
You won't need to sterilize jars when pressure canning or if your water-bath processing time exceeds 10 minutes. In these cases, simply wash the jars thoroughly with hot, soapy water.
If you're using a steam canner, follow the National Center's guidelines and adjust sterilization times for your altitude. Remember to maintain consistent steam flow throughout the process.
Always handle hot jars with a jar lifter and verify they're stable during sterilization to prevent accidents.
Safe Processing Times
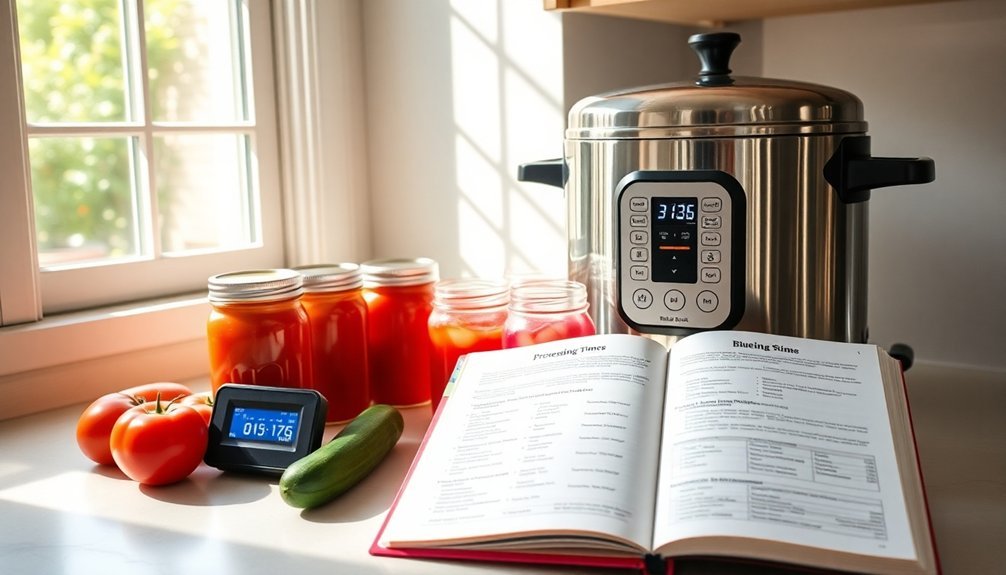
Safe processing times can make or break your canning success, as they directly impact both food safety and quality. You'll need to adjust your processing times based on several key factors, including jar size, food density, and your elevation above sea level.
| Food Type | Processing Time & Method |
|---|---|
| High-acid Foods | Short processing, water bath |
| Low-acid Foods | Longer processing, pressure canner |
| Meat Stock (quarts) | 25 min at 11 lbs dial/10 lbs weighted |
| Vegetable Stock (quarts) | 35 min pressure canning |
When you're canning at higher altitudes, you'll need to make important adjustments to guarantee food safety. For every 1,000 feet above sea level, add 5 minutes to your water bath processing time. If you're using a pressure canner, you'll need to increase the pressure according to specific altitude guidelines.
The style of pack you choose (hot or raw) will also affect your processing time. Remember that denser foods and larger jar sizes require longer processing periods. For the safest results, always follow tested recipes and don't reduce recommended processing times, as this could compromise food safety and lead to spoilage. Half-pint and pint jars require the same processing time, making them interchangeable when following canning instructions.
Frequently Asked Questions
Can I Reuse Old Canning Lids if They Appear to Be in Good Condition?
No, you shouldn't reuse old canning lids, even if they look good. The sealing compound wears out after one use, which can compromise food safety and lead to spoilage or bacterial contamination.
What Happens if I Accidentally Overfill or Underfill My Canning Jars?
If you overfill jars, you'll risk seal failure and food spoilage. Underfilling can leave food exposed without proper liquid coverage. Both mistakes can compromise food safety, so follow proper headspace guidelines in recipes.
How Long Do Home-Canned Foods Typically Last on the Shelf?
Your home-canned foods will typically last one year for best quality. While they're safe beyond that if properly sealed, you'll want to check for rust, loose seals, and spoilage before consuming older items.
Why Did My Jars Lose Liquid During the Canning Process?
Your jars likely lost liquid due to rapid temperature changes, incorrect headspace, trapped air bubbles, or pressure fluctuations during canning. You'll prevent this by cooling jars slowly and following proper packing guidelines.
Can I Stack Jars on Top of Each Other While Processing?
No, you shouldn't stack jars directly on top of each other during processing. You'll need to use canner trays between layers and keep them staggered to guarantee proper water circulation and heat distribution.
In Summary
You've now learned the fundamental canning basics from the Blue Book guide – proper equipment setup, thorough jar sterilization, and accurate processing times. Don't skip these critical safety steps, as they'll guarantee your preserved foods stay safe and delicious. When you're ready to start canning, keep this guide handy and refer back to these three essential tips until they become second nature.


Leave a Reply