Your pressure canning safety depends on having the right equipment and following precise protocols. You'll need a pressure canner with a reliable gauge, functional vent ports, and intact gasket to reach and maintain 240°F (115°C) – the minimum temperature that kills dangerous bacteria and spores. Always process at 10 psig at sea level, adjusting pressure for higher altitudes. You must vent the canner for 10 minutes, maintain consistent pressure throughout processing, and allow natural cooling for 20-60 minutes. Don't rush the cooling process or skip testing jar seals. Understanding these critical safety measures is just the beginning of your home canning journey.
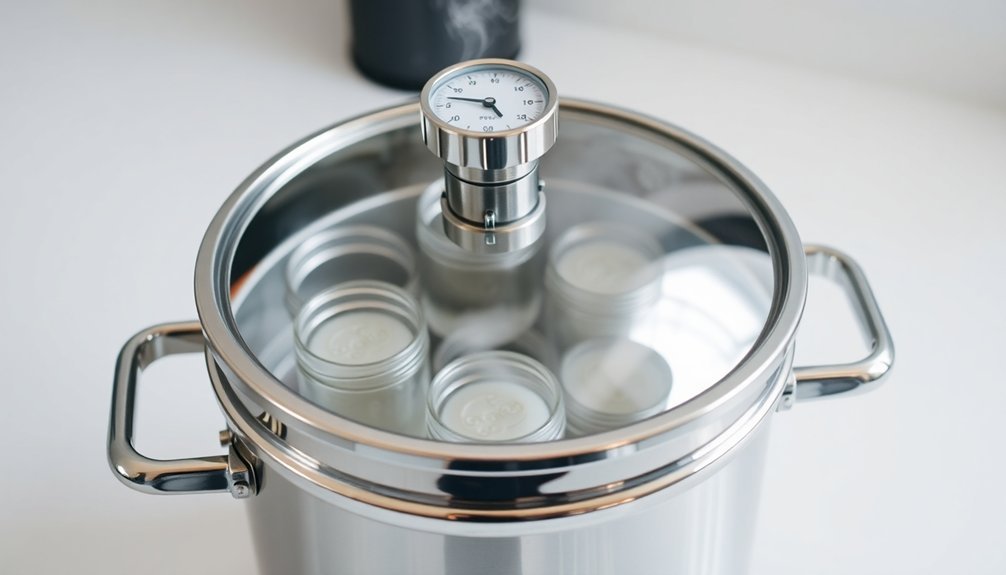
Essential Equipment Selection

Don't forget to verify that your canner comes with necessary accessories: a jar rack to maintain proper circulation, a removable gasket for reliable sealing, and appropriate vent ports.
If you're planning to stack jars, you'll need additional racks for proper spacing.
For optimal safety, look for models with dual-gauge systems that provide comprehensive pressure monitoring during the canning process.
Temperature and Pressure Requirements
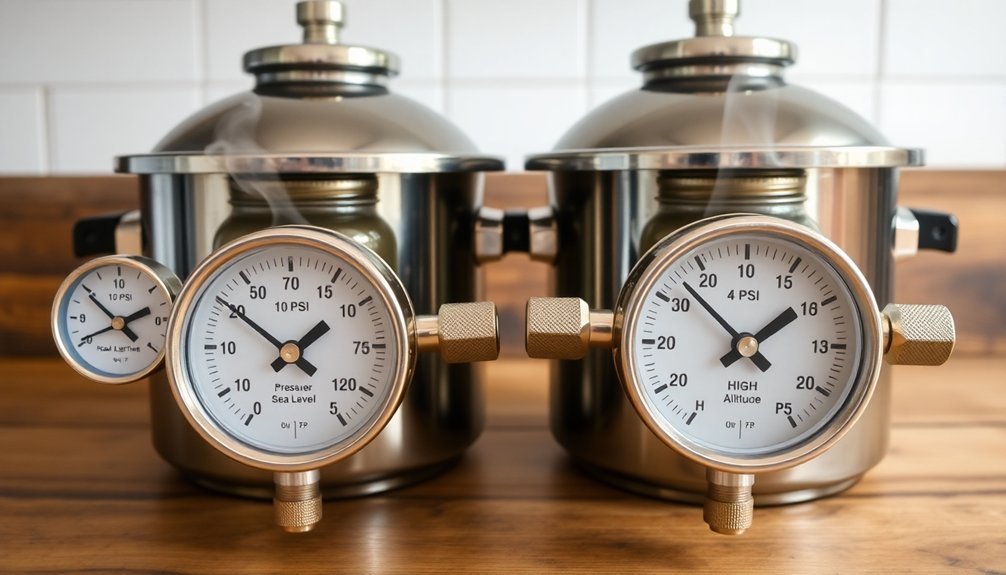
You'll need to maintain a consistent temperature of 240°F (115°C) at sea level when pressure canning, which requires a steady pressure of 10 pounds per square inch gauge (psig).
If you're using a dial gauge canner, you must check the gauge readings throughout the process to guarantee proper pressure maintenance, as fluctuations can compromise food safety. Convection heating methods process foods faster than conduction methods during pressure canning.
Your altitude directly affects the required pressure settings, so you'll need to increase the pressure by 1 pound for every 2,000 feet above sea level to achieve safe processing temperatures.
Heat Requirements for Safety
Safe home pressure canning requires precise temperatures and pressures to eliminate harmful bacteria and their spores. You'll need to reach and maintain 240°F to 250°F throughout the entire canning process, with 240°F being the minimum safe temperature for destroying dangerous bacterial spores, especially those causing botulism. Operating at temperatures in the danger zone of 40-140°F will allow rapid bacterial growth and must be avoided.
| Temperature | Pressure Level | Safety Impact |
|---|---|---|
| 240°F | 10 psig | Minimum safe temp for home canning |
| 250°F | 15 psig | Faster processing time, commercial standard |
| Below 240°F | Under 10 psig | Unsafe – spores may survive |
| Steady temp | Steady pressure | Required for complete sterilization |
| Cool naturally | Decreasing pressure | Needed for proper jar sealing |
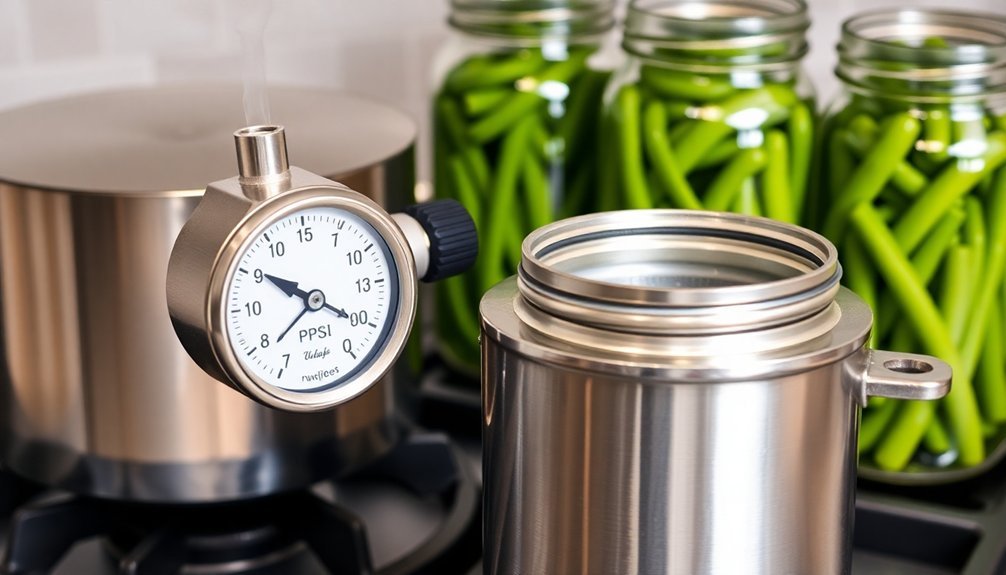
You must vent your pressure canner for 10 minutes before pressurizing to guarantee accurate readings and proper heat distribution. Set your stove to its highest setting to reach and maintain the required temperature. Remember that different foods have varying heat penetration rates, so you'll need to follow USDA-approved processing times precisely. Don't forget to have your pressure gauge calibrated annually to guarantee it's providing accurate readings for safe food preservation.
Gauge Reading Fundamentals
Maintaining safe canning temperatures depends on accurate gauge readings, making proper gauge maintenance essential for successful pressure canning.
You'll need to verify your pressure canner's gauge is working correctly, as inaccurate readings can lead to unsafe food processing.
If you're using a dial gauge, you must have it tested annually at your local extension office. They'll compare your gauge against a master gauge using specialized testing equipment.
If your gauge reads more than 2 pounds different from the master gauge, you'll need to replace it. When testing shows minor variations, you'll need to adjust your processing pressure accordingly. For instance, if your gauge reads 1 pound high, you should process at 12 PSI when a recipe calls for 11 PSI.
Weighted gauges offer a simpler alternative since they don't require annual testing. They maintain consistent pressure through their preset weights and don't lose accuracy over time.
Whether you choose a dial or weighted gauge, you'll need to monitor it throughout the canning process to maintain the required pressure and temperature for safe food preservation.
Altitude's Effect on Processing
Altitude plays a critical role in pressure canning success, as it directly affects both water's boiling point and processing requirements. At higher elevations, water boils at lower temperatures – dropping about 1.8°F for every 1,000 feet you climb. This means you'll need to adjust your canning process to guarantee food safety.
While processing times remain the same in pressure canning, you must increase the pressure as your altitude rises. If you're using a dial gauge canner, add 2 pounds of pressure between 1,001-3,000 feet, 3 pounds between 3,001-5,000 feet, 4 pounds between 5,001-7,000 feet, and 5 pounds above 7,000 feet.
For weighted gauge canners, simply use 15 pounds of pressure above 1,000 feet.
These adjustments aren't optional – they're essential for reaching the 240°F temperature needed to destroy harmful bacteria, particularly Clostridium botulinum spores.
To determine your specific altitude, contact your local zoning office, check city websites, or consult your County Extension office. Following these altitude-specific guidelines guarantees your home-canned foods remain safe for consumption.
Proper Jar Preparation
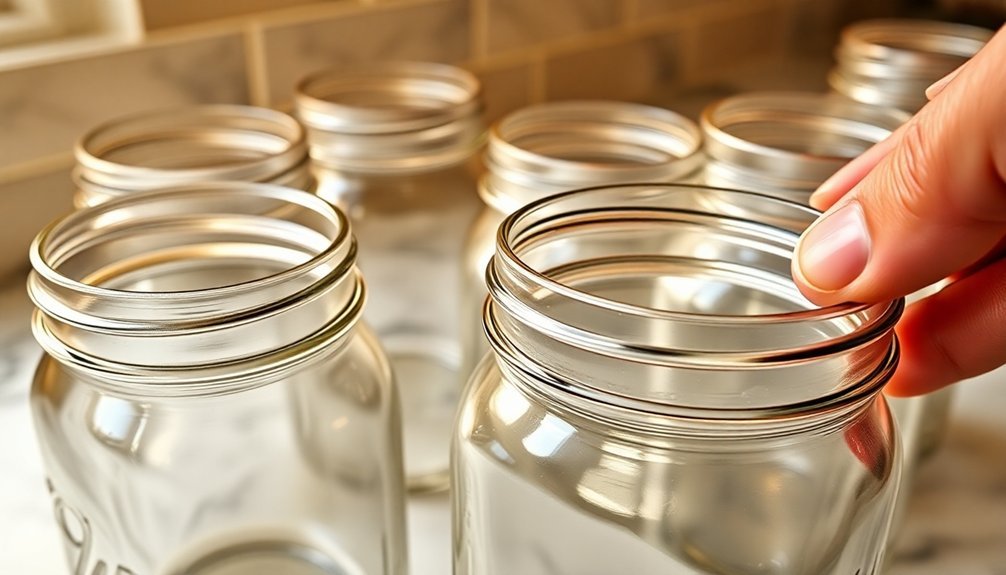
You'll need to start with thoroughly clean jars, washing them either by hand or in the dishwasher and rinsing well to remove any residue.
While sterilization isn't required for recipes processed 10 minutes or longer in a pressure canner, you should keep your jars hot until use by placing them in the canner as it heats up.
Never heat your jars in the oven, as this can cause them to crack or break.
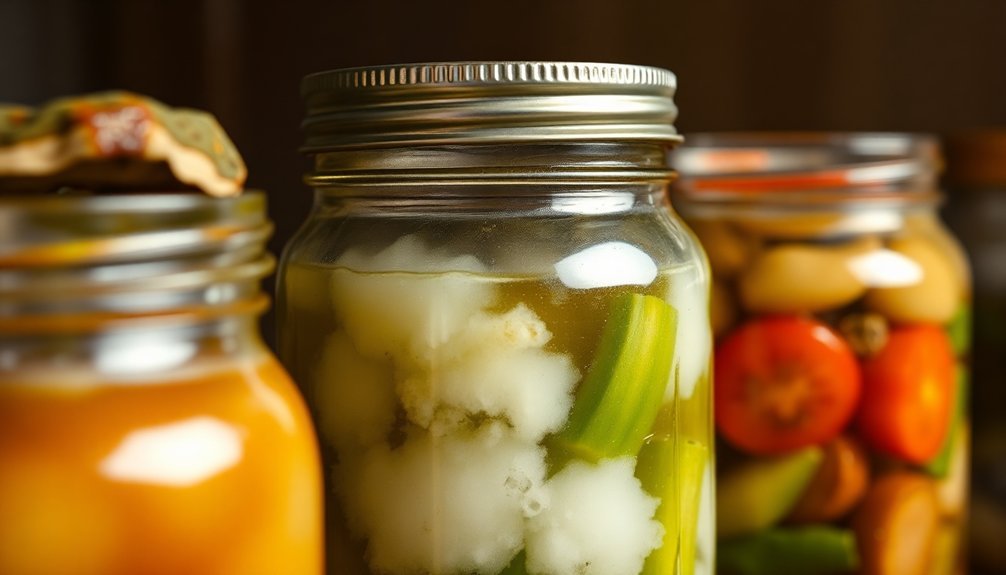
Clean Jars Before Use
Pristine jars form the foundation of safe pressure canning. You'll need to thoroughly wash your jars in hot, soapy water and rinse them well to remove all traces of detergent. Unrinsed cleaning agents can affect both the flavor and color of your preserved foods, compromising your hard work.
For stubborn residues and hard-water films, you'll want to soak your jars in a vinegar solution – just mix 1 cup of vinegar per gallon of water. Let them soak for several hours, then rinse thoroughly. Your dishwasher can be a helpful tool for both cleaning and rinsing.
Before you begin canning, inspect each jar carefully and follow these critical steps:
- Check for nicks, cracks, and rough edges that could prevent proper sealing.
- Remove any lingering scale or residue that might interfere with the seal.
- Keep jars hot using clean, warm water to prevent breakage during filling.
- Store lids in airtight containers and use new two-piece lids for each session.
Remember to discard any damaged jars immediately – even minor defects can lead to seal failures and food spoilage.
Proper cleaning and inspection aren't just preparation steps; they're your first line of defense in safe pressure canning.
Sterilize For Safety First
Proper sterilization marks the critical difference between safe and unsafe canning results.
While pressure canning doesn't require pre-sterilization of jars, you'll still need to keep them clean and hot throughout the process. Simply wash and rinse your jars thoroughly, then keep them warm in the canner as it heats up.
If you're using a boiling water bath method and your processing time is less than 10 minutes, you must sterilize your jars. You'll need to boil them for 10 minutes at elevations below 1,000 feet. For higher elevations, add an extra minute of boiling time per 1,000 feet increase.
However, if your processing time is 10 minutes or longer, pre-sterilization isn't necessary.
Botulism Prevention Methods
Safe home canning requires strict adherence to proven botulism prevention methods. To eliminate the risk of deadly botulinum spores, you'll need to properly process low-acid foods at temperatures between 240-250°F. Your pressure canner must maintain consistent pressure throughout the entire process, and if pressure drops below the required level, you'll need to restart the timing completely.
- Always use a proper pressure canner, not a pressure cooker, and guarantee it's large enough for your batch size. Check the gasket for flexibility and clean all vents thoroughly.
- Vent your pressure canner for 10 minutes before pressurizing to remove trapped air, which can affect processing temperatures.
- Follow current USDA guidelines for canning times and pressures – don't rely on outdated recipes or family traditions that mightn't meet modern safety standards.
- Never taste-test home-canned foods to determine safety. Look for signs of spoilage like bulging lids, leaks, or unusual colors and smells. If you notice any of these warning signs, dispose of the food immediately.
Watch for botulism symptoms including double vision, drooping eyelids, slurred speech, or difficulty swallowing. If you suspect contamination, contact medical professionals immediately.
Altitude Adjustments for Safety
Beyond preventing botulism through proper processing methods, you'll need to account for your location's altitude when canning foods at home. As altitude increases, the boiling point of water decreases, which directly affects your food's safety. At sea level, water boils at 212°F, but at 2,000 feet, it drops to 208°F, making it less effective at killing harmful bacteria.
You'll need to make specific adjustments based on your canning method and altitude. For water bath canning, if your processing time is under 20 minutes, add 1-5 minutes for each 1,000 feet above 1,000 feet. For longer processing times, add 2-10 minutes. When making jellied fruits, add 1 minute per 1,000 feet above 1,000 feet.
If you're pressure canning, you won't need to adjust processing times, but you must increase the pressure. At 1,001-2,000 feet, use 15 pounds for weighted gauges or 11 pounds for dial gauges. The pressure continues to increase with altitude, adding 1/2 pound per 1,000 feet above 2,000 feet.
Check with your local Extension office or city webpage to determine your exact altitude and make these essential safety adjustments.
Monitoring Processing Times
Monitoring processing times requires four essential steps that work together to guarantee your canned foods are safe to eat. These critical timing phases determine whether harmful bacteria are eliminated and your food remains shelf-stable.
- Start by heating your canner with the vent port uncovered until steam flows steadily. You'll need to let it vent for 10 minutes to remove all trapped air before adding the weight or closing the petcock.
- After venting, you'll wait 5-20 minutes for the canner to reach the target pressure. Don't start your processing time until your dial gauge shows the correct pressure or your weighted gauge begins to jiggle.
- Once you've reached the proper pressure, maintain it carefully. If the pressure drops below the recommended level, you must bring it back up and restart your timing from the beginning. Avoid pressure fluctuations by adjusting your burner temperature.
- When processing is complete, let your canner depressurize naturally. Don't rush this step – it takes 20-60 minutes for dial-gauge canners and 30-45 minutes for weighted-gauge models.
Never force-cool or open the vent port prematurely.
Sealing and Storage Techniques
The success of pressure canning hinges on proper sealing and storage techniques that protect your preserved foods from contamination and spoilage.
You'll need to start by preheating your jars in 180°F water and ensuring they're properly prepared with clean rims and correctly positioned lids. When applying bands, tighten them only to fingertip-tightness to allow proper venting during processing.
After processing, you must let the canner's pressure return to zero naturally before removing the weight. Don't rush this step – wait an additional 10 minutes before opening the lid.
Place your hot jars on a towel or cooling rack, keeping them undisturbed for 12-24 hours while they seal. During this time, resist the urge to retighten bands, as this can interfere with the sealing process.
Once cooled, check each jar's seal using the set and flex test.
You'll want to store properly sealed jars in a cool, dark place away from sunlight and moisture. Remember to label and date each jar, and store them upright to prevent leakage.
With proper sealing and storage techniques, your home-canned foods can remain shelf-stable for years while maintaining their quality and safety.
Quality Control Measures
Successful pressure canning requires strict quality control measures to confirm both safety and ideal results. You'll need to regularly inspect your equipment, monitor processes, and follow scientifically-tested guidelines to ascertain your preserved foods remain safe for consumption.
- Check your pressure canner's condition before each use, confirming handles are tight, the canning rack is present, and the pressure regulator is original. Don't forget to verify your pressure gauge's accuracy at the start of canning season.
- Test your water source regularly for impurities and monitor pH levels in acidic liquids. You'll want to inspect every jar for proper sealing, looking for that characteristic concave lid that indicates a successful preservation.
- Always adjust your processing times and pressures based on your altitude, following research-based recommendations. Remember that low-acid foods must be processed in a pressure canner to prevent botulism.
- If you're working with others, make sure everyone's trained in proper preservation techniques. You'll need to understand specific requirements for different ingredients and follow regulatory standards throughout the entire canning process.
Signs of Spoilage
Identifying four key categories of food spoilage will help you protect your family from contaminated home-canned goods. When you're examining your canned foods, check for container damage, visible spoilage, gas formation, and seal issues.
Look for signs of container problems such as bulging lids, broken seals, cracked jars, or any corrosion on the can or lid. Don't use containers that are leaking or damaged.
Visible spoilage indicators include cloudy or moldy contents, mushy textures, and any white, blue, or green growth. If liquid spurts out when you open the jar or you notice foam and bubbles, don't consume the food.
Gas formation is a serious warning sign. Watch for tiny bubbles rising in the jar before opening, and if you detect an unpleasant odor or see fermenting liquid after opening, discard the contents immediately.
Pay attention to seal integrity by checking for proper vacuum seals and examining lid centers for proper concavity. You'll also want to inspect jars for external dirt that might indicate seepage.
If you've stored jars in direct sunlight, heated areas, or stacked them excessively, you've likely compromised their safety. When in doubt, throw it out.
Frequently Asked Questions
Can I Reuse Lids From Previously Canned Jars?
You shouldn't reuse canning lids as they're designed for single use only. The sealing compound won't reform properly after first use, increasing your risk of failed seals and dangerous food contamination.
What Happens if the Power Goes Out During Pressure Canning?
If your power goes out during pressure canning, don't open the canner. Let it cool naturally to zero pressure. You'll need to restart the entire process with fresh lids and jars for food safety.
How Long Do Home-Canned Foods Typically Last?
Your home-canned foods will last several years if stored properly, but you'll get the best quality within one year. While they're safe beyond that, you'll notice some decline in taste and nutrients.
Can I Stack Jars on Top of Each Other While Canning?
You can stack jars in pressure canners using a rack between layers, but don't stack them in water bath canners. When stacking in pressure canners, stagger the jars and make certain they're stable for safety.
Why Do My Jars Sometimes Lose Liquid During Processing?
You'll see liquid loss in your jars when pressure fluctuates or drops too quickly, you've overfilled them, or you're cooling them down too fast. Maintain steady pressure and let them cool naturally.
In Summary
Safe pressure canning at home depends on your careful attention to multiple critical factors. You'll need properly maintained equipment, strict adherence to temperature and pressure guidelines, and thorough understanding of processing times for different foods. Don't skip any safety steps, as they're all essential in preventing botulism and other foodborne illnesses. By following tested recipes and monitoring for signs of spoilage, you'll guarantee your preserved foods remain safe to eat.


Leave a Reply