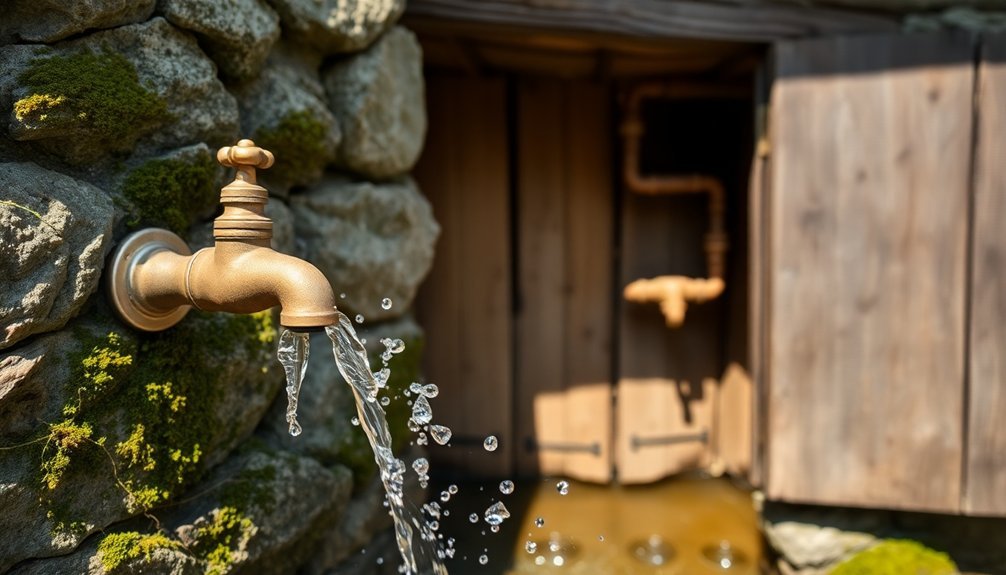
Setting up your spring house plumbing starts with finding the right water source, ideally a point source rather than a seep line. You'll need to position your spring box below the collection point and install three key pipes: inlet, discharge, and overflow. Use durable PVC materials and guarantee proper sealing with watertight connections and uniseal gaskets. Don't forget to include a sediment basin and mesh screens for filtration. Regular maintenance, including cleaning gutters and inspecting connections, keeps your system running smoothly. Understanding the complete setup process will help you create a reliable fresh water system that lasts for years.
Finding Your Spring Source
Finding the right spring source is vital for a successful spring house system. You'll want to identify whether you're dealing with a point source or a horizontal seep line. Point sources, where water emerges from a single location, are your best option, while horizontal seep lines require more extensive work and pose higher contamination risks.
To locate your spring's source, look for the uphill edge of the saturated area. Water naturally emerges here due to pressure from rainfall that's seeped into higher ground. You'll need to assess the surrounding area carefully for potential contamination risks. Be wary of industrial or agricultural activities uphill from your spring, as these can introduce pollutants into your water supply. Just like Spring's Location object resource, your spring source needs to be clearly identified and tracked.
Once you've identified your source, measure the spring's flow to guarantee it'll meet your needs. You can expect peak production in spring months and lowest flow during late fall or winter.
It's essential to use flow meters to track both the spring's output and your system's usage. Keep detailed records of these measurements, as they'll prove invaluable for future planning and system maintenance.
Spring Box Setup Basics
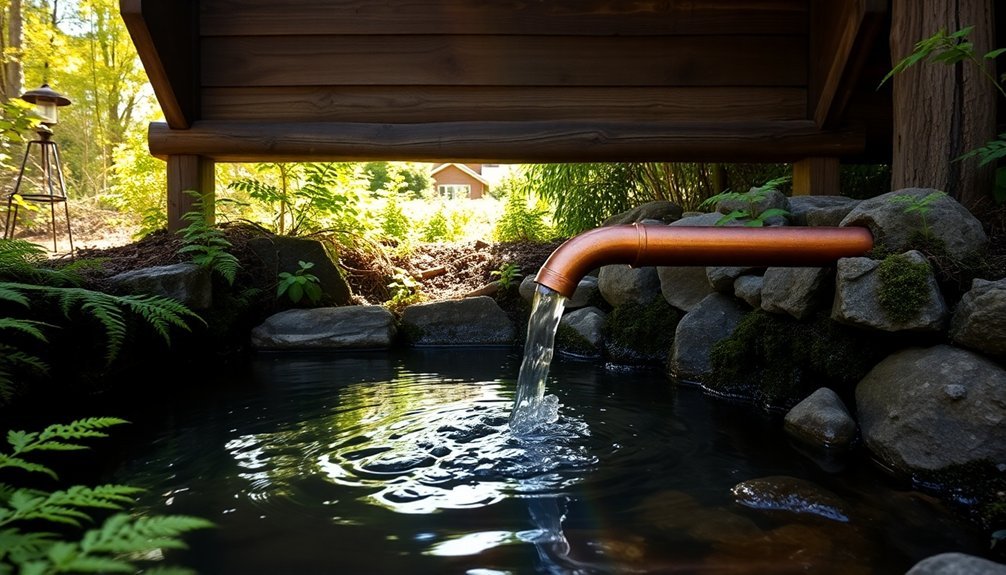
Setting up your spring box requires precise positioning below your collection system to maximize water flow and prevent backpressure issues.
You'll need to select durable components like a food-grade plastic container, proper piping with UV-resistant materials, and mesh screens to protect the system from debris. Installing a sediment basin inside the spring box helps impurities settle out of the water.
To guarantee long-term functionality, you must seal the system against contamination using black plastic sheeting, proper backfilling techniques, and strategically placed overflow pipes.
Positioning For Maximum Flow
Proper positioning of your spring box is vital for maximizing water flow from your natural spring source. You'll need to place the box directly where the spring water emerges from the ground, making sure it sits below the water-bearing formation to capture the full flow. The molded one-piece design measuring 14x14x16 inches ensures durability and reliable water collection. If you can't install a traditional spring box, consider using a cut-off wall or impervious layer as an alternative.
Your spring box's location should allow for easy access during maintenance and inspections, but it shouldn't be in an area where surface water collects.
When installing the piping, maintain a consistent slope of 1/8" to 1/4" per foot to guarantee proper water movement. You'll want to use gravel beneath the pipes for support and to help maintain this vital slope.
Don't forget to install properly sloped overflow pipes to handle excess water effectively. These pipes need screens at their outlets to keep unwanted debris and creatures out.
If you're dealing with significant overflow, protect the splash zone with large rocks to prevent erosion. Remember to check and clean your vent screens regularly, and keep the area within 25 feet of the spring clear of vegetation that could interfere with the system.
Essential Components Selection
Now that you've positioned your spring box correctly, you'll need the right components to build an effective water collection system. The three essential pipes – inlet, discharge, and overflow – form the core of your setup. Your inlet pipe should enter the spring box at the highest point, while the discharge pipe needs to be at the lowest position for peak flow.
Install the overflow pipe between these two levels to manage excess water. You'll want to use durable PVC pipes and fittings throughout your system, along with uniseal gaskets to guarantee watertight connections. Don't forget to include a ventilation system and inspection port to maintain and monitor your setup.
When installing the pipes, you'll need #57 gravel for proper drainage and support, along with plastic sheeting to protect against surface contamination. Your spring box will serve as a sediment basin, so choose a food-grade plastic container that's appropriately sized for your flow rate.
Remember to include mesh screens at key points to filter debris, and keep your tools handy – you'll need shovels, levels, and hole saws for a proper installation. Regular water testing will help guarantee your system maintains good water quality.
Sealing Against Contamination
A well-sealed spring box forms your first line of defense against water contamination. You'll need to position your box at least 3 feet below ground level, with its top extending 1 foot above the surface.
Install a tight-fitting "shoebox" cover that includes a 3-inch overhang to keep contaminants out.
Your sealing strategy should start with a well-tamped cut-off wall made of clay or concrete to direct spring flow into your collection system.
Layer the area with coarse rock and graded gravel behind this wall to manage water flow effectively.
Don't forget to cover the collection area with plastic sheeting to prevent surface water infiltration.
You'll need to protect your pipes with proper screening to keep insects and debris out.
Place your inlet pipe above the discharge and overflow pipes to prevent back pressure issues.
Install a perforated collector pipe low in the cut-off wall, and position your overflow pipe below it.
Add a screened drain pipe with an exterior valve near the box's bottom for maintenance.
Remember to grade the surrounding area to prevent standing water and dig a diversion ditch above the spring box to redirect surface runoff.
Essential Pipe Installation Steps

You'll want to start your spring house pipe installation by carefully calculating the proper slope and selecting durable materials that match your water source's specifications.
When joining pipe sections, guarantee leak-free connections by using appropriate primers and cements, making clean cuts, and rotating each joint one full turn during assembly.
Maintain consistent alignment throughout the installation process while supporting the pipe every four feet to prevent sagging or stress on the joints.
Proper Slope and Alignment
Proper pipe slope stands as one of the most critical aspects of plumbing installation. You'll need to maintain specific fall rates depending on your pipe size: 1/4 inch per foot for pipes under three inches in diameter, and 1/8 to 1/16 inch per foot for larger pipes. This 2% standard slope guarantees wastewater flows efficiently while preventing standing water and potential blockages.
You'll want to focus on uniform alignment throughout your pipe system. When you're installing pipes, make sure you're securing them firmly with proper strapping to prevent sagging over time. If you notice slope issues, you can make minor adjustments by loosening pipe hangers and realigning the pipe. For more significant problems, you might need to add fittings or extend the pipe run.
Remember to minimize bends and turns in your layout, as they can impact water flow. You should conduct regular checks to guarantee your pipes maintain their proper slope.
If you're dealing with major slope corrections, it's best to call a professional who can guarantee your system complies with local building codes and maintains peak drainage efficiency.
Material Selection Guidelines
While pipe slope and alignment set the foundation for your plumbing system, selecting the right materials will determine its long-term success. You'll need to take into account several key factors to guarantee you're making the best choice for your specific needs.
First, evaluate the temperature and pressure requirements of your system. For hot water lines, you'll want materials like copper or PEX that can handle high temperatures, while PVC works well for cold water applications.
Don't forget to check your local building codes, as they'll dictate which materials are permitted in your area.
Reflect on the installation environment and your budget. If you're working in a moisture-prone area, choose corrosion-resistant materials like PEX or ABS. For DIY installations, you might prefer PEX over copper since it's more flexible and easier to work with.
While copper pipes offer exceptional durability, they're more challenging to install and typically cost more.
Think about long-term sustainability too. Materials like PEX and CPVC aren't just recyclable; they're also energy-efficient to produce.
When planning your installation, factor in the material's lifespan and maintenance requirements to guarantee you're making a cost-effective choice that'll serve you well for years to come.
Leak-Free Joint Assembly
At the heart of a reliable plumbing system lies leak-free joint assembly – a critical skill that makes or breaks your installation. Whether you're working with threaded, compression, or slip joints, proper technique guarantees your plumbing remains watertight and functional for years to come.
For threaded joints, you'll need to wrap the male threads clockwise with three to five layers of Teflon tape, then add a thin layer of pipe joint compound. When working with compression fittings, remember to lubricate both the ferrule and pipe, guaranteeing perfect alignment before tightening with two wrenches.
Here's what you'll need to focus on for any joint type:
- Support and anchor pipes properly to prevent stress on connections and maintain system integrity.
- Maintain consistent slope and alignment throughout the installation for efficient drainage.
- Use appropriate tools and sufficient force – hand-tighten first, then use wrenches or pliers for final turns.
- Test all connections thoroughly after assembly to verify they're leak-free.
Don't forget to use new washers when reassembling slip joints, and always clean excess compound before final assembly.
Proper joint installation isn't just about preventing leaks – it's about guaranteeing your plumbing system's longevity and reliability.
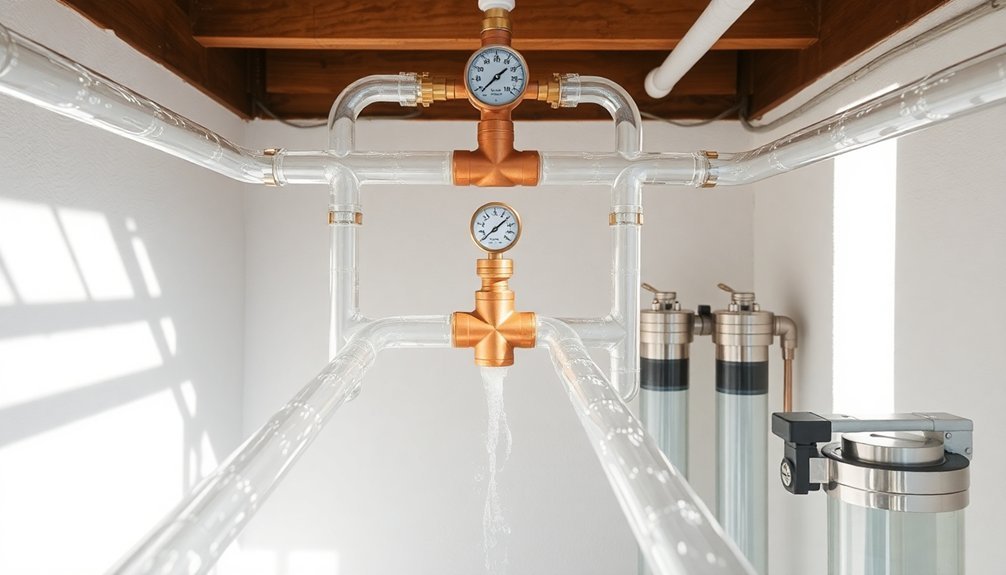
Water Flow Management Techniques
Managing water flow effectively in your spring house requires a thorough understanding of measurement and control techniques. You'll need to install metering devices to monitor water usage patterns and identify opportunities for conservation.
Install main shut-off valves and individual stop valves for fixtures to maintain precise control over your water supply system.
To enhance your spring house's water efficiency, you'll want to focus on implementing smart fixtures and appliances. Replace older fixtures with water-efficient models and verify your hot water supply system operates at ideal thermostat settings.
You can also recover condensate from air handlers and utilize it for other purposes within your system.
Consider incorporating advanced water management technologies to maximize efficiency. You'll benefit from installing smart irrigation systems that use weather data and soil moisture sensors to regulate water usage.
If you're dealing with cooling systems, refine their cycle of concentration to reduce water waste through blowdown. For more sophisticated applications, consider implementing reverse osmosis or nanofiltration systems.
Don't forget to integrate water resource management practices that coordinate development and operations while maintaining sustainable water use throughout your spring house system.
Filtration System Components
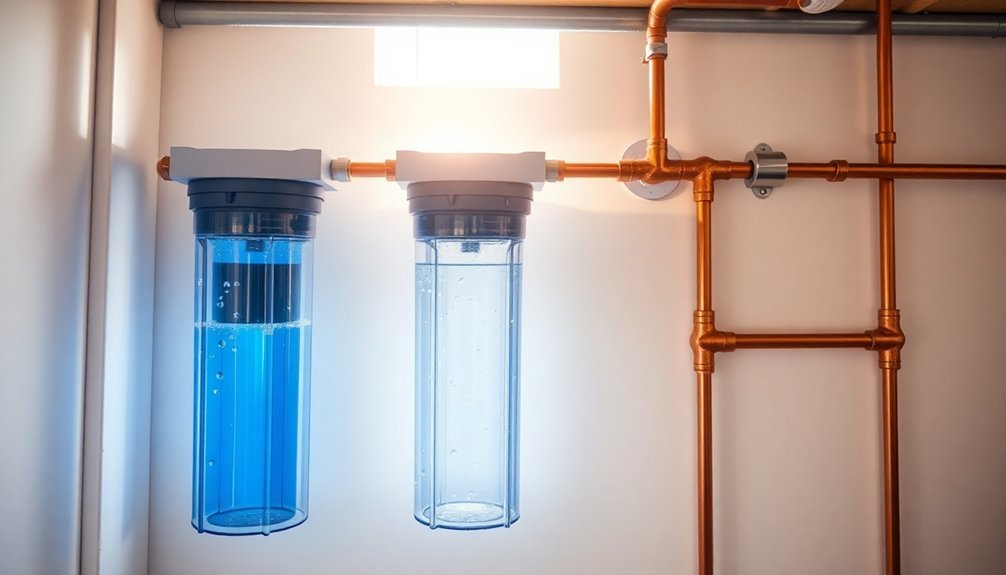
Inside a spring house filtration system, multiple components work together to deliver clean, safe water. You'll find these components arranged in a specific sequence to guarantee ideal filtration performance.
The system starts with a water supply connector that adapts to your existing plumbing, leading to the initial filtration stages where sediment and activated carbon filters remove particles and chemicals.
The core components of your filtration system include:
- A reverse osmosis membrane that removes microscopic contaminants, including bacteria and viruses
- A post-carbon filter that improves taste and eliminates any remaining odors
- An optional UV sterilizer that provides additional protection against microorganisms
- A flow restrictor that maintains proper pressure throughout the system
Your filtered water is stored in a tank that's connected to a dedicated faucet or dispenser.
The system's braided stainless steel supply lines and durable valve components guarantee reliable operation. You'll also find maintenance indicators on many modern systems, alerting you when it's time to change filters.
The entire setup is designed to work within ideal pressure ranges, consistently delivering high-quality water to your spring house.
Pump Selection and Placement
Selecting the right pump for your spring house requires careful consideration of multiple factors that affect water management.
You'll need to evaluate your groundwater levels, basin size, and potential flooding conditions to determine whether you need a pedestal, submersible, or water-powered pump system.
For most spring houses, a submersible pump offers reliable performance since it's designed to operate while submerged. If you're dealing with high groundwater levels, you'll want to ascertain your pump can handle increased flow rates and head pressure.
Consider your power source options carefully – while electrical pumps provide more power, water-powered options can serve as reliable backups during outages.
When placing your pump, you'll need to position it in an easily accessible location for regular maintenance. Ascertain your discharge pipes pitch away from the structure and extend at least three feet out.
Don't forget to check that water flow directs away from the building to prevent recirculation. If you've got a larger basement or multiple collection points, you might need to install multiple pumps.
Remember to test your setup regularly using a garden hose and keep the sump crock clear of debris.
Distribution Line Configuration
The proper configuration of distribution lines forms the backbone of an efficient spring house plumbing system. You'll want to focus on creating a layout that maximizes flow while minimizing wait times for hot water. A home run configuration with a manifold system offers superior performance compared to traditional trunk and branch setups, as it provides better flow control and faster hot water delivery.
When designing your distribution system, consider these essential factors:
- Choose PEX-A piping over copper for your distribution lines, as it's more flexible and requires fewer elbows, reducing pressure loss.
- Install 3/4" trunk lines for most residential needs, but consider 1" lines from the city connection to future-proof your system.
- Use 1/2" home runs from the manifold to individual fixtures for balanced flow and quicker hot water delivery.
- Keep pipe runs as short as possible and minimize fittings to reduce water waste and improve delivery times.
You'll want to avoid recirculating pumps to save energy, instead focusing on efficient pipe layouts and proper sizing.
Remember that shorter runs and fewer fittings mean less water volume to flush out, resulting in faster hot water delivery to your fixtures.
Spring House Maintenance Schedule
Maintaining a spring house plumbing system requires a systematic approach throughout the year to prevent costly repairs and guarantee reliable operation.
You'll need to focus on both indoor and outdoor maintenance tasks to keep your system running smoothly.
Start your spring maintenance by inspecting your water heater, which should be professionally serviced and drained annually.
Check your basement walls for moisture or cracks after heavy rains, and test your sump pump by pouring water into the pit.
Don't forget to clean shower heads and garbage disposals to prevent buildup and clogs.
You should inspect all visible pipes for leaks, particularly under sinks and in basements.
Replace any aging water supply hoses for appliances with stainless steel alternatives, and verify your washing machine's lint trap is properly installed.
Consider adding a water alarm to protect against flooding.
For outdoor maintenance, clean your gutters and downspouts thoroughly, and inspect your sprinkler system for leaks.
Remove any winter pipe insulation and test outdoor faucets.
When planting new trees, be mindful of underground plumbing to avoid root damage to your system.
Frequently Asked Questions
How Long Does a Typical Spring House Plumbing System Last Before Needing Replacement?
You can expect your plumbing system to last 50-100 years, though specific components need earlier replacement. Water heaters last 10-25 years, faucets 15-20 years, and fixtures like toilets several decades.
Can Multiple Households Safely Share a Single Spring Water Collection System?
You can safely share a spring system with multiple households if the flow rate is sufficient and you maintain proper protection measures, regular testing, and disinfection systems. Just guarantee there's enough water year-round.
What Permits Are Required Before Installing a Spring House System?
You'll need building, plumbing, electrical, and zoning permits before installing a spring house system. Don't forget to submit construction drawings, secure water rights, and have licensed contractors complete the necessary permit applications.
How Much Does a Complete Spring House Plumbing System Typically Cost?
You'll typically spend between $8,000 to $12,000 for a complete plumbing system, but costs can vary based on your home's size, fixture count, pipe materials, and local permits you'll need to obtain.
Can Spring Water Collection Systems Function Effectively in Freezing Climates?
Yes, you'll find spring water systems can work well in freezing climates. By placing the collection box below frost level and letting water flow continuously, you'll prevent freezing and maintain year-round access.
In Summary
You'll find that proper spring house plumbing isn't as complex as it seems once you've mastered the basics. By carefully locating your spring source, installing the right components, and maintaining a regular upkeep schedule, you'll enjoy a reliable flow of fresh water year-round. Remember to check your system quarterly and address any issues promptly to keep your spring house functioning efficiently for years to come.

Leave a Reply