
You'll find seven proven methods to preserve food using sugar's natural properties. Store dry granulated sugar in polyethylene bags or food-grade buckets for indefinite shelf life, use honey in glass containers with tight seals, prepare sugar syrups at precise ratios, harness crystallization for dehydration, cure fresh produce with equal sugar-to-fruit ratios, utilize molasses in airtight opaque containers, and master sugar fermentation with proper concentration monitoring. Each technique requires specific temperature controls, container selections, and safety measures to guarantee long-term preservation success. Exploring these methods in detail will reveal your food storage potential.
Dry Sugar Food Storage Basics
Security in sugar storage begins with choosing the right containers and environment. You'll find several effective options, including polyethylene bags, Mylar-type bags, and food-grade plastic buckets. While glass canning jars work well to protect against moisture and odors, they're more fragile and space-consuming. #10 cans can work but aren't ideal in humid areas due to potential corrosion. Vacuum sealing sugar in glass jars will maintain its freshness for years.
You'll need to maintain proper storage conditions to preserve your sugar's quality. Place containers in a cool, dry location, and don't store sugar in your refrigerator, as this can lead to unwanted condensation. Keep your sugar away from strong odors, which it can absorb even through plastic packaging.
When stored correctly, granulated sugar lasts indefinitely, while brown sugar remains good for at least a year and confectioners sugar for 18 months. If your sugar becomes lumpy or hard, don't worry – it's still safe to use and can be broken apart.
To prevent moisture-related issues, you can add a slice of bread to the container in humid environments. However, avoid using oxygen absorbers, as they'll cause clumping. For brown sugar, consider using a designated keeper or maintaining its original packaging to preserve moisture.
Honey Preservation Methods
Proper honey storage begins with choosing between raw or filtered varieties, as filtered honey typically has a longer shelf life due to reduced particle content that could encourage fermentation.
You'll want to select glass containers with tight-sealing lids rather than plastic or metal, since glass won't react with honey's natural acids or affect its taste. Regular inspection ensures the lids remain sealed to prevent oxygen exposure and maintain freshness.
To maintain peak quality, keep your honey at room temperature between 10-20°C, away from direct sunlight and heat sources that could trigger premature crystallization or degradation.
Raw Vs Filtered Honey
When preserving honey, you'll find two distinct methods: raw and filtered processing.
Raw honey retains all its natural enzymes, antioxidants, and nutrients straight from the hive, but it requires careful storage conditions. You'll need to maintain temperatures between 50°F and 70°F and keep it away from direct sunlight to protect its beneficial compounds. Using airtight glass containers is crucial for maintaining raw honey's quality over time.
Filtered honey undergoes more processing, including pasteurization and filtration to remove wax, bee parts, and other particles. While this processing extends shelf life and reduces crystallization, it may diminish some of honey's natural benefits. You can store filtered honey at room temperature with less concern about temperature fluctuations.
You'll notice raw honey is more susceptible to crystallization and requires specific storage conditions. Keep it in a cool, dry place but never refrigerate it, as this speeds up crystallization.
For filtered honey, you've got more flexibility with storage containers, including glass, plastic, or squeeze bottles. It's also less likely to develop off-flavors or textures since it's been treated to prevent fermentation and moisture absorption.
Both types will serve your preservation needs, but raw honey demands more attention to maintain its nutritional value.
Proper Container Selection
Selecting the right container safeguards your honey's quality and extends its shelf life considerably. When choosing containers, you'll want to focus on glass jars, stainless steel, or food-grade plastic options that won't react with honey's natural acids. Glass remains the top choice as it's non-reactive and won't affect the honey's flavor, while stainless steel works well for larger quantities.
Your container's size should match your needs. If you're storing for household use, opt for smaller 3-5 pound containers. For bulk storage or sales, consider containers up to 6 gallons. Whatever size you choose, make certain it has an airtight seal to protect against moisture and contaminants.
You'll need to pay special attention to the closure system. Use metal lids with plastisol liners for glass jars, or screw-on caps with foam liners for plastic containers. Remember to leave a small headspace at the top to accommodate expansion.
When storing your honey, keep it in a cool, dry place away from strong odors – but don't refrigerate it, as this can cause crystallization. Avoid extreme temperatures that could alter your honey's color and flavor.
Temperature Control Tips
For long-term storage of processed honey, maintain temperatures between 64-75°F (18-24°C) to prevent crystallization.
If you're storing unprocessed honey, keep it below 32°F (0°C) for ideal preservation.
Remember that temperature damage is cumulative, so avoid fluctuations and keep your honey away from heat sources.
You can safely thaw frozen honey without compromising its quality, making this method particularly convenient for long-term preservation.
Traditional Sugar Syrup Techniques
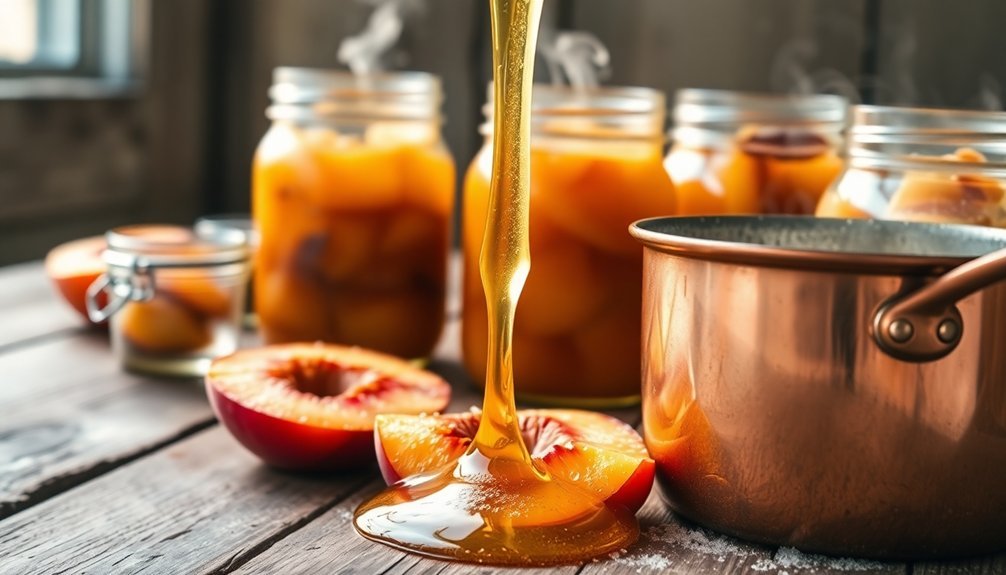
When making traditional sugar syrups, you'll need to maintain precise ratios of sugar to water, typically using 1¾ cups sugar to 4 cups water for medium-density preservation.
You must heat your syrup to just below boiling (around 180-190°F) to guarantee proper sugar dissolution while avoiding crystallization and discoloration.
To keep your syrup fresh and effective, store it in sterilized, airtight containers away from direct sunlight, and check regularly for signs of fermentation or contamination.
Ratio and Density Control
Traditional sugar syrup techniques come down to mastering the right ratios and monitoring density levels for successful food preservation. You'll need to understand that the basic 1:1 ratio (one cup sugar to one cup water) serves as your starting point, but you can adjust these proportions based on your specific preservation needs.
When you're working with particularly sweet fruits, opt for a lighter syrup using 6½ cups water to ¾ cup sugar. For medium-strength preservation, use 1¾ cups sugar in 4 cups of water.
You'll need to monitor your syrup's density carefully – it's vital for proper preservation. If you're making maple syrup, for instance, you'll want to maintain a density between 66° and 68° Brix to prevent mold or crystallization.
The density of your syrup directly affects how your fruits behave during canning. You'll notice that fruits in light syrups tend to sink and may break apart, while heavier syrups cause fruits to float and can lead to dehydration.
It's important to choose the right concentration – too little sugar won't preserve effectively, while too much can damage your fruit's texture through excessive osmosis.
Proper Syrup Temperature Range
Understanding temperature control builds directly upon your knowledge of syrup ratios and density. When making simple syrup, you'll want to heat your sugar and water mixture to just below water's boiling point (212°F). This temperature is sufficient to fully dissolve the sugar while preventing unwanted caramelization that can occur at higher temperatures.
You'll know you've reached the right temperature when all sugar crystals have completely dissolved. Unlike candy-making, which requires specific temperature stages like thread stage (230-235°F) or soft-ball stage (235-240°F), simple syrup doesn't need these higher temperatures. In fact, you'll want to avoid reaching these stages, as they'll make your syrup too dense for preservation purposes.
To maintain proper temperature control, keep stirring constantly while heating and remove the mixture from heat as soon as the sugar dissolves. Let your syrup cool to room temperature before storing it.
If you notice crystallization during storage, you can rewarm the syrup until the crystals dissolve. Store your cooled syrup in an airtight container and refrigerate it to minimize crystallization risks.
Syrup Storage Best Practices
In accordance with proper storage practices, you'll need to keep sugar syrups in cool, dry locations using airtight, moisture-proof containers. Select glass canning jars or food-grade plastic buckets, avoiding metal containers that can rust and contaminate your syrups.
Make sure you're using clean, opaque containers to protect the contents from light exposure.
When filling containers, heat your syrup to 180-195°F and fill them completely to minimize air exposure. You'll want to tighten lids securely to prevent contamination.
Don't refrigerate traditional sugar syrups, as this can cause moisture issues, but do store them away from strong odors and heat sources.
Once you've opened a container, use the syrup promptly or refrigerate it to prevent mold growth. If you notice crystallization, you can re-liquify the syrup by placing the container in hot water.
While commercial syrups have an indefinite shelf life, they're best used within two years. For simple syrups, you'll get ideal results by refrigerating them for up to three weeks.
Keep track of your stored syrups by maintaining a log with production dates, grades, and quantities, especially for bulk storage.
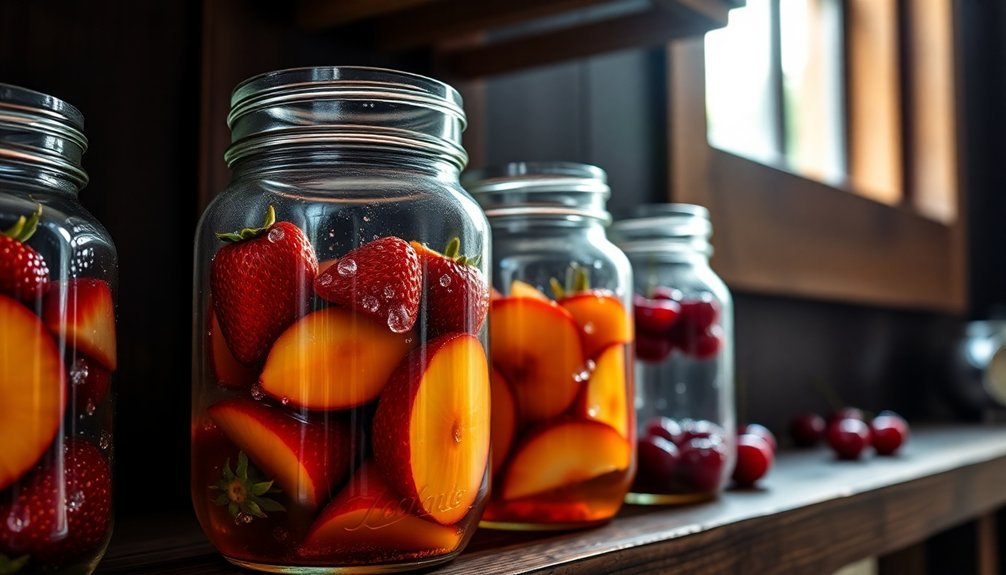
Crystallization and Dehydration Process
Sugar crystallization serves as a fundamental process in food preservation, transforming dissolved sugar into solid crystals through carefully controlled supersaturation. When you're working with sugar preservation methods, you'll need to manage both temperature and concentration carefully, as these factors directly impact the crystallization process and final product quality.
You can control the crystallization process effectively by understanding these key factors:
- Temperature control – You'll want to maintain higher temperatures when dissolving sugar, then cool gradually to initiate controlled crystallization.
- Concentration monitoring – You should aim for proper sugar saturation levels to achieve ideal crystal formation.
- Agitation management – You'll need to stir consistently to distribute crystals evenly and control their size.
During the dehydration phase, you'll notice that sugar crystals form more readily as water evaporates from your solution. This process helps preserve food by reducing water activity and creating an environment where microorganisms can't thrive.
For best results, you should maintain clean, dry conditions and use appropriate inhibitors when needed to prevent unwanted crystallization. This method works particularly well for preserving fruits in jams and jellies, where sugar crystals help create the desired texture while extending shelf life.
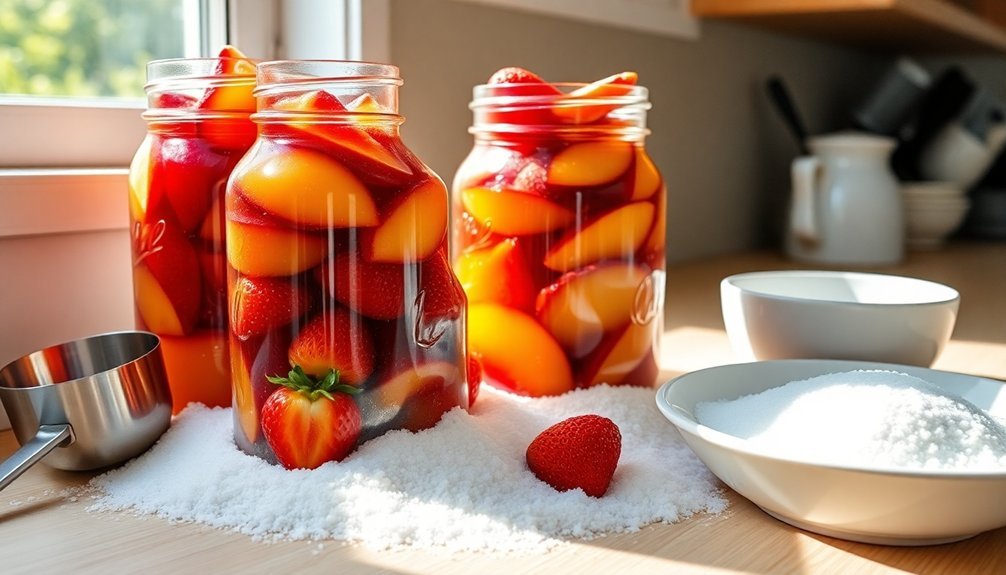
Sugar Curing Fresh Produce
Preserving fresh produce through sugar curing offers a reliable method for extending shelf life while maintaining flavor and texture.
You'll need to use equal weights of sugar and fruit – for example, if you're working with a pound of fruit, you'll need a pound of sugar. Add just enough water to create a syrup, typically 1/2 cup water for every 2 cups of sugar.
When you're preparing the syrup, heat it gently to dissolve the sugar, avoiding high temperatures that could turn your fruit jam-like. Once your syrup's ready, cook the fruit until it becomes clear, making sure to skim off any foam that forms.
Let both the fruit and syrup cool separately before recombining them.
Don't be tempted to reduce the sugar content, as this will result in mushy textures and poor color retention.
While you can use alternatives like sucralose (the only USDA-approved alternative for preservation), they won't provide the same osmotic effects as sugar. The sugar's ability to reduce water activity creates an environment that inhibits bacterial growth, making it essential for both preservation and maintaining the fruit's desirable qualities.
Molasses Based Food Storage
Proper storage methods determine the longevity and quality of your molasses-preserved foods. You'll need to store your molasses in a cool, dry, and dark location, away from high humidity and heat that can promote mold growth. Your pantry or kitchen cupboard works perfectly, as long as you maintain consistent temperature and keep the area odor-free.
You can maximize your molasses storage life by using the right containers and following these essential steps:
- Choose airtight, moisture-proof containers, preferably opaque or glass canning jars, to protect your molasses from light exposure.
- Clean and dry the container's lip after each use, ensuring a proper seal that prevents air and moisture infiltration.
- Check for signs of spoilage before use, including mold, unpleasant odors, or crystallization.
While refrigeration isn't mandatory, it can extend your molasses shelf life beyond the typical one-year mark. If you do refrigerate, you'll notice it becomes thicker and harder to pour.
Don't microwave it to warm it up; instead, place the container in a pot of warm water. Remember, if you spot any mold, you'll need to discard the entire jar, as it can't be salvaged.
Sugar Fermentation Safety Tips
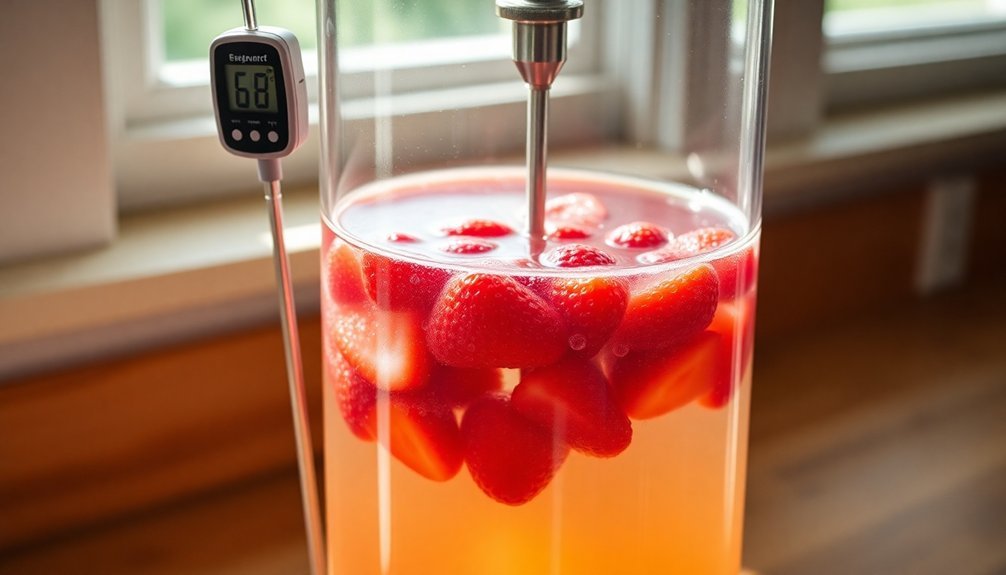
Beyond storing sweeteners, understanding fermentation opens up exciting possibilities for food preservation. When you're working with sugar fermentation, you'll need to maintain precise control over your environment to guarantee safe, successful results.
Start by creating the right sugar concentration to support beneficial fermentation while inhibiting harmful bacterial growth. You'll want to keep your fermented foods fully submerged under the brine or syrup using appropriate weights and containers.
Make certain you're monitoring temperature and pH levels throughout the process, as these factors directly impact the quality of your fermentation. Always use clean, sanitized equipment and maintain proper ventilation to prevent carbon dioxide buildup.
Watch for signs of unwanted fermentation or spoilage, including unusual colors, odors, or textures. You'll need to follow research-tested recipes carefully – don't experiment with ratios when safety is at stake.
Keep your fermented products stored in cool, dark places and regularly inspect them for quality. If you're working with traditional fermented foods like sauerkraut or kimchi, remember that the acids and alcohols produced during fermentation serve as natural preservatives, extending your food's shelf life while maintaining its nutritional value.
Frequently Asked Questions
Can Sugar-Preserved Foods Be Safely Consumed by Diabetics?
You can eat sugar-preserved foods if you're diabetic, but you'll need to limit portions and monitor blood sugar levels carefully. It's best to choose alternatives with less sugar or natural sweeteners instead.
How Do Different Altitudes Affect Sugar Preservation Methods?
At higher altitudes, you'll need to adjust sugar concentrations and cooking temperatures. Your preserves will boil at lower temperatures, so reduce finishing temps by 2°F per 1,000 feet to maintain proper preservation.
What Role Does Sugar Grain Size Play in Preservation Effectiveness?
Sugar's grain size doesn't affect its preservation effectiveness. While finer grains dissolve faster, it's the overall sugar concentration that matters. You'll achieve the same preservative results regardless of the grain size you use.
Can Artificial Sweeteners Be Used Instead of Sugar for Preservation?
No, you can't rely on artificial sweeteners for preservation. They don't provide the same preservative properties as sugar and won't maintain texture, color, or shelf stability. Most require refrigeration and have shorter storage life.
Does Sugar Preservation Affect the Vitamin Content of Stored Foods?
Yes, sugar preservation affects your food's vitamins differently. You'll lose some water-soluble vitamins like C and B during processing, but don't worry about fat-soluble vitamins (A, D, E, K) – they'll stay stable.
In Summary
You've now learned seven proven methods for preserving food using various forms of sugar. Whether you're using dry sugar, honey, syrups, or fermentation techniques, you'll find these methods both safe and effective for long-term storage. Remember to always follow proper sanitation guidelines and monitor your preserved foods regularly. With these sugar preservation methods in your skillset, you're well-equipped to extend your food's shelf life naturally and safely.


Leave a Reply