To salt-cure venison successfully, you'll need fresh, properly chilled meat trimmed of all visible fat and cut into uniform pieces. Start by selecting lean cuts from the loin, leg, or shoulder areas. Calculate your salt ratio at 2-3% of the meat's total weight, and maintain temperatures between 38-41°F during curing. You'll need basic equipment like a sharp boning knife, cutting board, and brining container. Monitor the process daily for color changes and proper texture development, while keeping humidity levels between 68-75%. The journey to perfectly cured venison involves several critical steps that'll guarantee your success.
Understanding Venison Quality Requirements
When preserving venison through salt-curing, selecting and preparing high-quality meat is essential for success. You'll need to start with fresh, properly chilled venison and carefully inspect it for any signs of spoilage or contamination. Your meat selection process should focus on pieces that are free from bruising, bone fragments, and gristle.
The fat content of your venison plays a significant role in the curing process. You'll want to remove all visible fat, as it can lead to a strong gamey flavor and potentially interfere with proper preservation. Refrigeration within 3 to 4 hours after harvesting is crucial when temperatures are above 45°F. If you're working with ground venison, you can add high-quality pork or beef fat in a ratio of 1 part fat to 3-4 parts venison, but be precise with these measurements.
You'll need to cut your venison into appropriate sizes – whether strips, cubes, or chunks – depending on your specific curing method.
Remember that proper handling throughout the preparation process is critical. Keep your work area and equipment clean and sanitized to prevent bacterial contamination.
Don't skip the inspection process, as even small oversights in meat quality can lead to spoilage or safety issues during the curing process.
Essential Tools and Equipment
A well-equipped workspace is vital for successful venison salt-curing. You'll need a variety of cutting tools, starting with a high-quality boning knife from trusted brands like Old Hickory or J.A. Henckels. A flexible boning knife is critical for removing silverskin and backstraps, while a sharp Cold Steel fillet knife will help you with precise trimming and slicing. The curing process requires 3 to 6 days to properly cure the meat.
Don't forget a sturdy cutting board and meat mallet for tenderizing.
For the curing process, you'll require a brining bucket large enough to submerge your meat completely. You can use internal locking systems or improvise with water-filled zip-lock bags to keep the meat submerged. A 12-inch sheet pan with a matching wire rack will help drain excess liquid.
You'll also need plastic wrap and a mixing bowl for cure ingredients.
If you're planning to make sausages, invest in a reliable meat grinder like the KitchenAid attachment or LEM grinders, along with a sausage stuffer. For storage and drying, consider an Excalibur dehydrator for jerky-making, and keep butcher paper or a vacuum sealer handy for storing your finished products.
A cooling rack is vital for proper air-drying of your cured venison.
Preparing Your Workspace
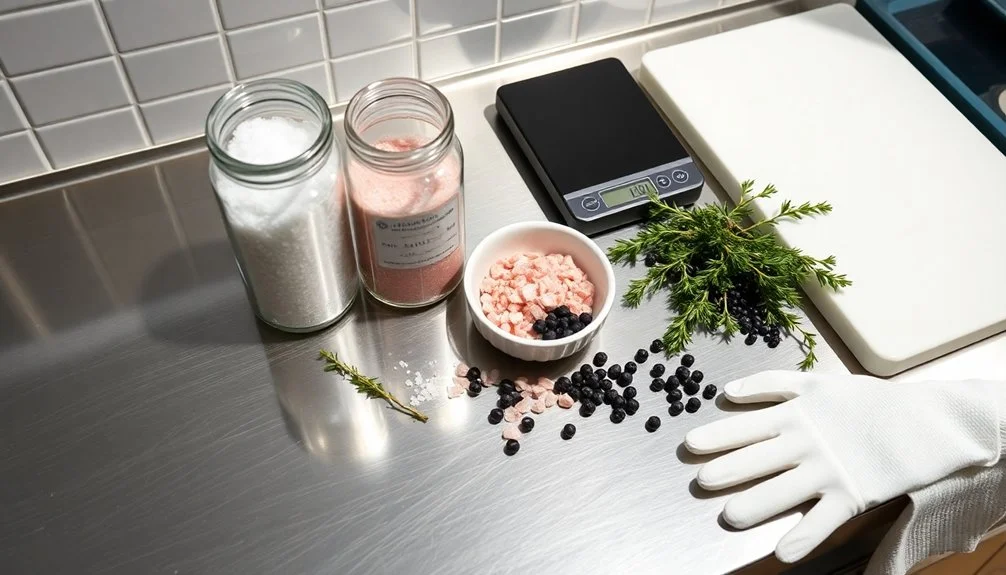
To guarantee successful venison curing, your workspace requires precise environmental controls and meticulous organization.
You'll need to maintain temperatures between 50 to 60 degrees Fahrenheit during the drying process, while keeping temperatures below 42 degrees for wet curing. Set up a dedicated curing chamber or modify a refrigerator to achieve these specific conditions. Using proper temperatures and air circulation helps prevent pathogenic growth, as was crucial in historic meat preservation before refrigeration.
Monitor your workspace's humidity levels closely, aiming for 60% to 75% relative humidity. Install a humidistat or hygrometer to track these levels consistently.
You'll want to ascertain your curing chamber remains well-sealed to maintain stable conditions throughout the process.
Before handling any meat, thoroughly clean and sanitize all surfaces, equipment, and containers. Don your protective gear, including gloves, to minimize contamination risks.
Create a systematic approach to organizing your workspace by implementing a clear labeling system. You'll need to weigh and tag each piece of meat with its initial weight and processing date.
Keep detailed records of your curing process, including regular weight checks and any environmental adjustments you make. This documentation helps you track progress and maintain consistency in your curing practices.
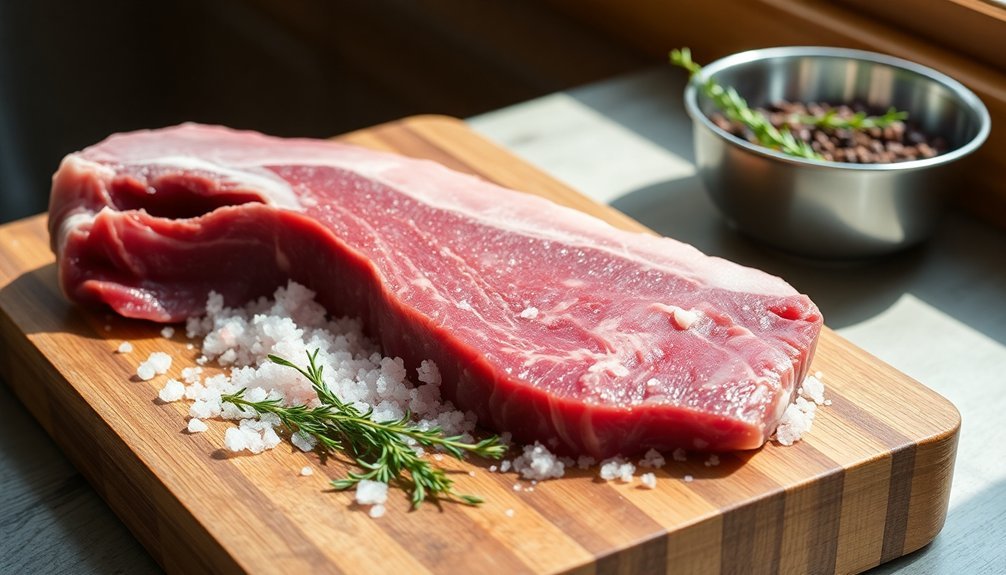
Proper Meat Selection and Trimming
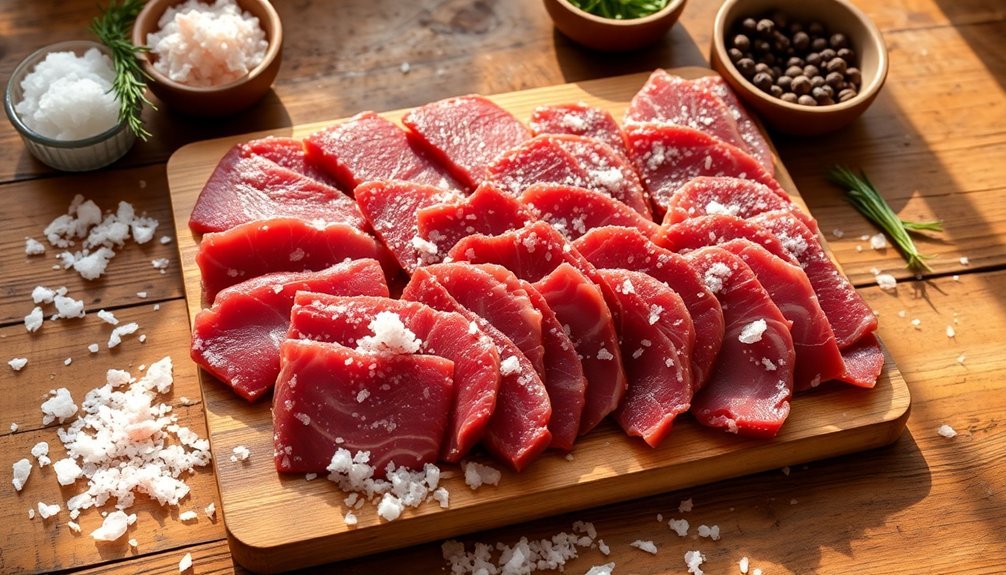
When selecting venison for salt-curing, you'll want to focus on lean cuts from the loin, leg, and shoulder areas while avoiding heavily marbled pieces that won't cure properly.
You'll need to trim away all visible fat, connective tissue, and gristle with a sharp knife to prevent off-flavors and guarantee better preservation.
Cut your trimmed meat into uniform pieces, removing any bones or bruised spots, to create ideal portions that will cure evenly and safely.
Prime Cuts for Success
Successful salt-curing begins with selecting the right cuts of venison and properly preparing them. You'll want to focus on lean cuts like round, flank, chuck steak, rump roast, brisket, and cross rib. These cuts are ideal because they're naturally tender and work well with whole muscle curing methods.
Before you begin the curing process, you'll need to properly trim your meat. Remove all visible fat with a sharp knife, as venison fat can turn rancid and create unpleasant gamey flavors in your final product.
Don't forget to eliminate thick connective tissue and gristle, which can interfere with both the curing process and the texture of your finished product.
When preparing your cuts, aim for even pieces that will cure uniformly. You can combine smaller cuts to create larger, more consistent pieces that'll dry at a steadier rate.
Keep your meat chilled throughout the preparation process, and consider freezing it until it's firm but not solid for easier handling.
Remember to maintain strict hygiene standards while working with your meat to prevent contamination and guarantee the best possible results.
Trim Away Tough Spots
Proper trimming of your venison is critical for achieving high-quality cured meat. You'll need to remove all visible fat, bones, and connective tissue to guarantee even curing and prevent off-flavors from developing. If you're working with fresh meat, consider freezing it until firm to make the trimming process easier and more precise.
To properly prepare your venison for curing, follow these essential steps:
- Remove all visible fat using a sharp knife, as venison fat becomes rancid quickly and can affect both flavor and the curing process.
- Cut away any thick connective tissue and gristle to improve texture and guarantee uniform curing throughout the meat.
- Remove all bones carefully, making sure no fragments remain that could interfere with the curing process.
- Cut the trimmed meat into your desired form – strips, cubes, or chunks – depending on your curing method.
Use clean, non-reactive tools and surfaces during preparation to prevent contamination. Keep your meat chilled throughout the trimming process, and guarantee you've selected lean cuts with minimal marbling for the best results.
Your trimmed venison should be free from any defects, bruised spots, or tough areas before moving forward with curing.
Calculating Salt Ratios
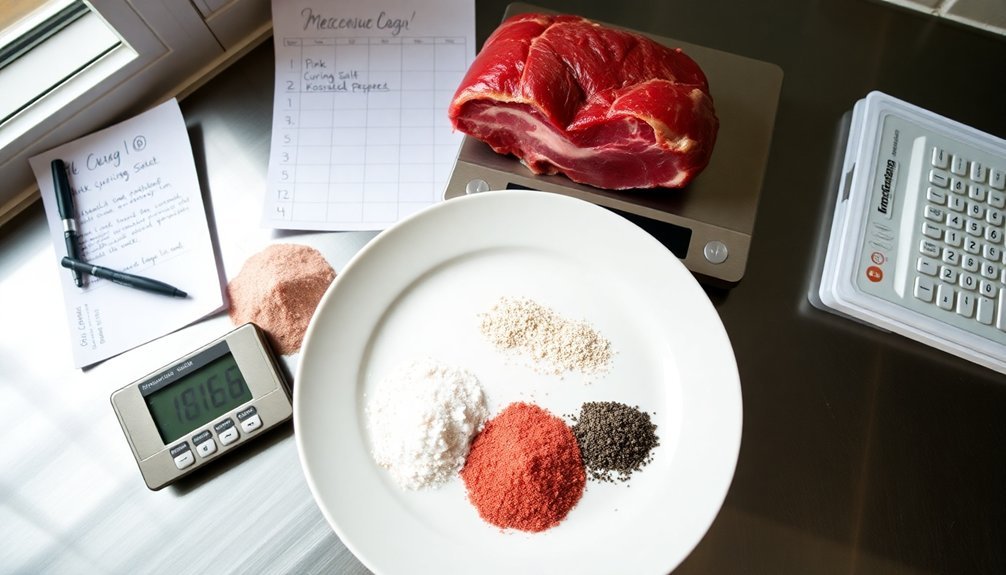
The foundation of salt-curing venison lies in precise salt calculations. You'll need to aim for a salt concentration between 2-3% of your meat's total weight. For example, if you're curing 1000g of venison, you'll use 20-30g of salt.
| Component | Recommended Amount |
|---|---|
| Salt | 2-3% of meat weight |
| Curing Salt (Prague #1) | 0.25% of meat weight |
| Sugar | 1% of meat weight |
| Water (for brine) | 50% of meat weight |
| Spices | To taste |
When using curing salts like Instacure #1, you'll need to carefully calculate the nitrite levels. The standard mix contains 6.25% sodium nitrite, and you shouldn't exceed 156 PPM for safety. For a wet cure, you'll need to factor in your water weight. Create a brine that's approximately half the weight of your meat.
Don't forget to include sugar at about 1% of your meat's weight to balance the salt's harshness. For best results, use a digital scale and keep detailed records of your measurements. Remember to distribute your salt mixture evenly across the meat's surface to guarantee uniform curing throughout the process.
Dry Cure Versus Equilibrium Method
When preserving venison, you'll need to choose between two distinct approaches: dry cure and equilibrium methods. The dry cure method involves generously coating your meat with salt and spices, while the equilibrium method requires precise measurements based on the meat's weight, typically 2.5-3.5%.
- Control Level: The equilibrium method gives you precise control over salt content, preventing over-salting, while dry curing relies more on experience and judgment.
- Time Investment: Dry curing can be quicker but demands frequent monitoring and draining of excess liquid. The equilibrium method takes longer but requires less maintenance.
- Salt Usage: You'll use more salt with dry curing, leading to potential waste, whereas equilibrium curing uses exactly what's needed.
- Results Consistency: Equilibrium curing delivers consistent results every time, while dry curing can be less predictable.
Both methods require flipping the meat every 3-5 days for even distribution.
If you're new to curing venison, the equilibrium method offers a more foolproof approach, though it takes longer. For smaller cuts where time is essential, dry curing might be your better option.
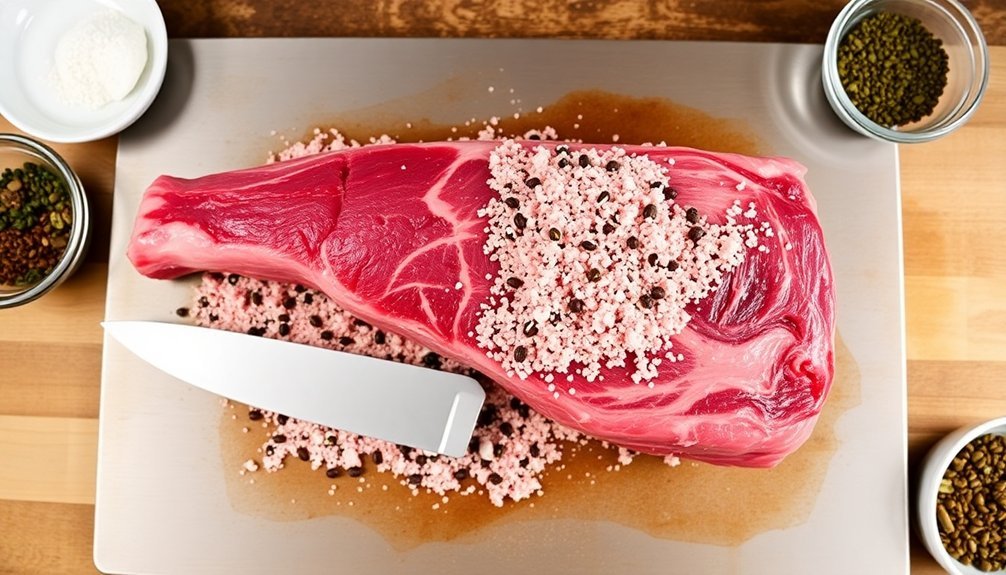
Applying Curing Salts Safely

Safe handling of curing salts stands as a critical first step in preserving your venison. When working with curing salts, you'll need to follow precise measurements to guarantee both safety and effectiveness. For 6-10 pounds of venison, use 3 ounces of pink salt (if desired) combined with 3 cups of Kosher salt, or follow the standard ratio of 1 teaspoon of pink salt per 5 pounds of meat.
Always purchase your curing salts from legitimate suppliers to avoid improperly mixed products. You'll want to maintain a temperature between 36-40°F throughout the curing process and use non-corrosive containers for storage.
When applying the cure, you've got two main options: injection or surface application. The injection method speeds up the process and can reduce curing time to 24 hours, while surface application requires repeated applications every 3-5 days.
Monitor your curing meat daily for any discoloration or excess liquid formation, as these can indicate problems with the cure. Remember that sodium nitrite can be toxic in large amounts, so precise measurements aren't just recommended – they're essential for your safety.
Monitoring Temperature and Humidity
You'll need to maintain your curing chamber at temperatures under 41°F (5°C) and humidity levels between 68-75% to guarantee proper salt penetration while preventing spoilage.
Set up your WiFi-enabled controllers to alert you of any fluctuations outside these ranges, and calibrate them regularly using reference instruments for accuracy.
Keep a daily log of temperature and humidity readings, along with weight measurements, to track your venison's curing progress effectively.
Ideal Temperature Range Settings
Maintaining proper temperature and humidity levels stands as the cornerstone of successful venison curing.
You'll need to adapt your settings based on whether you're using a dry or wet curing method. For dry curing, keep your chamber at a near-constant 58°F with 83% humidity, guaranteeing proper air circulation for even moisture distribution.
If you're wet curing your venison, maintain temperatures below 42°F in your refrigerator, where humidity becomes less critical due to the meat's submersion in brine.
Let your brine cool completely before adding the meat, and check regularly to ascertain full submersion.
- For dry curing chambers: Set temperature to 50°F and humidity to 75%
- For wet curing: Keep refrigeration below 42°F consistently
- For general storage: Use refrigerator settings during extended curing periods
- For monitoring: Install digital thermometers and hygrometers for precise control
You'll want to track these measurements consistently using proper equipment.
Remember that temperature fluctuations can compromise your venison's safety and quality.
Install adequate ventilation in your curing space to prevent moisture buildup, and weigh your meat regularly to monitor the curing progress.
Humidity Control Made Simple
Mastery of humidity control lies at the heart of successful venison curing. You'll need to maintain humidity levels between 60% and 70% to achieve the perfect texture and enhance flavor development. This range guarantees your venison won't dry out too quickly while preventing harmful bacteria growth that occurs above 70% humidity.
To control humidity effectively, you'll want to set up proper air circulation in your curing chamber. Install an exhaust fan to reduce excess moisture when needed, and monitor humidity levels regularly.
Don't rely on wet salt trays in high-humidity environments, as they're often ineffective. Instead, focus on creating a controlled environment with consistent airflow.
The impact of proper humidity control on your venison can't be overstated. When you maintain the right levels, enzymes break down proteins and fats properly, developing complex flavors while guaranteeing food safety.
You'll know you're on the right track when the meat cures evenly and develops the desired texture. Remember to check humidity readings daily and adjust your ventilation accordingly.
If levels drop below 60%, your venison might become too dry and tough, while excessive humidity can lead to spoilage.
Daily Monitoring Best Practices
Successful venison curing demands a vigilant eye on both temperature and humidity levels throughout the process. You'll need to maintain temperatures between 38°F and 41°F (3°C and 5°C) while checking for any signs of moisture buildup or spoilage. Daily monitoring guarantees you catch potential issues before they compromise your meat's quality.
- Check temperature readings at least twice daily, using a reliable thermometer to verify your refrigeration system is maintaining the ideal 38-41°F range.
- Inspect the meat's surface for any unusual color changes, off-odors, or visible mold growth.
- Verify salt penetration progress by observing the meat's color and consistency changes.
- Document temperature and humidity readings in a log to track patterns and identify potential issues.
When monitoring your curing venison, you'll want to pay attention to the meat's exposure to air circulation while making sure it remains properly covered in salt or submerged in brine.
If you notice any concerning changes, take immediate action. Remember to use clean hands and sanitized tools whenever handling the meat, and don't hesitate to discard any portions that show signs of spoilage.
Consistent monitoring helps guarantee a safe, high-quality final product.
Signs of Successful Curing
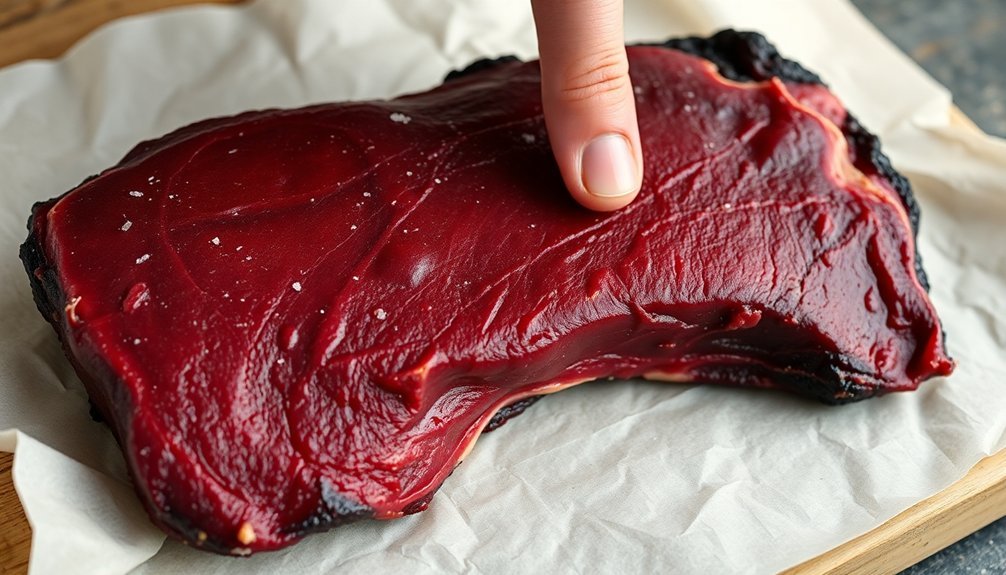
When salt-curing venison, you'll need to monitor several key indicators to guarantee the process is working correctly. First, watch for proper moisture reduction – your meat should lose about 30% of its original weight and feel dry, not tacky, to the touch. You shouldn't see any excess liquid or slime on the surface.
Pay close attention to the meat's appearance. Look for a uniform reddish or pinkish color throughout, with no green, gray, or abnormal discolorations. The texture should become firmer and denser as curing progresses, and you shouldn't spot any mold growth. The fat should maintain a fresh, healthy appearance without signs of oxidation.
Your nose is an essential tool in detecting successful curing. The venison should develop a pleasant, savory aroma with earthy undertones. If you detect any ammonia, sour, or strong chemical smells, something's wrong.
Finally, check the meat's weight and flexibility. You'll want to see significant, evenly distributed weight loss. The meat should feel slightly flexible but firm, without any soft or squishy spots.
Once cured, your venison should maintain a stable condition without signs of deterioration.
Common Troubleshooting Tips
Troubleshooting common issues in venison curing starts with preventing surface mold by maintaining proper humidity levels and ensuring adequate air circulation around your meat.
You'll need to address uneven salt distribution by thoroughly massaging the cure into the meat and rotating pieces regularly during the curing process.
If you're experiencing excessive drying, you can adjust your curing environment's humidity or slightly reduce the curing time while still maintaining food safety standards.
Preventing Surface Mold Growth
Managing surface mold during venison curing requires a delicate balance of environmental factors and preventive measures. You'll need to maintain specific conditions in your curing chamber, with temperatures around 53-55°F (12-13°C) and relative humidity between 76-78% to control mold development effectively.
- Monitor your chamber's air circulation closely and adjust ventilation as needed to prevent unwanted fuzzy white mold from forming.
- Apply Mold 600 (Penicillium nalgiovense) solution after initial drying, ensuring complete coverage while letting excess drip off.
- Use fresh Mold 600 for each new batch to maintain quality and prevent bad mold growth.
- Keep vinegar handy for removing any undesirable mold that appears during the curing process.
If you're struggling with persistent mold issues, consider using potassium sorbate as an alternative control method. Mix it in a 1:10 ratio with water and apply it to the meat's surface through spraying or dipping.
Don't wipe off the solution; let it dry naturally on the surface. If mold returns, you can reapply the solution as needed.
Remember to avoid spraying directly into your curing chamber, as this can create conditions that promote unwanted mold growth.
Addressing Uneven Salt Distribution
During the curing process, uneven salt distribution can lead to inconsistent flavor and potential food safety issues in your venison. To prevent this, you'll need to focus on proper technique and monitoring throughout the curing process.
If you're using a wet cure, make certain your venison is completely submerged in the brine solution and turn it regularly to achieve uniform coverage. Maintain a consistent salt concentration in your brine and keep the meat submerged long enough for proper penetration.
For dry curing, coat the meat evenly until no more salt will stick to the surface, then wrap and press it firmly to eliminate air pockets.
You'll want to maintain a consistent temperature between 35°F-38°F in your curing room and use the correct ratio of pink salt to meat weight (1 teaspoon per 5 pounds). Consider using cure accelerators like ascorbate to improve distribution, and if you're working with larger cuts, injection methods such as stitch pumping can help make sure even distribution throughout the meat.
Monitor salt levels regularly and adjust as needed. Don't rush the process – proper curing times vary from days to weeks depending on your chosen method and cut size.
Managing Excessive Drying
If you're noticing your venison becoming too dry during the curing process, you'll need to take immediate action to prevent the meat from becoming tough and unpalatable. The key to managing moisture levels lies in careful monitoring and environmental control. You can maintain ideal moisture by keeping temperatures below 35°F (2°C) and using a hygrometer to track humidity levels in your curing space.
- Check your meat's progress daily through visual inspection and touch tests – the surface should feel firm but not hard, and watch for excessive shrinkage or darkening.
- Track the meat's weight throughout the curing process to detect unusual moisture loss.
- Wrap your venison tightly or seal it in curing bags to prevent unnecessary moisture loss.
- Turn the meat regularly to guarantee even exposure to the curing environment.
For immediate intervention, you can adjust your approach by implementing humidity controls or modifying your wrapping technique. If you're using a dry-curing method and experiencing excessive drying, consider switching to equilibrium curing, which offers better moisture control.
Remember that thicker cuts naturally resist over-drying, so you'll need to be especially vigilant with thinner pieces.
Storage and Preservation Methods
Several effective methods exist for preserving venison long-term, including salt-curing, freezing, and canning. Salt-curing creates a shelf-stable product that can last indefinitely when properly stored in a cool, dark place. After the initial curing period, you'll need to hang the meat until it loses about 30% of its original weight for raw consumption, though a shorter period of five days is sufficient if you're making bacon.
If you're freezing your venison, you'll want to trim away connective tissue and fat first. While ground venison keeps for 6-9 months, whole cuts can maintain quality for up to a year at 0°F. For canning, you'll need a pressure canner, as venison is a low-acid meat.
| Method | Processing Time | Storage Life |
|---|---|---|
| Salt-Curing | 5-14 days initial cure | Indefinite if properly dried |
| Freezing | Immediate | 6-12 months |
| Canning | 75-90 minutes | 2-3 years |
| Fresh | None | 3-5 days refrigerated |
Remember to check salt-cured meat regularly for mold, and if it's too salty, soak it in water for an hour before use.
Best Serving Practices
- Pair with horseradish mustard or cream cheese to complement the meat's rich flavor.
- Include crusty bread or crackers for textural contrast.
- Add pickled vegetables or olives to balance the saltiness.
- Incorporate it into a charcuterie board with cheeses, nuts, and fresh fruits.
You can enhance the flavor profile by incorporating specialty ingredients during the curing process, such as juniper berries, pink peppercorns, or smoked salt.
For a more portable option, consider slicing and dehydrating the meat jerky-style, or cold smoking the whole loin for added depth.
Whether you're serving it as an elegant appetizer or packing it for a field snack, your cured venison will maintain its quality when properly prepared and presented.
Frequently Asked Questions
Can I Cure Venison That Was Previously Frozen?
Yes, you can cure previously frozen venison. Just thaw it completely in your refrigerator, pat it dry, and proceed with your preferred curing method. Make sure you're using nitrates and maintaining proper temperature control.
How Does Salt-Cured Venison Taste Compared to Fresh Venison?
You'll notice salt-cured venison tastes saltier and more concentrated than fresh venison. It's less gamey, has a firmer texture, and offers complex flavors from added spices, while fresh venison's more tender and natural-tasting.
Will Curing Affect the Gamey Flavor of Wild-Harvested Venison?
Yes, curing will greatly reduce your venison's gamey flavor. You'll notice the salt breaks down muscle fibers and draws out moisture, while also allowing seasonings to penetrate the meat, creating a milder, more balanced taste.
Can I Mix Different Types of Meat While Curing?
You shouldn't mix different meats while curing, as they'll cure at different rates. It's best to cure each type separately to guarantee proper preservation, consistent flavor, and avoid the risk of spoilage.
Is It Safe to Cure Venison From Deer With Chronic Wasting Disease?
You shouldn't cure or consume venison from CWD-positive deer. The CDC advises against eating infected meat, and curing won't destroy the prions. Don't risk your health – only use venison that's tested negative.
In Summary
You've now learned the fundamentals of salt-curing venison. By following proper safety protocols, maintaining ideal temperature conditions, and using the right salt ratios, you'll create a delectable preserved meat. Don't forget to monitor the curing process closely and store your finished product correctly. With practice, you'll master this traditional preservation method and enjoy your homemade cured venison throughout the year.


Leave a Reply