Successful cheese pressing relies on both proper equipment and time-tested techniques. You'll need a quality press made of maple hardwood or stainless steel, along with essential tools like pressure gauges, drip trays, and food-grade molds. Start by calculating the right pressure for your cheese type – soft cheeses need minimal pressure while hard varieties require up to 250 pounds of force. Always wrap curds in dampened cheesecloth, distribute them evenly, and follow recipe-specific timing for pressure adjustments. Remember to flip and re-wrap during pressing to maintain shape. Master these foundational methods, and you'll reveal the secrets of perfectly pressed artisanal cheese.
Essential Cheese Pressing Equipment
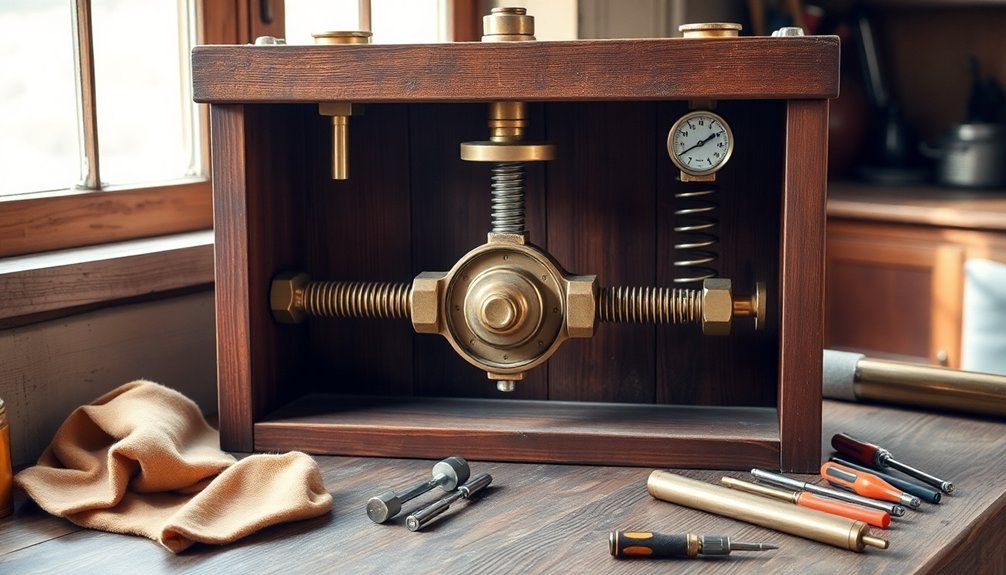
Setting up your cheese pressing station starts with gathering the right equipment.
You'll need a high-quality cheese press made from durable materials like maple hardwood or stainless steel, equipped with a pressure gauge that can measure between 0-80 lbs or up to 250 lbs of force. Look for models with rubber feet to protect your countertops and stainless steel springs for automatic pressure regulation. Natural bristle brushes are recommended for any waxing needs during the aging process.
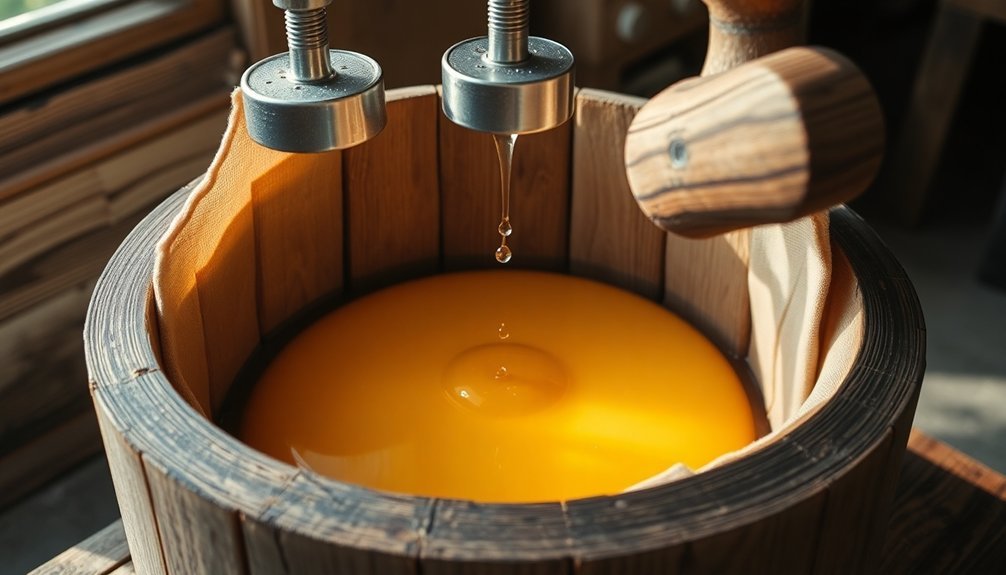
A stainless steel drip tray is vital for managing whey drainage during the pressing process. You'll want to position it under your cheese mold to direct whey into a pan or sink, keeping your workspace clean and organized.
For the actual molding, you'll need polypropylene followers and appropriate molds made from food-grade materials. These can be hard cheese molds, baskets, or shaped molds depending on your cheese variety.
Don't forget the supporting tools that make pressing possible.
You'll need a reliable thermometer for temperature monitoring, a skimmer or slotted spoon for curd handling, and measuring equipment made from glass or stainless steel. A colander and butter muslin or cheesecloth are essential for proper curd drainage before pressing begins.
Traditional Press Types
Traditional cheese presses come in several distinct varieties, each offering unique advantages for the artisanal cheesemaker. The Dutch style press, known for its versatility, combines weight and leverage to deliver adjustable pressure levels suitable for various cheese types.
You'll find this press particularly effective for home cheese making due to its straightforward operation and reliable results. Higher moisture cheeses require less initial pressure to prevent damaging their delicate structure.
If you're looking for consistent pressure without frequent adjustments, you might prefer a spring-loaded press. These mechanisms maintain uniform pressure distribution across your cheese curds and work well for both small and large batches.
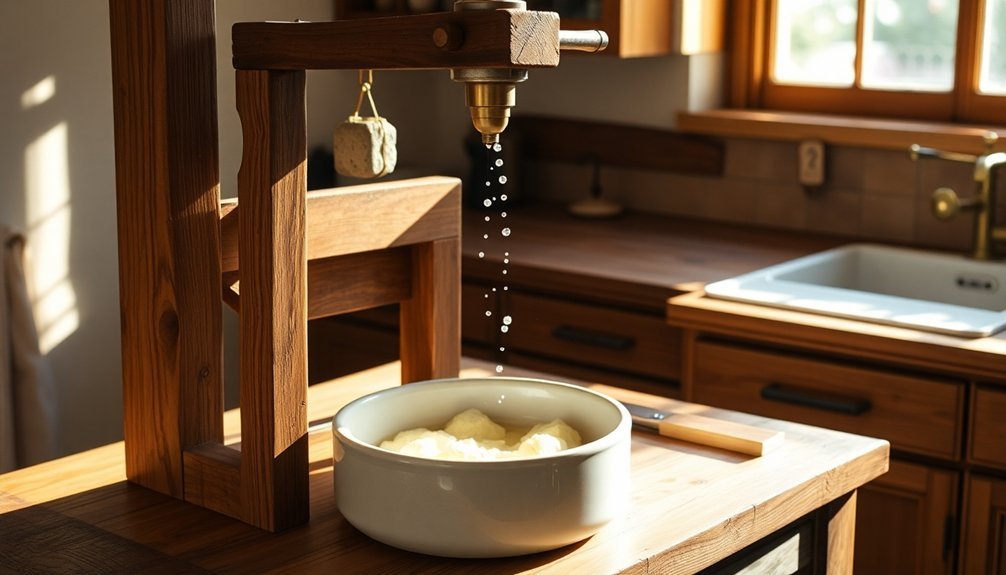
For budget-conscious makers, DIY presses offer a practical alternative. You can craft them from common materials like PVC pipes, boards, and household weights, customizing the design to match your specific cheese-making needs.
Manual and weight-based presses represent the most traditional approach. While they require more attention and time investment, they give you complete control over the pressing process.
You'll need to carefully monitor and adjust the pressure levels to achieve ideal results, especially when making cheeses that demand extended pressing periods.
Mastering Weight and Pressure Control
Calculating the right pressure for cheese pressing requires a careful balance of weight, leverage, and timing. You'll need to understand your press's minimum force (Pm) and how to adjust it using the leverage formula C × D1 = W × D2. If your recipe calls for 10 pounds of pressure and your press already contributes 3 pounds, you'll need to add 7 pounds of additional weight.
Using water-filled jugs allows for more precise weight adjustments than fixed weights. For precise pressure control, consider these essential factors:
- Your press's base weight affects lower pressing forces more markedly than higher ones
- The distance ratio between pivot points determines the leverage multiplication
- Cheese size influences the required pressure for even distribution
- Recipe-specific timing and pressure changes must be followed exactly
- Moisture content goals determine your final pressure requirements
When pressing harder cheeses, you'll need higher pressure to expel more moisture. For soft and semi-soft varieties, you'll want minimal pressure to maintain moisture content.
Remember to use a follower that fits snugly in your mold to distribute pressure evenly. As you adjust weights and flip the cheese, maintain consistent pressure according to your recipe's specifications to achieve the desired texture and density.
The Art of Pressing Stages
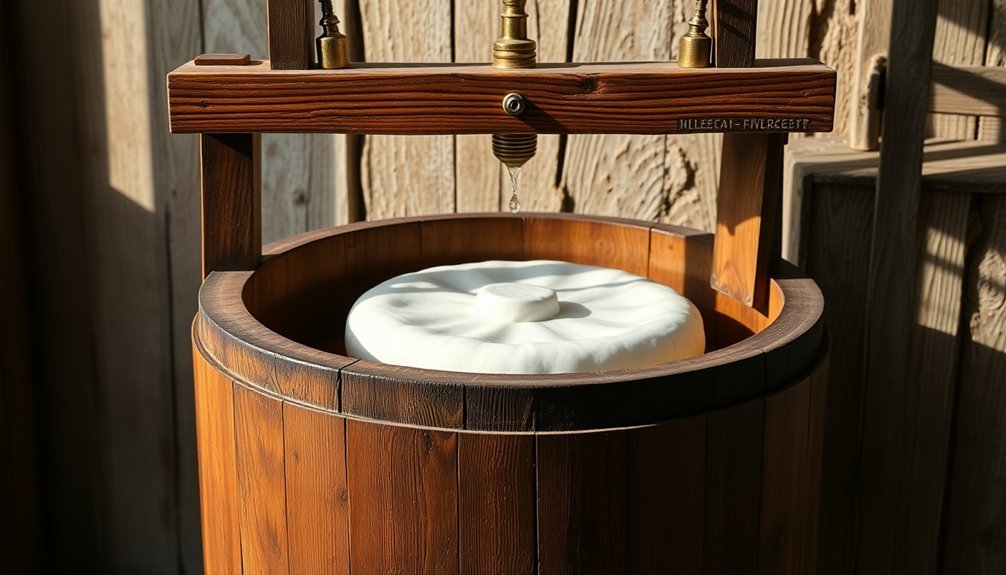
Successful cheese pressing involves a series of carefully orchestrated stages that build upon each other. You'll start by preparing your mold with dampened cheesecloth, ensuring it's lined properly to prevent surface indentations. As you add the curds, distribute them evenly while pulling the cloth taut to eliminate unwanted folds and bunches.
Once you've filled the mold, you'll need to fold the cloth's tails over the top and place the follower to distribute pressure evenly. You must follow your recipe's specific pressure requirements and timing precisely. Throughout the pressing process, you'll flip and re-wrap the cheese several times, always handling it with care to maintain its shape.
Monitor the pressing stages closely, checking that pressure remains uniform and adjusting as needed. You'll know you're on track when you see whey consistently draining into the collection tray.
After the final pressing, carefully remove your cheese from the mold and prepare it for the next steps, whether that's air-drying, brining, or waxing. Remember that each stage builds the foundation for proper aging, so attention to detail during pressing is essential for your cheese's final texture and quality.
Hard Versus Soft Pressing Techniques
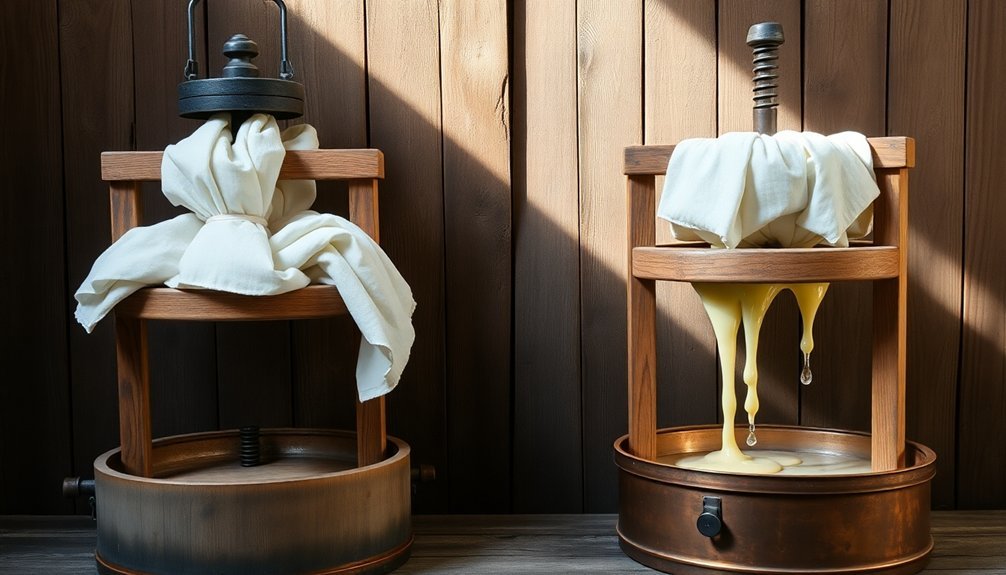
The fundamental difference between hard and soft cheese pressing lies in the amount of pressure applied and the overall handling approach.
When you're making hard cheeses like cheddar or gouda, you'll need substantial pressure (25-45 psi) using either a Dutch style press or spring-loaded press to achieve the proper texture and moisture content. The process requires careful pressure adjustment over time, starting lower and gradually increasing to guarantee proper curd fusion.
In contrast, soft cheeses demand a gentler touch. You won't need a press for varieties like brie or ricotta, as they rely on natural drainage rather than forced pressure. The focus shifts from active pressing to patient waiting, allowing the whey to separate naturally from the curds.
Key differences you'll encounter between hard and soft cheese pressing:
- Hard cheeses require specialized pressing equipment, while soft cheeses often need only basic draining forms
- Pressure application ranges from firm (hard) to minimal or none (soft)
- Hard cheeses use cheesecloth and followers, soft cheeses typically don't
- Temperature control is essential for hard cheese pressing, less critical for soft
- Post-pressing care varies considerably, with hard cheeses needing more extensive aging and maintenance
Common Pressing Problems and Solutions
Making great cheese requires skillful pressing techniques, but even experienced cheesemakers encounter common pressing problems. You'll often face issues with crumbly textures and uneven pressing, which typically stem from applying too much initial pressure. To prevent this, start with lighter pressure and gradually increase it while guaranteeing your curds are warm enough to knit properly.
If you're seeing curds that won't stick together, you'll need to verify they pass the squeeze test before pressing – they should form peaks between your fingers but break apart when rubbed. When curds are too dry or haven't properly knitted, you'll notice them crumbling during handling. You can fix surface gaps by dipping the pressed cheese in hot water and re-pressing.
Watch out for mechanical holes caused by trapped whey. Let your curds drain naturally until they're only dripping before applying pressure. Readjust pressure every 15-30 minutes as the curds compress.
If you're battling mold growth, guarantee your cheese surface remains smooth and tight. Using a salt brine can help prevent cheesecloth from embedding into the rind and control unwanted mold development in any surface imperfections.
Maintaining Your Cheese Press Tools
Proper maintenance of your cheese press tools guarantees consistent results and extends their lifespan. You'll need to establish a routine that includes daily cleaning, regular inspections, and proper storage practices to keep your equipment in top condition.
After each use, disassemble your press completely and clean all components with lukewarm water and mild detergent. Don't use hot water, as it can cause residues to stick. Once cleaned, sanitize all parts with a food-safe solution and let them air dry thoroughly before reassembly.
To make certain your cheese press remains reliable, implement these essential maintenance practices:
- Lubricate moving parts with food-safe lubricant according to manufacturer guidelines
- Check and tighten all screws, nuts, and bolts regularly
- Release tension on springs when the press isn't in use
- Apply food-grade mineral oil to wooden components to prevent cracking
- Perform deep cleaning using baking soda paste for stubborn buildup
Store your press in a clean, dry area away from humidity and direct sunlight. Cover it with a clean cloth to prevent dust accumulation, and keep all components together for easy access.
Remember to inspect for wear before each use, replacing parts as needed to maintain consistent pressure.
Frequently Asked Questions
Can I Reuse Cheesecloth for Multiple Batches of Pressed Cheese?
Yes, you can reuse cheesecloth for multiple cheese batches. Just wash it in hot, soapy water, sanitize by boiling for 5 minutes, and air dry. With proper care, higher-grade cheesecloth lasts several uses.
How Long Should I Age My Pressed Cheese Before Eating?
You'll need to age your cheese based on its type: mozzarella needs 30 days, Muenster 5-7 weeks, and Colby 1-3 months. For cheddar, wait 2-3 months for mild, or up to 7 years for sharp.
What Causes Dark Spots or Discoloration During the Pressing Process?
If you're seeing dark spots during pressing, they're likely caused by trapped air pockets, improper moisture distribution, or bacterial growth. You'll want to guarantee even pressure and proper sanitization to prevent discoloration issues.
Does Room Temperature Affect the Cheese Pressing Results?
Yes, your room temperature greatly impacts pressing results. You'll need to maintain temperatures above 27°C (81°F) for proper curd binding, acid development, and texture. Cold rooms can cause uneven textures and trapped whey.
Can I Press Cheese Without Using Traditional Molds?
Yes, you can use alternative containers like mason jars, cake tins, or food-grade plastic containers as cheese molds. Just guarantee they're clean, have proper drainage, and you can apply consistent pressure through weights.
In Summary
You'll find that mastering traditional cheese pressing elevates your cheesemaking to new heights. Whether you're using a simple weight system or a mechanical press, the key lies in understanding pressure control and timing. Keep your equipment clean, maintain consistent pressure, and don't rush the process. With practice and patience, you'll create perfectly pressed cheeses that reflect the timeless art of handcrafted cheesemaking.


Leave a Reply