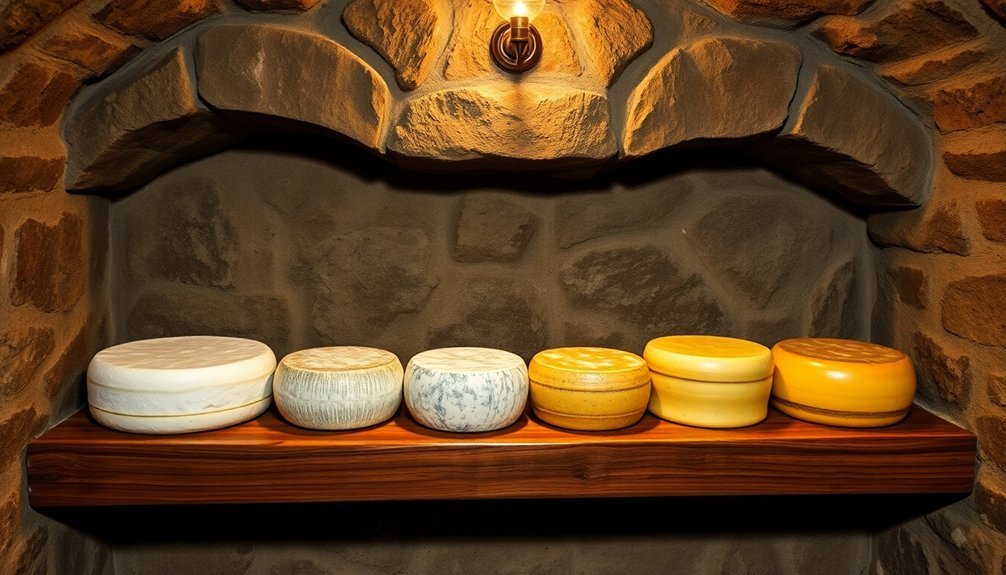
Building your own cheese cave at home is achievable with basic materials and careful planning. You'll need a north-facing basement or underground space that maintains temperatures between 45-55°F. Install closed-cell spray foam insulation (R-25 minimum) and vapor barriers to control moisture, then add stucco finish for easy cleaning. Set up reliable monitoring tools like hygrometers and thermometers to track conditions, and maintain humidity levels between 70-90%. Use pine or ash wood shelving for proper storage, and guarantee gentle air circulation with a simple ventilation system. For less than $200, you can create a professional-grade aging space – there's much more to discover about perfecting your cave's environment.
Choosing Your Cave Location
A well-planned cheese cave location can make or break your aging success. To create ideal conditions, you'll want to focus on the north side of your property or structure, where you won't have to battle unwanted solar heat gain.
Building below grade is your best option, as it takes advantage of the earth's natural cooling properties and helps maintain consistent temperatures. The ideal temperature range of 45 to 55 degrees Fahrenheit should be consistently maintained for proper aging.
If you're working with an existing structure, a basement can serve as an effective cheese cave, provided it maintains temperatures below 60°F with minimal fluctuations. Your chosen location must be well-insulated from nearby heated spaces to prevent temperature interference.
Look for a spot that's easily accessible but doesn't experience heavy foot traffic, as frequent entering and exiting can disrupt the delicate environmental balance.
Consider the space's ability to accommodate proper air exchange systems and monitoring equipment. You'll need room for shelving while keeping the area compact enough to maintain consistent humidity levels between 75% and 99%.
The location should also allow for the installation of moisture management systems, whether through naturally permeable walls or artificial humidification. If natural conditions aren't ideal, make certain there's space for supplemental cooling or heating units.
Essential Equipment and Materials
You'll need reliable monitoring tools, including a quality hygrometer and thermometer, to track the humidity and temperature levels in your cheese cave.
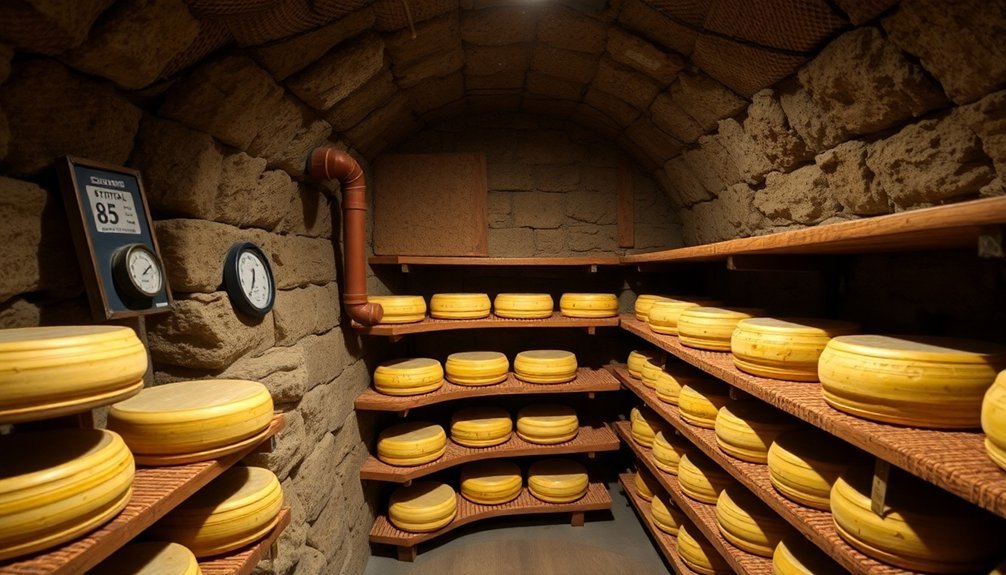
Install sturdy shelving made from pine or ash wood, as these materials won't stain your cheese during the aging process.
When setting up your storage system, make sure your shelves allow proper air circulation by leaving adequate space between each level and the wall. The total investment for creating a functional cheese cave is approximately under $200, making it an affordable DIY project.
Monitoring Tools and Gauges
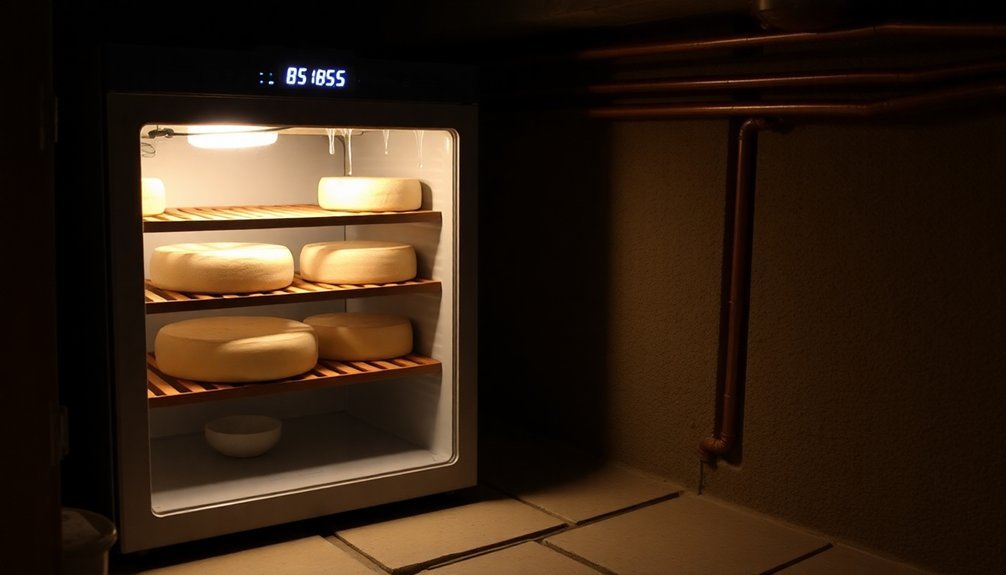
Several essential monitoring tools and gauges are crucial for maintaining the precise conditions needed in your cheese cave. You'll need an external thermostatic control with a sensor bulb installed inside the refrigerator to monitor temperatures between 50-55°F. For humidity monitoring, a cigar humidor hygrometer offers an affordable solution to track levels between 70-90%. Proper calibration and maintenance ensures your aged cheeses develop properly.
A humidity and temperature controller, like Zoo Med's Hygrotherm, will help you maintain stable conditions. You'll want to connect the controller's sensor lead inside the fridge and secure all cables properly to prevent damage. For additional verification, use a digital thermometer and remote weather station to track historical data.
| Tool | Purpose |
|---|---|
| External Thermostat | Controls temperature and power cycling |
| Hygrometer | Measures humidity levels |
| Digital Thermometer | Verifies temperature readings |
| Humidity Controller | Maintains consistent moisture levels |
| Remote Weather Station | Tracks historical environmental data |
Check your readings twice daily and adjust settings as needed based on your specific cheese type. Keep the environment clean and minimize door gaps to maintain your carefully controlled conditions.
Storage Shelves and Supports
Proper storage shelves and supports serve as the foundation of a successful cheese cave setup. You'll need to use a combination of tight pine and ash wood boards, with pine being particularly effective for moisture absorption during the drying process.
Select boards that are 3/4" thick for cheeses under 10 pounds, but opt for thicker shelves if you're aging heavier varieties.
When constructing your shelves, pre-drill holes and use small brass nails for assembly. You can incorporate dowel rods for sides and supports, ensuring the wooden components have been air-dried for several seasons before use.
Avoid pine boards with numerous knots or resin spots, as these can stain your cheese.
To maximize airflow, maintain adequate spacing between cheese rows and walls. Place cheese mats underneath each wheel to promote proper air circulation, especially vital for aged cheeses with firm rinds.
If you're planning to stack cheeses, only do so with very firm, dry varieties. For efficient transport, consider building deeper racks that can hold multiple boards at right angles.
Remember to keep proper spacing between shelves to prevent mold growth from poor air circulation.
Humidity and Temperature Management
Successfully aging cheese depends heavily on precise control of both humidity and temperature levels within your cheese cave.
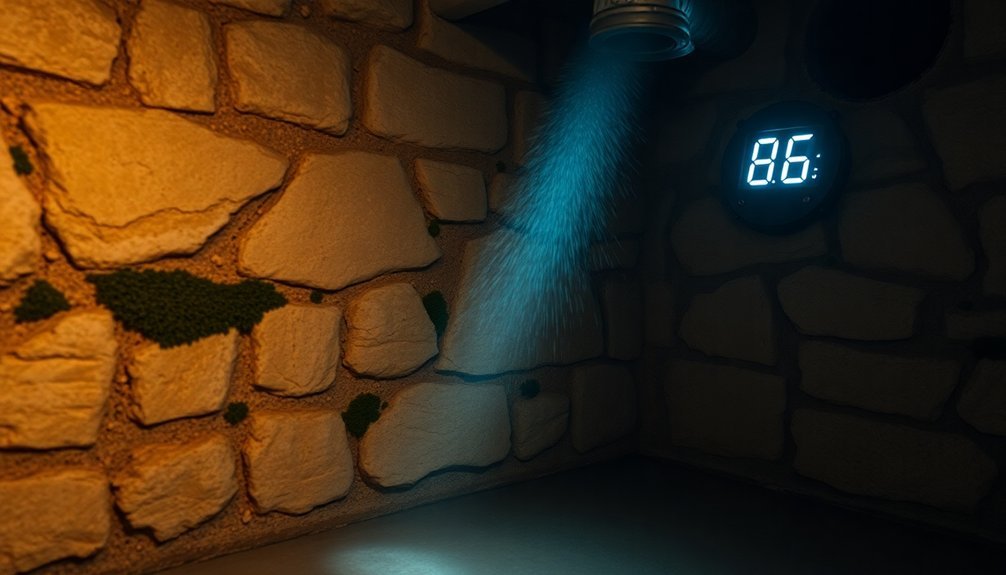
You'll need to maintain humidity between 70% to 90% and keep temperatures at 10-13°C (50-55°F) for ideal results. Install a digital hygrometer thermometer to monitor both conditions consistently.
To manage humidity, you've got several effective options. You can use humidifiers with ultrasonic misting technology, set up a fountain mister, or place water trays in your cave.
For precise control, consider using a saturated salt solution like sodium chloride, which maintains humidity around 75%. If you need quick adjustments, damp paper towels or sponges can boost moisture levels temporarily.
Temperature control starts with proper cave location – choose a spot that minimizes solar gain, preferably on the north side of your structure.
You'll want to insulate walls and ceilings thoroughly to maintain stable temperatures. Install a temperature controller to regulate conditions automatically, and if necessary, add heating or cooling units.
Don't forget to use containers with adjustable vents for your cheese storage, and clean your cave regularly to prevent unwanted mold growth.
Proper Airflow and Ventilation
Your cheese cave's ventilation system needs to move air gently from bottom to top, using PVC pipes and fans to control the flow without drying out your cheeses.
You'll want to install inlet pipes buried in the ground to pre-cool incoming air, along with outlet pipes fitted with goose neck caps to manage air exchange effectively.
Opening the door periodically and using filtered vents will help maintain fresh air circulation while removing unwanted gases and preventing mold buildup.
Airflow Direction and Speed
Inside a cheese cave, air movement and direction play essential roles in successful aging. You'll want to maintain a gentle breeze that's strong enough to prevent mold buildup but not so powerful that it dries out your cheese. The ideal air velocity typically ranges from 0 to 1.3 feet per second, depending on your cheese type.
To achieve proper airflow, you can use small computer fans or muffin fans if your humidifier doesn't include one. Position these to create consistent air movement across each cheese piece, and remember to rotate your cheeses on the racks regularly to prevent dead spots.
The air should flow evenly throughout your cave, avoiding any temperature or humidity stratification.
You'll need to exchange stale air with fresh air to remove CO2 and ammonia buildup. For small caves, opening the door once or twice daily is sufficient. In larger setups, consider installing filtered air intakes. You can even use buried PVC pipes to bring in geothermally regulated fresh air.
The key is maintaining uniform conditions while ensuring your cheeses receive adequate ventilation without experiencing excessive air movement.
Ventilation System Components
A complete ventilation system encompasses several interconnected components that work together to maintain ideal cheese aging conditions.
You'll need to start with a filtered air intake system that prevents contaminants from entering your cave while allowing fresh air to circulate. Install high-quality filters at the intake points and make certain they're easily accessible for regular maintenance.
For the exhaust component, you'll want to incorporate vents that efficiently remove unwanted gases like CO2 and ammonia. Pair these with controllable fans that you can adjust based on your cave's specific needs.
You'll also need a reliable humidifier with a built-in fan to maintain proper moisture levels between 85-95%. Choose models that don't produce steam to avoid over-humidification.
Temperature control components should include an air conditioner or mini-split system with a Coolbot for precise regulation between 50-55°F.
Don't forget to install monitoring devices throughout your cave: thermometers, hygrometers, and automated controllers to track and adjust conditions.
Position these components strategically to create a balanced airflow pattern that guarantees even distribution of temperature and humidity throughout your aging space.
Managing Fresh Air Exchange
Every successful cheese cave requires meticulous management of fresh air exchange to maintain excellent aging conditions. You'll need to guarantee proper circulation to remove harmful by-products like CO2 and ammonia while preventing mold buildup that can occur in stagnant areas.
For small caves, you can achieve adequate ventilation by opening the door once or twice daily. Larger spaces require a more systematic approach with filtered outside air introduction. Remember that gentle air movement is key – you don't want strong drafts that'll dry out your cheese.
Here's what you'll need to monitor for superior air exchange:
- Humidity levels using a reliable hygrometer
- Signs of excessive moisture or inadequate airflow around cheeses
- Temperature consistency throughout the cave
- Development of candidum on soft-ripened cheeses
- Any unwanted mold growth in corners or dead spots
Position your shelves to allow air circulation around each cheese, and consider seasonal adjustments to your ventilation routine.
If you're building from scratch, place your cave on a north-facing wall to maintain stable conditions. Install insulated doors to minimize environmental fluctuations, and guarantee your ventilation system matches your cave's size and cheese volume.
Cave Insulation Techniques
Proper insulation stands as the cornerstone of a successful cheese cave, determining your ability to maintain consistent temperature and humidity levels.
You'll want to start with closed cell spray foam, which provides excellent moisture resistance and thermal protection. Make certain to achieve a minimum R-25 rating to guarantee effective temperature control throughout your cave.
Apply a vapor barrier before adding your insulation to prevent moisture-related issues that could compromise your cave's integrity.
For the interior walls, consider using a stucco finish – it not only adds an extra layer of insulation but also makes cleaning and maintenance much easier.
Don't forget about your cave's door; use urethane sandwiched between plywood panels to create a well-insulated entrance point.
Position your cave below grade on the north side of your property to take advantage of natural cooling properties.
This placement helps you maintain stable temperatures by utilizing the earth's consistent temperature and avoiding unwanted solar gain.
Keep your cave isolated from other heated spaces to prevent temperature fluctuations that could affect your cheese aging process.
These strategic insulation choices will help you create ideal aging conditions while minimizing energy costs.
Shelving and Storage Setup
With your cave's insulation complete, setting up an effective shelving system becomes your next key task. Choose pine or ash boards for your shelves, as they're easy to clean and won't react with your cheeses. Avoid oak and maple, which can stain your precious wheels.
Whether you opt for traditional wooden shelves or cost-effective metal units, make certain they're equipped with leveling legs for stability.
Your storage setup should prioritize proper air circulation while maintaining ideal humidity levels. Install shelving units with adequate spacing between levels, and consider these essential storage principles:
- Use airtight containers with 40% cheese and 60% empty space for fridge storage
- Place wet paper towels in containers to regulate humidity
- Install vent pipes to remove CO2 and ammonia buildup
- Open your cave door daily to guarantee fresh air exchange
- Consider a Cheese Grotto with a humidifying clay block for precise humidity control
Don't forget to leave enough room between shelves for easy access and maintenance.
If you're working with a larger setup, you might want to incorporate filtered outside air and strip doors for controlled air movement. Remember, proper ventilation prevents slower growth of desired molds and guarantees ideal aging conditions.
Maintenance and Cleaning Protocols
Your cheese cave's longevity depends on a rigorous maintenance schedule and strict cleaning protocols.
You'll need to monitor temperatures twice daily using a reliable thermometer and maintain consistent levels with thermostats and precision cookers. Keep door openings minimal to prevent temperature fluctuations, and use water bottles as thermal mass to stabilize the environment.
Check humidity levels regularly with a hygrometer, aiming for 80-95%. You can adjust moisture by using a humidifier, water tray, or salt brine solution. If humidity rises too high, increase air circulation or employ a dehumidifier.
Don't forget to exchange air daily by opening the door briefly or using filtered ventilation systems to remove CO2 and ammonia.
Your cleaning routine should include regular sanitizing of all surfaces and tools. Scrub and air dry shelves periodically, and use salt or vinegar solutions to control unwanted mold growth.
When cleaning natural rind cheeses, brush them regularly and guarantee proper spacing between each wheel. Remember to maintain gentle air movement around your cheeses to prevent moisture accumulation and promote even aging conditions.
Frequently Asked Questions
How Long Can Different Types of Cheese Be Aged in a Home Cave?
You'll find aging times vary widely: soft cheeses like Brie need 2-4 weeks, semi-soft varieties like Muenster take 4-8 weeks, while hard cheeses like Parmesan require 10-24 months for ideal flavor development.
Can Multiple Cheese Varieties Be Aged Together in the Same Cave?
You can age similar cheese types together, but you'll need to separate hard from soft cheeses, and keep blue varieties isolated. For best results, group cheeses with similar aging times and maintenance needs.
What Signs Indicate Cheese Is Aging Improperly in the Cave?
You'll know your cheese is aging improperly if you notice cracks, unwanted mold growth, ammonia smells, off-flavors, slimy surfaces, uneven textures, or discoloration. Watch for these warning signs during the aging process.
How Do Power Outages Affect Cheese Aging in Climate-Controlled Caves?
Power outages will disrupt your cave's temperature, humidity, and ventilation controls. You'll face unstable conditions that can harm your aging cheese's quality and safety through improper bacterial growth and texture changes.
What Are the Typical Costs of Building and Maintaining a Cheese Cave?
You'll need $27,000-$50,000 for initial construction, plus $12,000-$25,000 for equipment. Ongoing costs include energy bills, maintenance ($1,000-3,000 annually), and regular cleaning supplies. Long-term equipment replacement should also be budgeted.
In Summary
Building your own cheese cave isn't as intimidating as you'd think. Once you've set up your location, installed proper ventilation, and mastered temperature and humidity control, you'll be ready to age your homemade cheeses to perfection. Remember to maintain regular cleaning schedules and monitor conditions daily. With patience and attention to detail, you'll soon be enjoying artisanal cheeses from your very own cave.


Leave a Reply