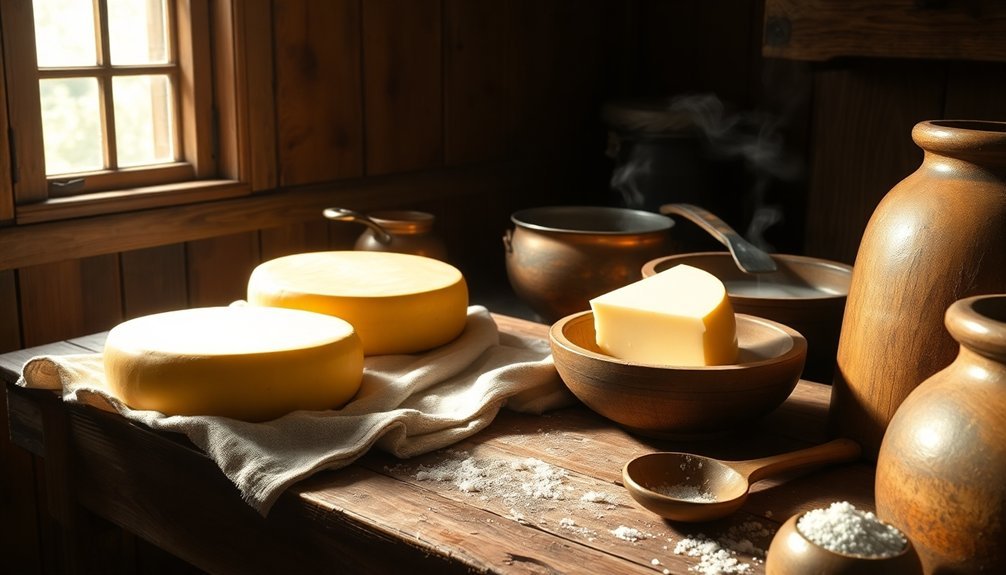
You'll need to master five key techniques to create authentic farmhouse cheese. Start by maintaining precise temperature control throughout the process, especially during critical phases like milk ripening and curd cooking. Next, perfect your curd cutting technique by waiting for full coagulation and making clean, uniform cuts. Apply proper pressing techniques with gradual pressure increases and regular flipping. Create an ideal drying environment with controlled temperature and humidity levels. Finally, select the right aging method for your cheese variety. These fundamental skills will transform your cheese-making from basic to artisanal.
Perfect Temperature Control Matters
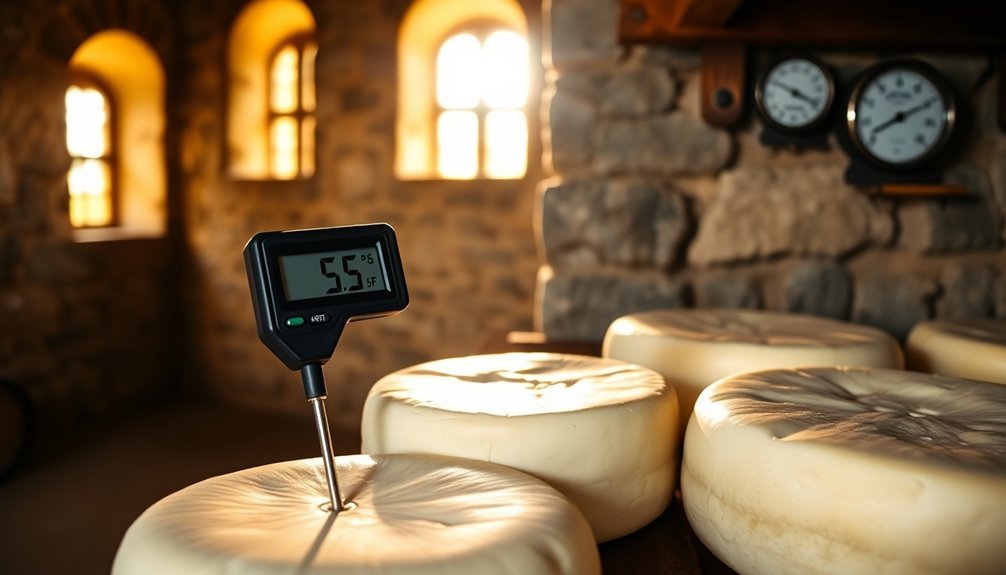
Throughout the cheese-making process, maintaining precise temperatures serves as the cornerstone of success. You'll need to carefully monitor different temperature ranges for each stage, from milk ripening at 20-30°C to curd cooking, which can reach up to 55°C depending on your cheese variety. Regular twice-daily monitoring helps ensure temperature consistency throughout each stage of production.
Your starter cultures won't thrive unless you maintain specific temperatures – mesophilic cultures need 30-32°C, while thermophilic ones require 42-45°C. When you're adding rennet, keep the temperature between 30-35°C to guarantee proper curd formation.
If you let temperatures rise above 40°C, you'll risk fat separation, and exceeding 60°C will denature proteins, ruining your cheese's texture and flavor.
To maintain these vital temperatures, you'll need reliable tools. Invest in an accurate thermometer and consider using a double boiler or water bath for gradual heating. If you're making larger batches, a temperature-controlled cheese vat will provide precise control.
Remember that the danger zone between 4°C and 60°C promotes rapid bacterial growth, so you'll need to work efficiently and monitor temperatures constantly. Using proper insulation for your cheese-making vessels will help maintain consistent temperatures throughout the process.
Master the Curd Cutting Technique
A cheesemaker's success hinges on mastering the crucial art of curd cutting. You'll need to wait until your milk has fully coagulated after adding rennet, then test the curd's firmness with a clean finger or knife. Use the flocculation method to determine the perfect cutting time for your specific cheese variety.
Start by making vertical cuts in one direction across your curd mass, then rotate your pot 90 degrees to create a perpendicular grid pattern. The size of your curds directly impacts the final cheese texture. Follow with horizontal cuts to achieve uniform cubic pieces. You'll want to use slow, steady movements to prevent shattering the curds. Keep your knife sharp and clean, and verify you're cutting through the entire depth.
For consistent results, follow your recipe's recommended curd size precisely. You can use a ruler or marked curd knife as a guide. After cutting, let the curds rest for a few minutes to allow their surfaces to harden.
Then, gently stir to separate the pieces and begin whey expulsion. For harder cheeses like Parmesan, you'll need to carefully reduce the curd size further using a whisk. Watch for the whey to change from white to greenish, indicating proper butterfat release.
Press With Patience
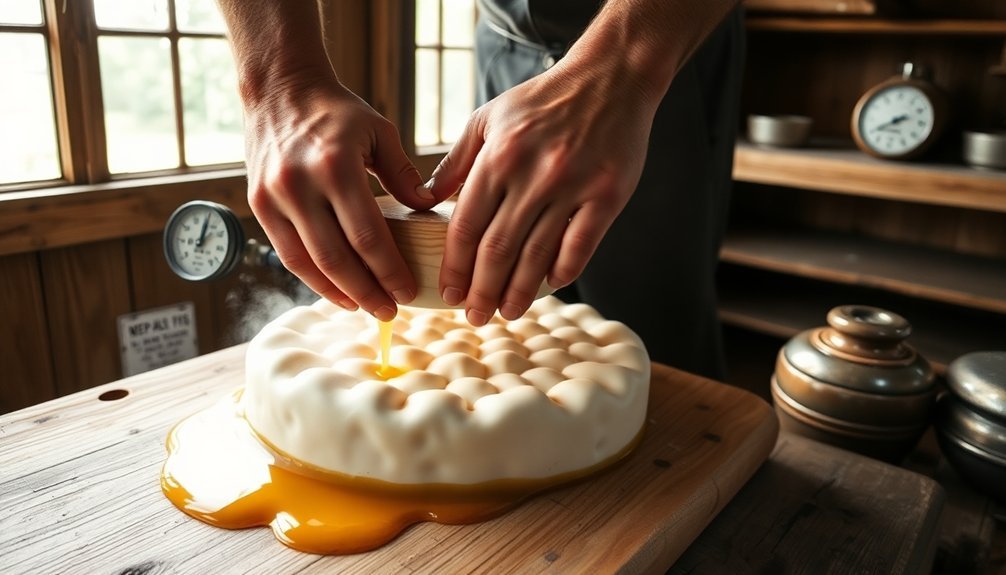
Pressing your farmhouse cheese demands careful attention to pressure and timing to achieve the perfect texture. Before you begin, line your cheese mold with cheesecloth and pack the warm curds firmly using the bottom of a glass. Make certain your curds are elevated to prevent them from sitting in the expelled whey. Traditional Lancaster County recipes typically achieve a soft, sweet texture through careful pressing techniques.
- Start with gentle pressure (2-10 psi) for the first 30 minutes to allow initial whey drainage without trapping moisture between curds.
- Increase pressure gradually every 20-30 minutes, adjusting based on your cheese size and type.
- Flip your cheese every 12 hours to guarantee even formation and proper curd knitting.
- Re-press for an additional 12 hours after the initial pressing period.
You'll need to monitor the whey drainage carefully – if you're making a firmer cheese, increase the pressure in stages, perhaps starting at 20 pounds for 30 minutes, then moving to 30 pounds for an hour.
Keep your pressing area clean and maintain consistent temperatures throughout the process. Remember that smaller cheeses typically need less pressure due to their reduced diameter, so adjust accordingly.
Monitor Your Drying Environment
Every successful farmhouse cheese requires precise environmental control during the drying phase.
You'll need to maintain temperatures between 50-55°F (10-13°C) and humidity levels of 75-85% for ideal results. Use a reliable thermometer that can measure below 100°F and a hygrometer to monitor these conditions consistently.
Your drying space should provide gentle air circulation while protecting the cheese from contaminants. Set up your aging area away from direct sunlight and heat sources – a cool basement or counter spot often works well for farmhouse cheddar.
Cover your cheese with breathable cheesecloth or a cloth napkin to protect it while allowing airflow.
Keep your drying environment clean and sanitized to prevent unwanted bacterial growth. You'll want to inspect your cheese regularly for signs of contamination and treat any moldy spots with apple cider vinegar.
If you're using a cheese cave or humidified container, guarantee proper ventilation by opening the door periodically to exchange fresh air.
To maintain consistent humidity, you can use a wet paper towel or a small humidifier, adjusting as needed based on your readings.
Choose Your Aging Method
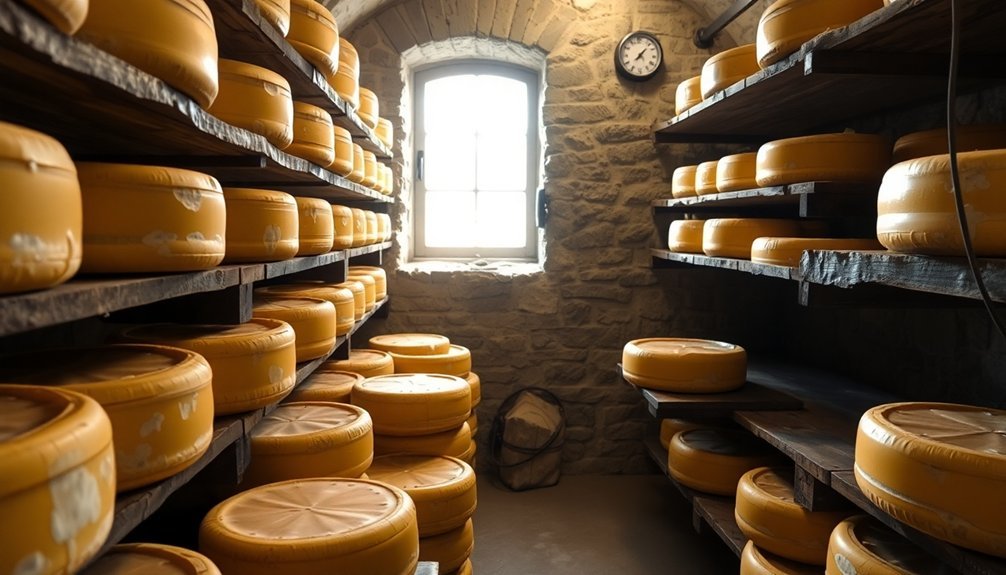
Once you've set up your ideal drying environment, selecting the right aging method will shape your cheese's final character and flavor profile.
You'll need to decide between surface ripening, interior ripening, or blue cheese aging, each offering distinct characteristics and requiring different techniques.
For farmhouse cheese making, consider these proven aging approaches:
1. Surface ripening works best if you're aiming for soft, creamy cheeses like Brie.
You'll need to regularly rub microorganisms on the surface and wash the cheese in saltwater brine, sometimes adding wine or spices for extra flavor complexity.
2. Interior ripening is your go-to method for firm cheeses like Cheddar.
You'll coat the cheese with wax to prevent oxygen exposure, allowing it to develop flavor from the inside out with minimal interference.
3. Blue cheese aging requires special attention to mold development.
You'll either inject Penicillium into the curd or let it develop naturally in a controlled environment.
4. Temperature control is essential regardless of your method.
Keep soft cheeses cooler (around 10°C) and firm cheeses slightly warmer (up to 15°C), always maintaining humidity above 80% for ideal aging.
Frequently Asked Questions
Can I Use Store-Bought Pasteurized Milk to Make Farmhouse Cheese?
Yes, you can use store-bought pasteurized milk, but make certain it's not ultra-pasteurized. Choose High Temperature Short Term (HTST) pasteurized milk and add calcium chloride to compensate for lost calcium during pasteurization.
How Do I Know if My Cheese Culture Is Still Active?
You'll know your cheese culture is active if it coagulates milk overnight. Check for milk thickening, measure pH levels for increased acidity, and look for visible curd formation within expected fermentation times.
What Causes Bitter Flavors in Farmhouse Cheese?
Your cheese can taste bitter when you've got excessive protein breakdown, high temperatures during aging, improper rennet usage, or bacterial contamination. Fat content and storage conditions also impact bitterness in your final product.
Can I Reuse Cheesecloth for Multiple Batches of Cheese?
Yes, you can reuse cheesecloth for multiple batches if you clean it properly. Just rinse it immediately after use, wash with mild detergent, boil to sterilize, and dry completely before storing in a clean bag.
Why Does My Cheese Develop Cracks During the Aging Process?
Your cheese may crack during aging due to rapid drying, incorrect curd temperatures, or acidic brine. You'll need to maintain proper moisture levels, consistent temperatures, and balanced pH to prevent surface cracking.
In Summary
You're now equipped with the core techniques to begin your farmhouse cheese-making journey. By mastering temperature control, perfecting your curd cutting, exercising patience during pressing, maintaining proper drying conditions, and selecting the right aging method, you'll create cheeses that rival artisanal varieties. Don't feel discouraged if your first attempts aren't perfect – cheese-making is an art that improves with practice and persistence.


Leave a Reply