Hand churning raw milk gives you control over creating pure, nutrient-rich butter without industrial processing or additives. You'll preserve essential vitamins A, D, E, and K while maintaining beneficial fatty acids and antimicrobial compounds that often get lost in commercial production. The traditional process connects you to centuries of culinary heritage and lets you adjust texture, flavor, and salt content to your preferences. You'll also get fresh buttermilk as a bonus product, packed with gut-friendly properties. With proper temperature control and quality raw milk, your hand-churned butter can last up to 45 days – discovering these time-tested techniques opens up a world of artisanal butter making.
Historical Significance of Hand Churning
Throughout human history, hand churning milk has played a vital role in dairy processing, particularly before the rise of industrial manufacturing. When you look at rural communities before the 1950s, you'll find that hand churning was an essential daily task that provided families with butter and buttermilk, two staple products in traditional diets.
You'll discover that the process evolved considerably over time. By the 1920s, if you were churning milk, you'd likely have used a staff or plunger churn, which made the task less demanding than earlier methods. The process would typically take 30-40 minutes of consistent movement, and you'd often need someone to relieve you due to fatigue.
The economic impact of hand churning can't be understated. If you were skilled at making butter, you'd have a valuable commodity to sell or trade. However, you'd face challenges getting your butter to urban markets, as the quality would often deteriorate during transport. Raw milk churning became a symbol of family wealth and sustenance, as cows were considered primary wealth producers in early American communities.
This led many larger farms to shift their production to creameries, though smaller farms continued the tradition of hand churning well into the mid-twentieth century.
Benefits of Traditional Butter Making
In light of modern food processing methods, traditional butter making stands out for its remarkable health and practical benefits. When you churn raw milk by hand, you'll preserve essential nutrients that commercial processing often destroys, including fat-soluble vitamins A, D, E, and K, as well as beneficial short and medium-chain fatty acids. Research by Weston A. Price in 1939 demonstrated that traditional butter-making methods contributed to exceptional health outcomes in diverse populations.
| Benefit Category | Key Advantages | Impact on Well-being |
|---|---|---|
| Nutritional | Rich in vitamins A, D, E, K2 | Supports bone health, vision, immunity |
| Quality Control | No additives or preservatives | Pure, fresh, customizable product |
| Practical Value | Complete processing control | Better texture and flavor profile |
You'll gain more than just butter through traditional churning. The process yields fresh buttermilk rich in beneficial gut flora, especially if you've cultured the cream. You'll have control over the entire process, from selecting high-quality raw cream to determining the salt content and texture. The butter you create will contain natural antimicrobial properties through lauric acid, and you can store it in the freezer for months. You're also ensuring maximum nutritional benefits since raw cream retains its full complement of trace minerals, including manganese, zinc, chromium, and selenium.
Essential Tools and Equipment
Successfully churning raw milk into butter depends heavily on having the right tools at your disposal.
You'll need to start with essential cream-separation tools, including skimmers with perforations that help you collect cream from the milk's surface. Traditional brass or earthenware skimmers work well, as do wooden versions like the fleeter or skimming ladle.
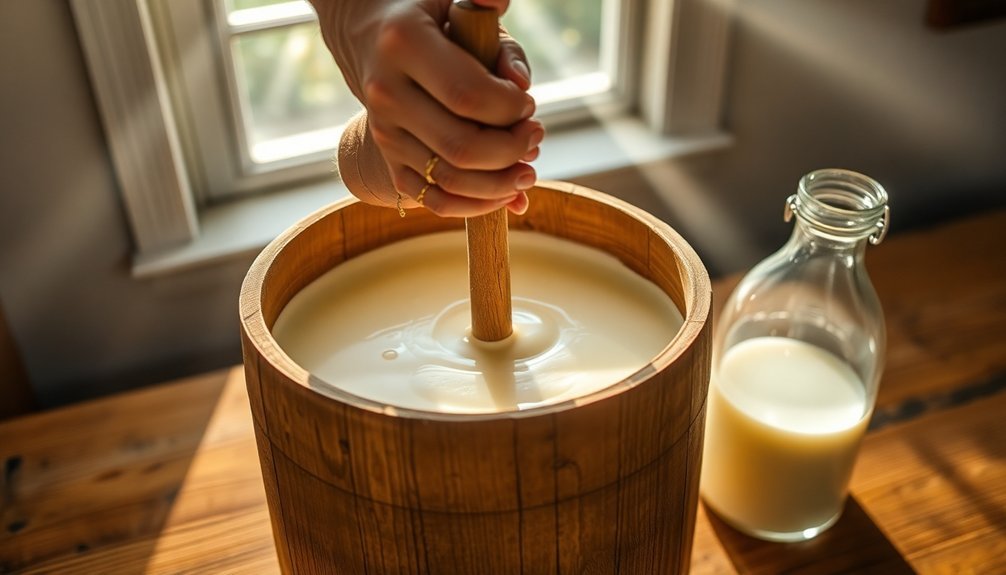
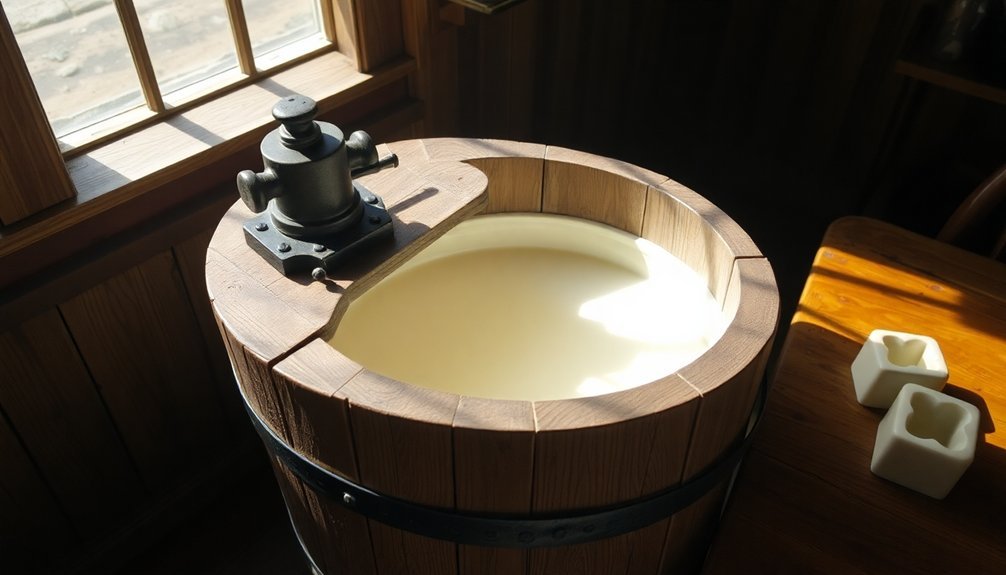
For the actual churning process, you've got three main equipment options. Traditional churners made from wood or earthenware use a paddle or dasher system that requires manual plunging or rotating motions. The 115V electric motor provides consistent power output for efficient churning in modern equipment.
If you want a middle-ground approach, hand-cranked churners offer more consistency through their gear mechanisms while maintaining that hands-on experience. They're perfect for small-scale butter production and often feature glass jars with wooden paddles.
For larger quantities, electric churners provide efficiency with their motorized systems. Models like the Milky FJ10 can handle up to 25 liters of cream and feature stainless steel construction for easy cleaning.
Don't forget to invest in proper storage containers and cooling equipment – crocks or coolers are essential for maintaining the right temperature throughout the churning process.
Selecting Quality Raw Milk
When selecting raw milk for hand churning, you'll want to source it directly from trusted local farms that maintain strict hygiene practices and regularly test their milk's quality parameters.
Look for milk that's clean white in color without any off-odors, sediment, or discoloration, and check that the cream line is clearly visible in glass containers.
You'll need to keep your raw milk refrigerated at 40°F (4°C) or below and use it within 1-2 days of collection to guarantee the best results for hand churning.
Fresh From Trusted Farms
Selecting quality raw milk begins with finding trusted farms that prioritize organic and grass-fed practices. You'll want to look for dairies that maintain transparency through open-door policies and welcome farm visits. This allows you to witness firsthand how the animals are raised and how the milk is processed, ensuring alignment with your values for ethical and sustainable farming.
| Quality Indicator | What to Look For |
|---|---|
| Herd Health | Regular testing for TB, Brucellosis, Johne's disease |
| Testing Standards | <10 coliforms/mL, <5,000 plate count/mL |
| Farm Practices | Organic certification, grass-fed protocols |
When sourcing your raw milk, don't hesitate to ask about the farm's testing protocols and biosecurity measures. A reliable dairy will readily share their test results and maintain rigorous safety standards. Look for farms that use natural methods to boost herd health rather than relying on antibiotics. The best sources will have documentation showing their herd is free from diseases and that they consistently meet or exceed safety standards for bacterial counts. Remember, a trustworthy farm's commitment to quality will be evident in both their practices and their willingness to demonstrate them.
Visual Quality Indicators
Before you begin churning raw milk, understanding its visual quality indicators will help you spot potential issues and guarantee ideal results.
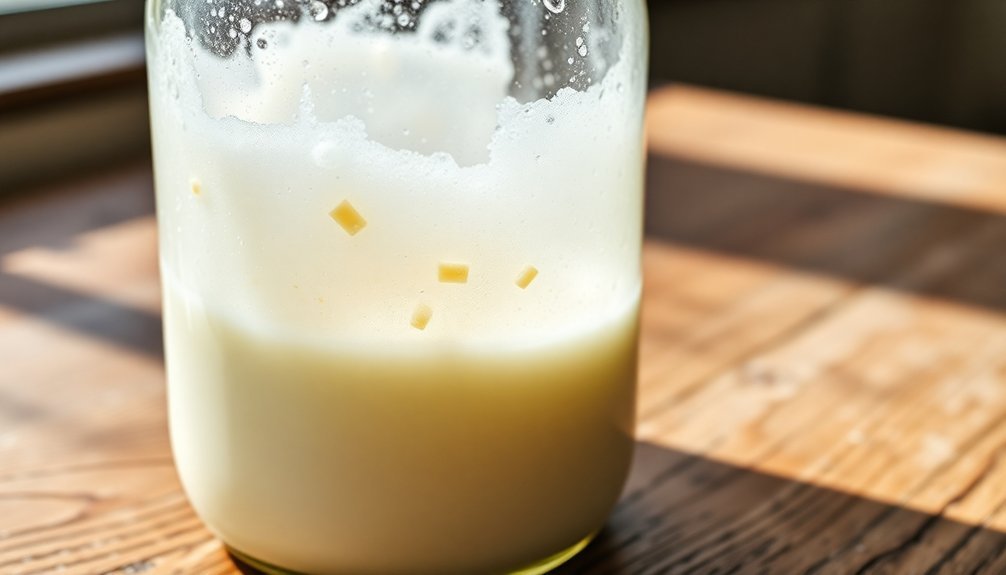
When examining raw milk, you'll notice a natural separation of cream at the top – this is normal and desirable. The cream layer should be uniform and free from any unusual discoloration or clumping.
Look for milk that's clean and bright white to slightly ivory in color. Any yellow, pink, or grey tints can indicate contamination or spoilage. The milk's texture should be smooth and fluid, without any graininess or lumps. You shouldn't see any floating particles, debris, or sediment at the bottom of the container.
Before churning, perform a simple visual inspection of the container too. It should be clean, properly sealed, and free from any damage.
When you pour the milk, it should flow smoothly without any stringy or sticky consistency. If you notice any unusual separation patterns, such as curdling or excessive clumping, don't use the milk for churning. These signs often indicate quality issues that could affect your final product's texture and taste.
Proper Storage Requirements
Proper storage of raw milk plays a critical role in maintaining its quality and safety for churning. You'll need to maintain a consistent cold temperature between 35 and 38 degrees F throughout the entire process, from collection to storage.
Don't store your milk on the refrigerator door, as temperatures fluctuate there too much. Instead, place it in the coldest part of your fridge.
When choosing storage containers, opt for tempered glass with plastic lids or seamless stainless steel containers. Glass is particularly effective at maintaining cold temperatures and won't transfer any unwanted flavors to your milk.
Select smaller containers of 2 quarts or 1/2 gallon size for faster cooling and easier handling during the churning process.
You'll need to be vigilant about time and temperature control. Don't leave your raw milk at room temperature for more than 2 hours, or 1 hour if it's above 90°F.
If you're transporting milk, use coolers with ice packs to maintain the cold chain. Remember, you can freeze raw milk at 0°F for up to three months if you won't be churning it immediately, though the texture may change when thawed.
Temperature Control While Churning
You'll want to maintain room temperature while churning raw milk, as this helps create the perfect environment for separating cream into butter and buttermilk.
If your cream is too cold, you'll find the churning process takes considerably longer, though starting with properly chilled raw milk (40°F) helps prevent harmful bacterial growth before you begin.
While warming cream to room temperature speeds up the churning process, be careful not to let it get too warm, as excessive heat can make your butter too soft and difficult to work with.
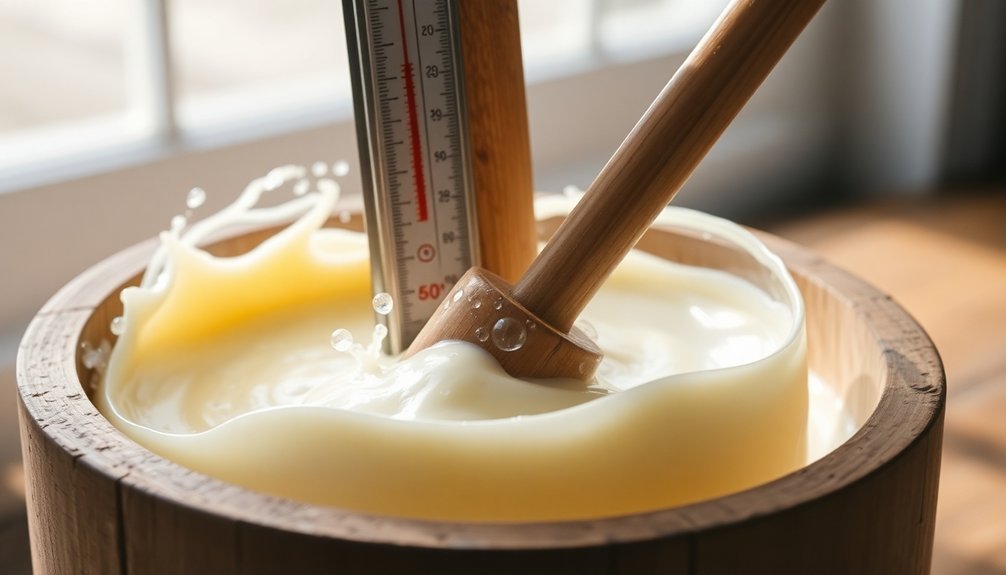
Optimal Churning Heat Range
When churning raw milk into butter, maintaining the right temperature is critical for achieving ideal results. You'll want to keep your churning temperature between 50°F and 60°F under normal conditions, though this can vary based on several factors.
| Season/Condition | Preferred Temperature | Impact | Adjustments Needed |
|---|---|---|---|
| Summer | 40°F | Prevents softening | Keep cream cool |
| Other Seasons | Up to 60°F | Aids butter formation | Gradual warming |
| High-Fat Content | Lower temp | Better fat retention | Monitor closely |
| Low-Fat Content | Higher temp | Improved separation | Warm gradually |
You'll need to adjust your churning temperature based on your specific circumstances. The fat content of your cream, the cow's diet, and even the stage of lactation can affect your preferred temperature range. If you're working with cream that's been cooled to 40°F, you can gradually warm it to 60°F during the churning process. This method often produces butter with excellent consistency. For the best quality butter with higher fat content, you'll generally want to maintain cooler temperatures throughout the process.
Cold Cream Benefits
Maintaining cold cream temperatures during churning yields several essential benefits for butter production. When you work with properly cooled cream at around 40°F (4°C), you'll notice that milk fat globules clump together more effectively, leading to better butter formation. The cold temperature helps you achieve distinct stages, from liquid cream to whipped cream, and finally to butter grains and lumps.
You'll find that churning cold cream typically takes between five and twenty-five minutes, depending on the stage you're trying to achieve. If your cream becomes too warm during the process, you can remedy this by using cold-water washing, which helps firm up the butter and improve its texture. This washing process also helps remove buttermilk, resulting in a higher-quality final product.
When you maintain consistent cold temperatures, you're also reducing bacterial growth and improving safety. The cold temperature control guarantees lower bacteria counts and extends the shelf life of your butter.
Preventing Bacterial Growth
Temperature control is the cornerstone of safe butter churning, requiring precise monitoring to prevent harmful bacterial growth. You'll need to keep your raw milk at 40°F (4°C) during storage and only bring it to room temperature when you're ready to begin churning. Every degree above this temperature risks bacterial multiplication, which can compromise both safety and quality.
When you're preparing to churn, follow these critical temperature control steps:
- Remove cream from refrigeration only when you're ready to start churning immediately.
- Monitor the temperature throughout the churning process, keeping it below 45°F (7°C).
- Use chilled water for washing the butter to maintain temperature control.
- Return any unused cream to refrigeration within 30 minutes.
You'll want to guarantee your churning area isn't too warm, as ambient temperature affects the cream's temperature. If you notice the cream getting too warm during churning, you can place your churning vessel in an ice bath to maintain proper temperature.
Proper Hand Churning Techniques
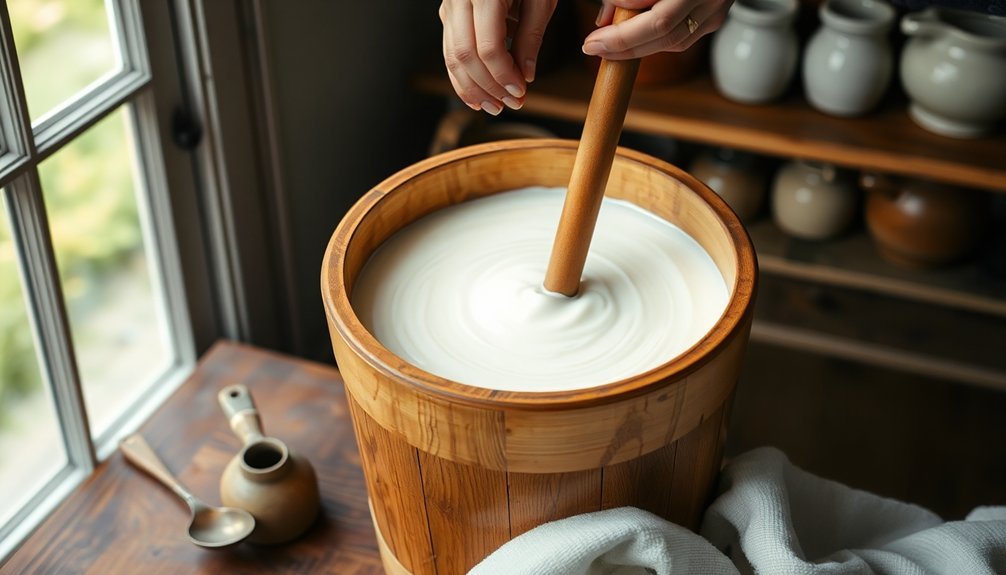
For successful hand churning of raw milk, mastering the proper techniques is essential to produce high-quality butter. You'll need to start by ensuring your cream is at the ideal temperature of 62-63 degrees Fahrenheit, as cream that's too cold or warm will affect the churning process and final product quality.
When using a mason jar or hand crank butter churn, maintain a consistent, steady motion throughout the process. Don't fill your churning vessel more than halfway to allow proper agitation of the cream.
You'll notice the cream progressing through distinct stages: from liquid to whipped cream, then to over-whipped cream, and finally to butter clumps floating in buttermilk.
Keep a close eye on the shifts between stages, as the process can take anywhere from 5 to 45 minutes depending on your cream volume and churning method. If the butter seems to stall between stages, you may need to adjust the temperature or continue churning for a longer period.
You'll know you've achieved success when large butter clumps form and separate clearly from the buttermilk. Remember to maintain continuous motion until the separation is complete.
Separating Buttermilk From Butter
You'll need several key tools to effectively separate buttermilk from butter, including a large bowl, mesh strainer, wooden spoon, and clean cloth or paper towels.
When you notice your butter isn't separating properly, check that you're using cream at the right temperature (around 60°F) and that you're churning with consistent, steady movements.
If your finished butter turns rancid quickly, you probably haven't removed all the buttermilk during the separation process, so be thorough with your rinsing and squeezing techniques.
Separating Methods And Tools
After churning raw milk into butter, you'll need specific tools and methods to properly separate the buttermilk from the butter solids. You can choose from several effective tools, including a stand mixer with attachments, hand mixer, or even a traditional butter churner.
For a simple approach, you can use a covered jar to shake the cream until it separates.
Once your cream has been churned, you'll need to separate the buttermilk from the butter using these essential steps:
- Pour your churned mixture through a fine-mesh strainer or colander to collect the liquid buttermilk.
- Rinse the butter solids under cold or lukewarm running water while gently kneading.
- Continue rinsing and kneading until the water runs completely clear.
- Wrap the butter in cheesecloth or a clean dishcloth for final squeezing.
Store your separated products properly to maintain freshness. Place your butter in an airtight container and keep it cool.
Strain the buttermilk once more to remove any remaining butter particles, then store it in a sealed glass jar in the refrigerator. Remember that this fresh buttermilk won't have the same tangy flavor as cultured store-bought versions.
Troubleshooting Common Butter Issues
While making butter from raw milk can be rewarding, several common issues may arise during the separation process. One of the most critical challenges you'll face is removing all the buttermilk, as any remaining liquid can cause your butter to spoil quickly. You'll need to rinse the butter under lukewarm water while kneading it thoroughly until the water runs clear.
If you're experiencing texture problems, pay close attention to temperature control. You should heat your butter to 175°F and maintain it for 20 minutes to prevent crystallization, which can create an unpleasant gritty texture. Using a double boiler and cooling the butter quickly afterward will help you achieve a smooth consistency.
You'll also want to monitor the churning temperature carefully, as it affects the final product's texture. If your butter's too hard or crumbly, it might be due to the cow's feed – hay-fed cows typically produce harder butter than pasture-fed ones.
To prevent burning during the process, stir constantly and consider combining the butter with oil. If your butter's too soft, you might be working at too high a temperature, so adjust accordingly.
Washing and Working the Butter
The proper washing and working of butter stands as one of the most essential steps in the churning process. Once you've churned your raw milk, you'll need to thoroughly wash the butter to guarantee its quality and longevity.
Start by pouring off the buttermilk, then add ice-cold water to the butter and agitate it until the water becomes cloudy.
You'll know your butter is properly washed when the water runs clear, indicating you've removed all the casein and impurities. If you skip this essential step, you're risking:
- Rapid spoilage due to remaining buttermilk particles
- Rancid butter from excess moisture
- Compromised texture and dull appearance
- Loss of quality and aroma
After washing, you'll need to work the butter to remove any remaining moisture. Use a wooden spoon, metal spoon, or fork to gently press the butter, being careful not to overwork it.
This step becomes much easier with properly washed butter, and it's your last chance to incorporate salt or other flavorings if desired. Remember to keep your water cold throughout the process, using ice cubes if necessary, to maintain the butter's ideal consistency.
Storage and Preservation Methods

Proper storage of your freshly churned butter makes the difference between a product that stays fresh for weeks and one that quickly spoils. While raw butter can be stored on the counter due to its high butterfat content, you'll get a longer shelf life by refrigerating it. You can expect your raw butter to last up to 45 days when appropriately stored.
To preserve your butter effectively, divide it into smaller portions and store them in sterilized containers. This reduces contamination risk since you won't need to open the main storage container frequently.
If you've made more butter than you can use within 45 days, consider freezing it. Frozen butter maintains its quality for 6-12 months.
Remember that each time you handle your butter, you introduce potential contamination. Keep your storage containers clean and guarantee your hands and utensils are thoroughly sanitized before touching the butter.
If you notice any signs of spoilage or souring, it's best to discard the affected portion. While naturally soured dairy products are generally safe to consume, it's important to use your judgment and err on the side of caution when storing raw dairy products.
Nutritional Value of Hand Churned
Raw, hand-churned butter offers exceptional nutritional value that surpasses its commercial counterparts. When you churn butter by hand from raw milk, you're preserving essential nutrients that often get destroyed during industrial processing. The gentle churning process maintains the integrity of fat-soluble vitamins A, E, and K2, while preserving beneficial enzymes and natural co-factors that enhance nutrient absorption.
Your hand-churned butter delivers superior nutritional benefits through:
- Enhanced absorption of fat-soluble vitamins due to preserved co-factors and natural enzymes
- Higher levels of Conjugated Linoleic Acid (CLA) when using milk from grass-fed cows
- Greater concentration of antimicrobial compounds like lauric acid
- Better retention of trace minerals including manganese, zinc, and selenium
The short and medium-chain fatty acids in hand-churned butter are easily absorbed by your body, providing immediate energy.
You'll also benefit from butter's anti-inflammatory properties, thanks to compounds like butyrate that support digestive health. The balanced ratio of omega-6 to omega-3 fatty acids in hand-churned butter promotes better overall health, while its natural vitamin K2 content helps prevent arterial calcification and supports proper calcium utilization.
Cultural Heritage Through Butter Making
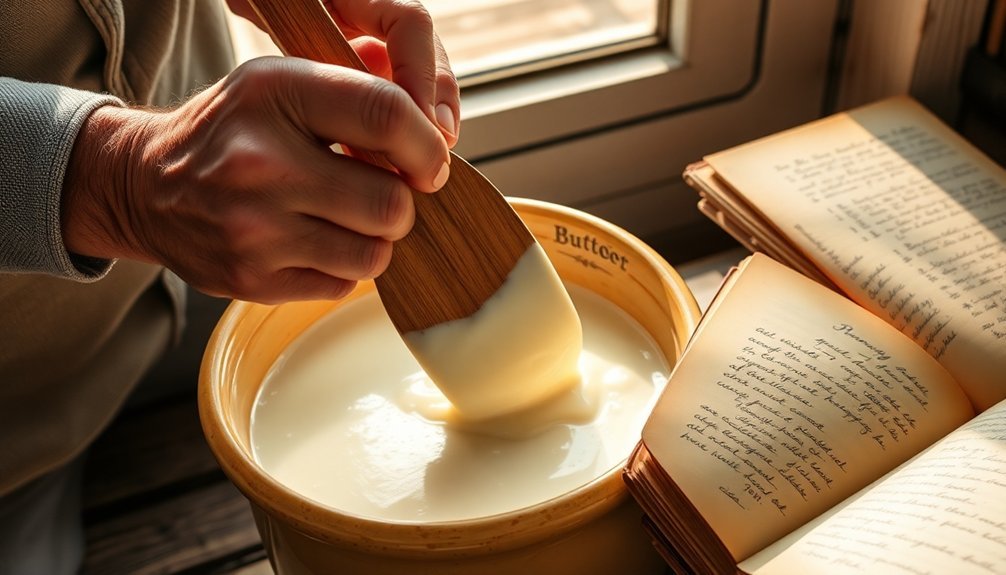
Beyond its nutritional benefits, hand-churning butter connects you to generations of food artisans who shaped culinary traditions worldwide. When you churn butter by hand, you're participating in a practice that dates back centuries, where families and communities gathered to transform fresh cream into golden butter.
You'll experience the same rhythmic motions your ancestors used with wooden churns and dashers, understanding firsthand why butter-making was a cherished communal activity. As you skim cream from settled raw milk and watch it transform through patient agitation, you're recreating the seasonal routines that marked agricultural life, especially during spring's rich milk production.
The process teaches you traditional skills: how to recognize when butter grains form, the importance of cold water for rinsing, and the art of using butter paddles to remove excess buttermilk.
You'll learn why Jersey cows were prized for their cream, and how the valuable buttermilk byproduct served multiple purposes in traditional households. By shaping your butter in decorative molds or creating intricate patterns with paddles, you're preserving the artistic elements that made butter-making both functional and beautiful.
Frequently Asked Questions
Can Hand-Churning Raw Milk Help Develop Upper Body Strength?
Yes, you'll build upper body strength through hand-churning as it actively engages your biceps, triceps, and deltoids. The vigorous shaking motion provides resistance training that strengthens your arms, shoulders, and back muscles.
How Many Calories Are Burned During a Typical Hand-Churning Session?
You'll burn approximately 100-200 calories during a typical hand-churning session. Your actual calorie burn depends on your weight, churning intensity, and session duration, which usually lasts between 15-60 minutes.
Is Hand-Churned Butter Safer for People With Dairy Sensitivities?
No, hand-churned butter isn't safer if you have dairy sensitivities. You'll still be exposed to milk proteins that cause allergic reactions. If you're allergic to dairy, you should avoid all butter, including hand-churned varieties.
What Sound Indicates That Butter Formation Is Complete While Churning?
You'll know your butter is ready when the churning sound changes from smooth whipping to a labored, stalling noise. The mixer or churn will slow down and make uneven, erratic sounds.
Can Children Safely Participate in Hand Churning Raw Milk?
You shouldn't let children handle raw milk during churning due to serious health risks. They're especially vulnerable to harmful bacteria that can cause severe illness. It's safer to involve them with pasteurized milk instead.
In Summary
Hand churning raw milk isn't just about making butter – it's about connecting with age-old traditions. You'll create a superior product with better texture and flavor while maintaining complete control over your ingredients. When you churn by hand, you're preserving an important cultural practice and producing nutrient-rich butter that's free from industrial processes. Give it a try; you'll discover the satisfaction of making butter the way your ancestors did.


Leave a Reply