Salt-curing transforms your fresh meat into a flavorful, shelf-stable delicacy through five proven methods. You'll find traditional dry curing offers a time-tested approach with nitrates for safety and color, while equilibrium curing gives you precise control over salt content. Wet brining helps retain moisture through osmosis, and the combined dry-wet method maximizes preservation through multiple stages. For sausage lovers, the specialized salt preservation process guarantees perfect texture and flavor development. Each technique requires specific temperature control and careful timing, but you'll discover these methods reveal a world of artisanal meat preservation possibilities.
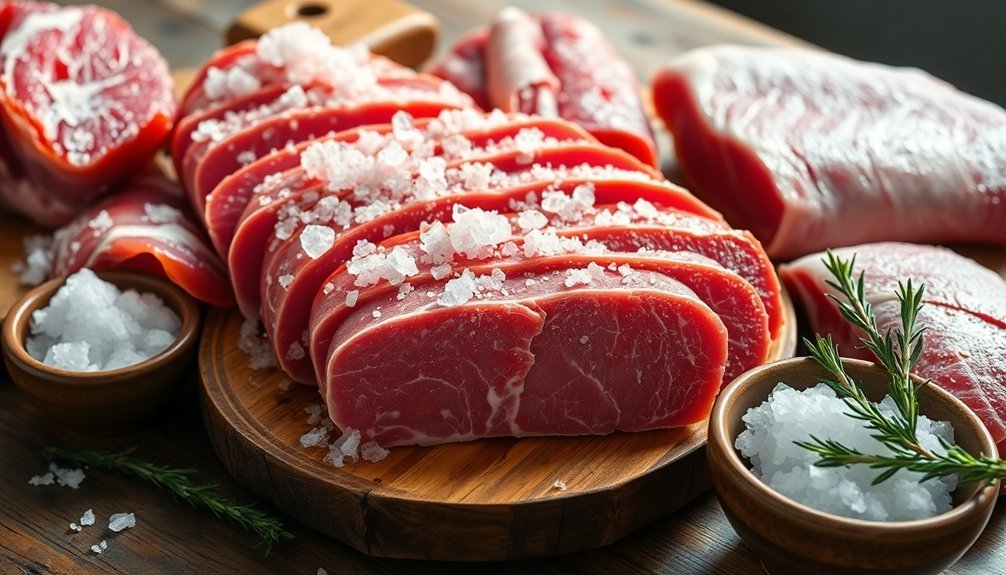
Traditional Dry Salt Curing
You can enhance the curing process by adding nitrates or nitrites, which provide extra protection against botulism and create that characteristic pink color in cured meats.
Proper temperature control during the curing process is essential to prevent bacterial growth and ensure food safety.
Sugar, herbs, and spices are optional additions that'll improve flavor and help stabilize the meat.
After curing, you'll need to rinse the meat thoroughly and dry it properly to guarantee long-term preservation.
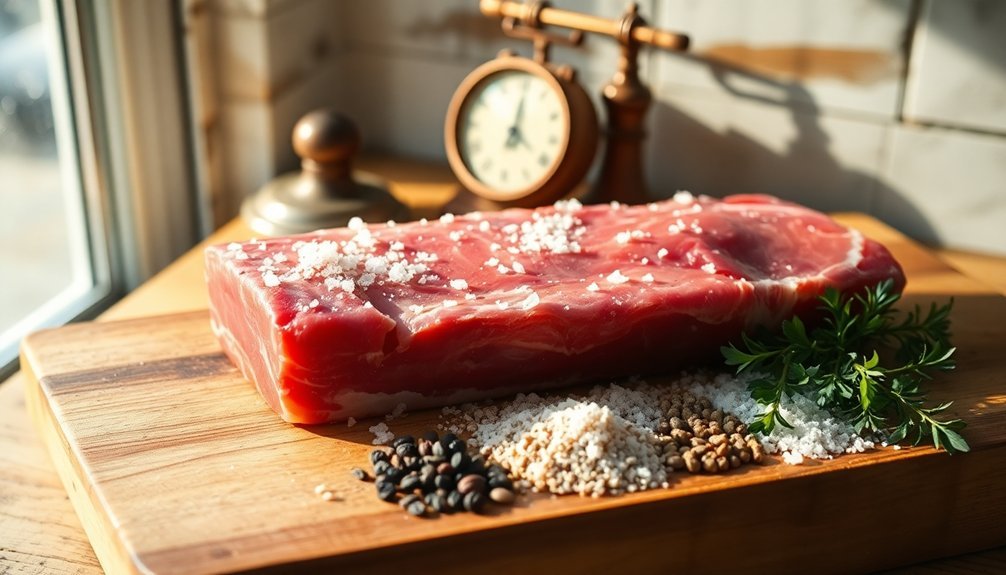
Equilibrium Curing for Precision
While traditional dry salt curing relies on excess salt, modern meat preservation has evolved toward more precise methods.
Equilibrium curing offers you exact control over the salt content by using careful calculations based on the meat's weight, typically between 2.5% and 3.5%.
You'll start by weighing your meat accurately and calculating the precise amount of salt needed. For ideal results, you'll want to vacuum seal the meat with the measured salt and spices, ensuring even distribution throughout.
This method's particularly useful for fatty cuts, where you can adjust the salt percentage downward to account for the meat's natural fat content.
Store your curing meat at 36-40°F and flip it every 3-5 days to maintain consistent contact with the developing brine. The process usually takes several weeks, depending on your meat's thickness. Monitor weight loss until it reaches approximately 30% to ensure proper curing.
You'll know it's ready when all the salt has been absorbed.
This precision method offers significant advantages: you'll waste less salt, achieve more consistent results, and maintain better flavor preservation.
After curing, simply rinse the meat and proceed with drying or cooking according to your recipe's specifications.
Wet Brining Method
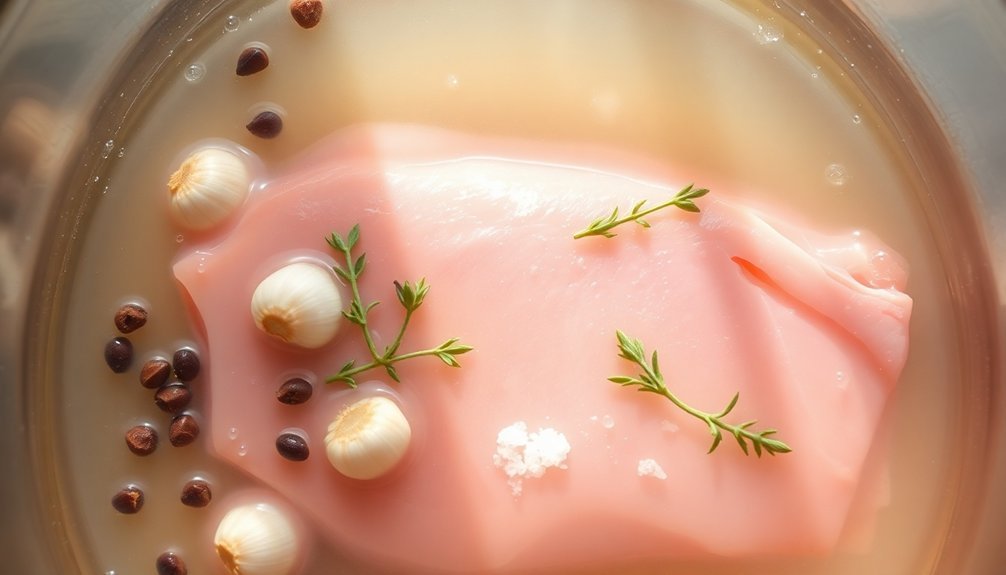
Wet brining stands as one of the most effective methods for preserving and flavoring meat through a salt-water solution.
You'll need to dissolve salt in hot water (1 cup per gallon) and let it cool before adding other ingredients like sugar, saltpetre, and your choice of herbs and spices. This solution creates the perfect environment for both preservation and flavor enhancement.
When you're ready to brine, you'll need to completely submerge your meat in a food-grade container and keep it below 42 degrees Fahrenheit. Traditional brining requires a non-metal container to prevent any unwanted chemical reactions.
The process works through osmosis, where salt penetrates the meat's cells, creating an environment that inhibits bacterial growth while improving moisture retention. You'll want to brine for roughly one hour per pound, though this varies by meat type.
You'll find this method particularly effective for lean meats like poultry and fish.
The salt causes protein strands to unwind, trapping moisture between them, which results in juicier meat after cooking.
While wet brining offers excellent results, you'll need to watch your timing carefully – over-brining can lead to unusual textures, especially in poultry.
Combined Dry and Wet Curing
The combined dry and wet curing method takes the best of both worlds by merging two preservation techniques into one robust process. You'll start by injecting your meat with a brine solution containing salt, sugar, and flavorings, followed by refrigeration to guarantee even distribution throughout the meat.
Once the wet cure is complete, you'll apply a dry rub mixture of coarse salt and spices, typically using 2-3% of the meat's weight in salt. This dual approach maximizes flavor penetration while creating an environment that inhibits bacterial growth.
| Stage | Temperature | Duration |
|---|---|---|
| Injection | 34-38°F | 24 hours |
| Dry Rub | 34-38°F | 48-72 hours |
| Aging | 50-60°F | 1-3 weeks |
| Smoking (optional) | 150-225°F | 2-8 hours |
| Storage | Below 40°F | 3-6 months |
You'll need to maintain specific environmental conditions throughout the process, with temperatures between 50-60°F and humidity levels of 65-80%. Proper air circulation is essential during the aging phase. For long-term preservation, you can either vacuum-seal and refrigerate your cured meat or continue aging it in a controlled environment until it's thoroughly dried.
Sausage Salt Preservation Process
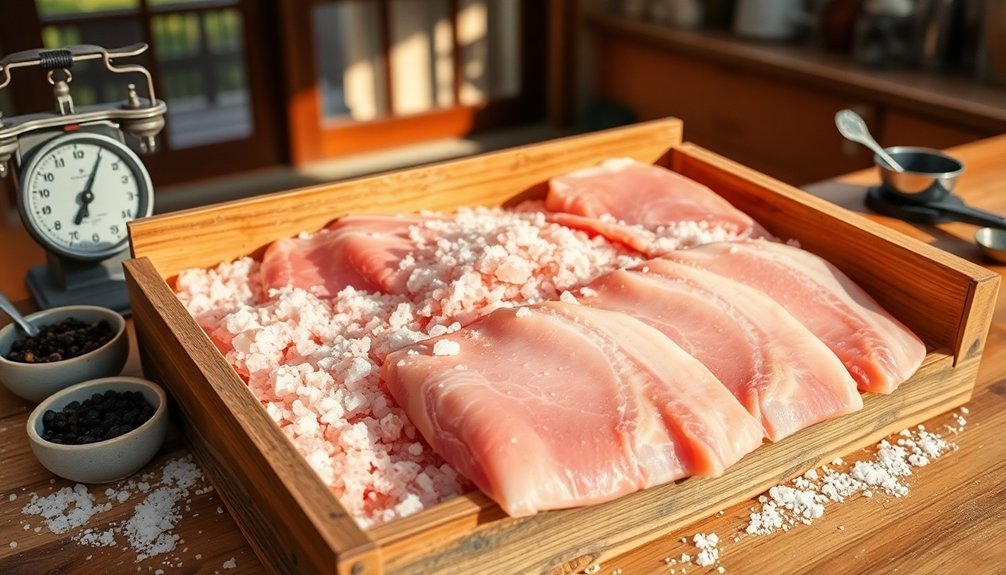
Making salt-preserved sausage demands precise techniques and careful attention to temperature control throughout the entire process.
You'll need to start by selecting high-quality meat and grinding it while maintaining temperatures between 33-40°F to prevent bacterial growth. During grinding, you'll combine the meat with salt at 3% of the meat's weight, along with your chosen seasonings.
After grinding, you'll want to remove air from the mixture using a vacuum sealer, which helps prevent bacterial growth and guarantees even curing.
Record the initial weight of your sausage mixture, as you'll need this measurement to track the curing progress. The curing process requires at least 5 days in the refrigerator, but it may take several weeks depending on the sausage's thickness.
Once cured, rinse the sausage and pat it dry before hanging it in a cool, dark place.
You'll know it's properly cured when it's lost about 30% of its original weight. Store your finished sausage in the refrigerator or vacuum seal it for longer shelf life.
If you find the sausage too salty, soak it in water for an hour before serving.
Frequently Asked Questions
Can Cured Meat Be Stored at Room Temperature After the Process?
You shouldn't store most cured meats at room temperature. While some dry-cured varieties can handle it briefly, you'll need to refrigerate between 38-45°F for safety and quality unless they're specially vacuum-sealed.
How Long Does Properly Cured Meat Typically Last in the Refrigerator?
When properly stored in your fridge below 40°F, you'll find cured meats last 3-14 days once opened. Hard salami can last two weeks, while prosciutto should be eaten within three days after cutting.
Is It Safe to Cure Meat Without Using Sodium Nitrite?
While you can cure meat without sodium nitrite, it's riskier due to potential bacterial growth. If you're trying alternative methods, you'll need strict temperature control and proper techniques to guarantee food safety.
What Meats Should Never Be Salt-Cured at Home?
You shouldn't attempt to salt-cure ground meats, organ meats, or poultry at home due to their high spoilage risk. Also avoid large cuts requiring specialized equipment and meats needing precise temperature control.
Can Previously Frozen Meat Be Successfully Cured Using These Methods?
Yes, you can cure previously frozen meat, but you'll need to thaw it completely first. While the texture may be slightly different from fresh meat, if you follow proper curing methods, it'll be safe and effective.
In Summary
You've now learned five reliable methods for preserving meat through salt curing. Whether you choose traditional dry curing, precise equilibrium curing, wet brining, combination methods, or sausage preservation, you'll be able to extend your meat's shelf life while enhancing its flavor. Remember to follow proper safety guidelines, maintain clean conditions, and monitor the curing process carefully. With practice, you'll master these time-tested preservation techniques.


Leave a Reply