
You'll need a reliable pressure canner, proper Mason jars, and essential tools like jar lifters and a canning funnel to safely preserve homemade jams. Choose fruit at peak ripeness, removing any bruised areas, and sterilize your jars in boiling water for at least 10 minutes. Use a calibrated pressure gauge and maintain consistent temperatures during processing, adjusting for your altitude. After cooling, check jar seals by pressing the lid center – it shouldn't flex. Store your finished jams in a cool, dark place between 50-70°F. The following steps will guarantee your preservation process meets all safety standards while maximizing flavor.
Essential Pressure Canning Equipment
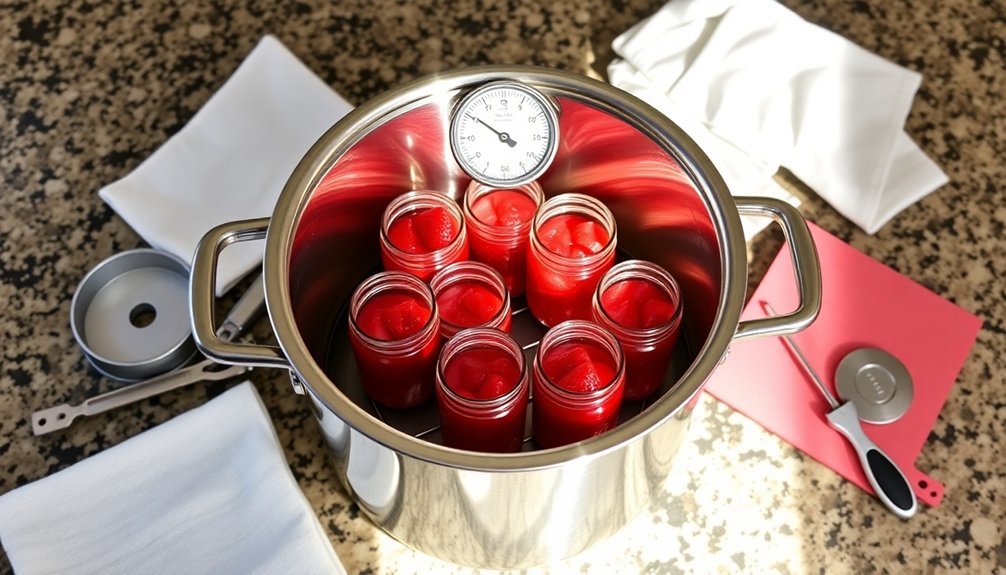
Selecting the right pressure canning equipment forms the foundation of safe home food preservation. For low-acid foods like vegetables, meats, and soups, you'll need a reliable pressure canner from trusted brands like All American or Presto. If you're using a glass cooktop, make sure your canner is induction-friendly. Safe canning practices must be followed to minimize the risk of foodborne illnesses.
Your pressure regulator is essential for maintaining consistent pressure levels. You can convert a dial gauge canner to a weighted gauge system, which self-regulates through steam release and reduces constant monitoring. Choose from 5, 10, or 15-pound weights based on your recipe requirements.
You'll need proper Mason jars in various sizes, available in both Regular and Wide-Mouth options. Remember, while bands are reusable, you must always use new lids with fresh sealing compound for each batch.
Warm your jars before filling to prevent breakage from thermal shock.
Don't forget important tools that guarantee safety and efficiency: a jar lifter for handling hot jars, a magnetic lid lifter for precise lid placement, a non-metallic spatula for bubble removal, and a canning funnel for clean transfers.
A canning rack is critical to protect your jars from direct heat contact.
Selecting Fresh Fruit
Fresh, ripe fruit forms the foundation of successful pressure canning. You'll want to select fruit at its peak ripeness for ideal flavor, though incorporating some slightly under-ripe pieces, especially berries, can improve your jam's texture due to their higher pectin and acid content.
Don't use overripe fruit, as it'll result in a soft set due to decreased acid and pectin levels. Bruised areas should be cut away to prevent potential spoilage.
Source your fruit locally when possible, as seasonal produce offers better flavor and value. Farmers' markets and direct farm purchases often provide high-quality fruit at lower costs.
Don't overlook 'seconds,' which may have visual imperfections but maintain excellent flavor. If fresh isn't available, frozen fruit that's been preserved at peak ripeness works well.
Before canning, always taste your fruit to verify it has the desired flavor profile. You'll need to take into account the fruit's natural acidity, as it's essential for safe canning.
While apples and strawberries contain high natural acid levels, you'll often need to add lemon juice to guarantee consistent acidity.
Remember to prepare your fruit just before use, as cut fruit deteriorates quickly and can affect your final product's quality.
Proper Sterilization Steps
Before you begin pressure canning, you'll need to thoroughly clean your jars with hot, soapy water and rinse them completely.
You can sterilize your clean jars using the hot water bath method, which requires submerging them in boiling water for at least 10 minutes.
When using the water bath, make sure your jars sit on a rack to prevent direct contact with the pot's bottom, which could cause breakage during the sterilization process. For the best results, maintain 2-3 inches of water in your pressure canner before adding the filled jars.
Clean Jars Before Use
Proper sterilization of canning jars forms the foundation of safe food preservation.
You'll need to begin by washing your jars, lids, and bands thoroughly in hot, soapy water. Make sure you're rinsing them completely to remove any soap residue, then allow them to drain properly to prevent water spots from forming.
Before filling your jars, you'll want to warm them gradually to prevent cracking. Run them under hot tap water or place them in a boiling water bath. If you're using a canner, place the jars on a rack to keep them off the bottom.
While you're preparing the jars, simmer your flat lids in water to soften the sealing compound, but don't let them boil. Keep your screw bands clean and within reach.
Before you start filling, do a final inspection of each jar for cracks or damage. Use canning jar tongs to handle hot jars safely, and keep a clean, damp cloth nearby to wipe jar rims and threads.
Your lids and bands should be free from any residue that could compromise the seal. Keep everything hot until you're ready to begin the filling process.
Hot Water Bath Method
Starting with sterilized equipment, the hot water bath method requires careful attention to temperature and timing for safe food preservation.
You'll need to sterilize your jars for 10 minutes in water above 185°F if your recipe calls for less than 10 minutes of processing time. For elevations above 1000 feet, add an extra minute of sterilization per 1000 feet.
Fill your water bath canner halfway with water and bring it to a simmer. You'll want the water temperature to match your jars and food temperature. Keep your sterilized jars in the hot water until you're ready to fill them.
Once you've filled your jars, place them on the canner rack, ensuring there's at least one inch of water above the jar tops.
When processing, start your timer only after reaching a rolling boil. You'll need to maintain this boil throughout the entire processing time.
Once complete, use your jar lifter to remove the jars and place them on a towel to cool. Don't place hot jars directly on cold surfaces.
After they've cooled completely, check the seals and store your jars in a cool, dry place.
Rack Position Matters
A key step in water bath and pressure canning is positioning your rack correctly. You'll need to verify your jars don't touch the bottom of the pot to prevent thermal shock and cracking. The rack creates proper water circulation while keeping jars from banging against each other and distributing heat evenly.
Don't worry if you don't have a traditional canning rack – several alternatives work well. You can create a makeshift rack using twist ties and old screw bands, or opt for a cake rack, pressure cooker insert, or metal trivet. Even a Chinese dumpling steaming rack can do the job effectively.
When placing your jars, make sure they're elevated from the pot's bottom and have enough space between them for water circulation. You'll want to use canning tongs for safe handling and verify your pot is tall enough to cover the jars with 1-2 inches of water.
For pressure canning specifically, you won't need to pre-sterilize your jars and lids, as the canning process handles this. Simply start with clean, warm jars to prevent breakage, and maintain the correct pressure and processing time for safe preservation.
Preparing Your Workspace
Before beginning your pressure canning session, create a clean and organized workspace with all necessary equipment within easy reach.
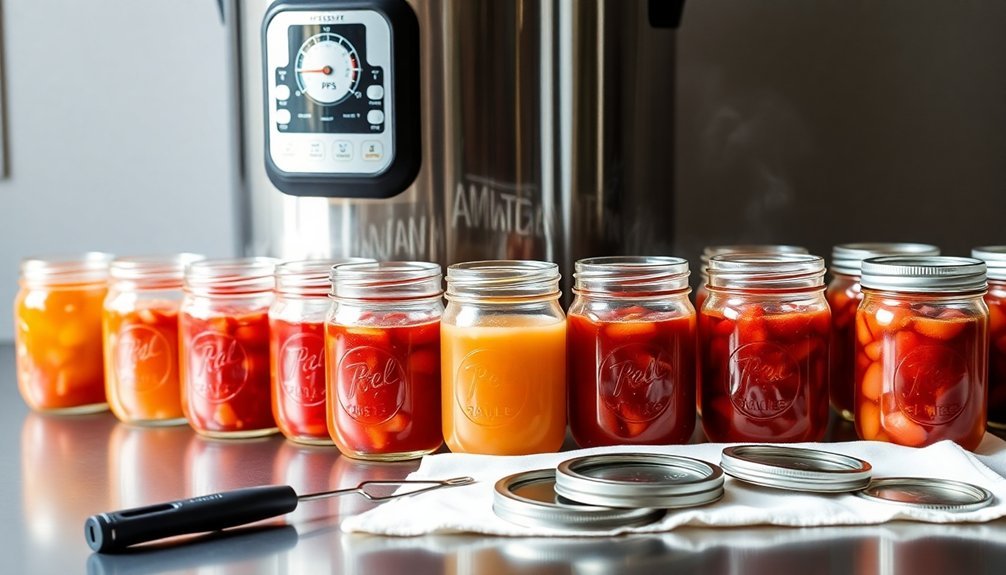
You'll need your pressure canner, canning jars, lids, rings, jar lifter, and canning funnel readily available. Lay out clean towels, pot holders, pots, and bowls for efficient workflow.
Start by adding 2-3 inches of warm water to your pressure canner and position the canning rack with its rimmed edge facing down.
While you're preparing the workspace, warm your canning jars to about 180°F using hot tap water or your dishwasher. Keep the lids and bands at room temperature for easier handling.
As you organize your space, make certain you've selected fresh, high-quality ingredients and have your tested recipe ready.
You'll want quick access to all your supplies when it's time to fill and process the jars. Position your pressure canner so you can easily monitor it throughout the process.
Remember, you'll need space to arrange the filled jars without them touching each other, allowing proper steam circulation during processing.
Keep your work surface clean and uncluttered to prevent contamination and accidents.
Pressure Gauge Safety Checks

Before you begin pressure canning, you'll need to test your dial gauge for accuracy to prevent dangerous underprocessing of food.
Your dial gauge shouldn't be off by more than 2 pounds of pressure, which is why annual testing at your local Extension office is crucial for food safety.
If you're canning at higher altitudes, you'll need to make proper pressure adjustments according to your tested gauge readings to guarantee safe food preservation.
Gauge Testing Before Use
Proper gauge testing stands as your first line of defense in pressure canning safety. Before starting any canning project, you'll need to perform several critical checks to verify your pressure gauge functions correctly and provides accurate readings.
Begin with a thorough visual inspection of your gauge. Check for cracks in the glass cover, bent needles, or any visible damage. Make sure all connections are tight and there's no corrosion on the gauge's body. You'll want to clean off any debris that might affect the reading accuracy.
Next, verify your gauge's zero reading when no pressure is applied. If it's not pointing to zero at rest, you've got an offset error that needs addressing. Compare your gauge's reading to atmospheric pressure to confirm baseline accuracy.
Test your gauge against a known pressure source or another calibrated gauge. You'll want to check readings at multiple points – typically at 0%, 25%, 50%, 75%, and 100% of the gauge's range.
Take measurements during both pressure increase and decrease cycles. If you notice significant discrepancies between your gauge and the reference measurements, it's time to replace or recalibrate your gauge before proceeding with any canning projects.
Annual Calibration Requirements
While regular gauge testing provides immediate safety assurance, annual calibration serves as your long-term safeguard for pressure canning success.
If you're using a dial gauge pressure canner, you'll need to have it calibrated every year to guarantee it's reading within 2 pounds of the actual pressure. This isn't just a suggestion – it's vital for preventing foodborne illnesses like botulism.
You'll find that weighted gauge canners don't require annual calibration unless they're damaged, but dial gauges must be checked yearly without exception. Your local extension office, like those at MSU or WSU, often provides free calibration services.
If you've dropped your canner or exposed it to extreme conditions, don't wait for the annual check – get it calibrated immediately.
Keep in mind that proper calibration isn't just about safety; it's about food quality too. An inaccurate gauge can lead to underprocessed food that's unsafe to eat, or overprocessed food that's lost its taste and texture.
Make sure you're keeping records of your calibration dates – they're valuable proof that you're following safe canning practices.
Altitude Adjustment Guidelines
Altitude plays a critical role in pressure canning safety, requiring specific gauge adjustments to guarantee proper food preservation. As you move to higher elevations, you'll need to increase your canning pressure to compensate for the lower boiling temperatures that occur with decreased air pressure.
For altitudes between 1,001 and 3,000 feet, increase your pressure by 2 psig. If you're canning between 3,001 and 5,000 feet, add 3 psig, while locations between 5,001 and 7,000 feet require a 4 psig increase. For elevations above 7,000 feet, you'll need to add 5 psig to your base pressure.
If you're using a weighted gauge canner, you'll follow a simpler adjustment scale. From sea level to 1,000 feet, maintain 10 psig. Above 1,000 feet, increase to 15 psig.
For dial gauge canners, the adjustments are more precise: 10 psig at sea level, 11 psig at 1,001-2,000 feet, 12 psig at 2,001-4,000 feet, and 13 psig at 4,001-6,000 feet.
Processing Times And Temperature
The success of your jam canning depends heavily on precise processing times and temperatures. You'll need to process your jams in a water bath canner at 212°F (sea level temperature) to effectively destroy harmful bacteria, yeasts, and molds. Pre-sterilized jars require 5 minutes of processing, while non-sterilized jars need 10 minutes at sea level.
| Altitude | Processing Time | Temperature Adjustment |
|---|---|---|
| 0-1,000 ft | 10 minutes | No adjustment needed |
| 1,001-2,000 ft | 11 minutes | Water boils below 212°F |
| 2,001-3,000 ft | 12 minutes | Further temperature drop |
Don't use a pressure canner for your jams, as the excessive heat will break down the pectin and make your preserves runny. Instead, maintain temperatures between 180°F and 250°F during the water bath process. Remember that you'll need to adjust your processing time by adding one minute for every 1,000 feet above sea level. After processing, let your jars cool on a kitchen towel away from drafts. Store your finished jams in a cool place where temperatures don't exceed 95°F to maintain quality and safety.
Testing The Jar Seals
After your filled jars have completely cooled for 12-24 hours, you'll need to verify their seals using three reliable methods.
During the cooling period, don't disturb the jars or tighten the bands, as this can interfere with proper seal formation. You may notice the content level has dropped slightly, which is perfectly normal.
To test the seals, first use the press method by pushing down on the center of each lid. A properly sealed lid won't flex or move when pressed.
Next, perform a visual check by holding the jar at eye level and looking for a concave depression in the lid's center. A sealed lid curves slightly downward, while an unsealed one remains flat or bulges up.
For the final test, tap the lid's center with a metal spoon. You'll hear a clear, high-pitched ring if it's properly sealed, while an unsealed lid produces a dull sound.
Keep in mind that food particles touching the lid can also cause a duller sound, so it's best to use this method alongside the other two tests for accurate results.
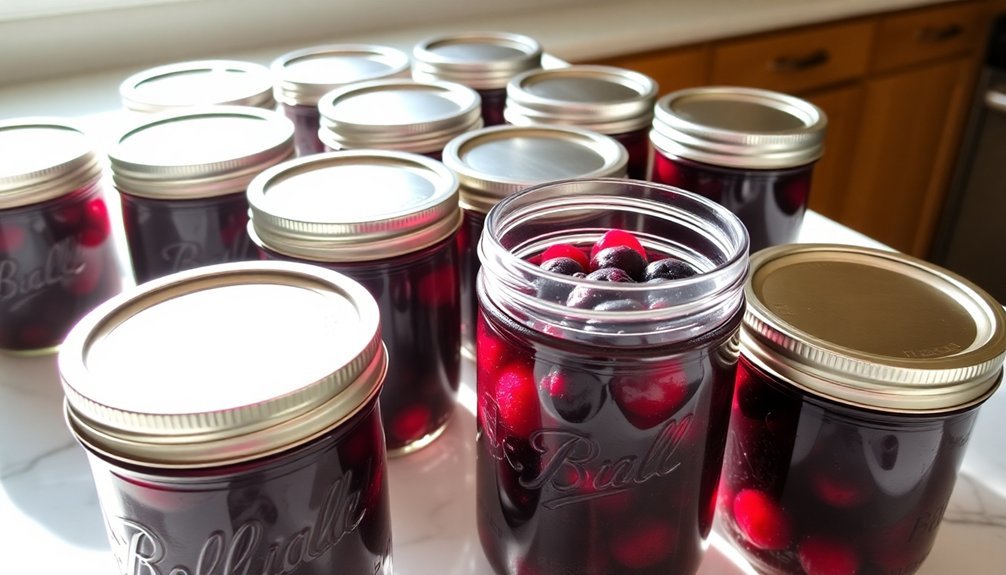
Storage Best Practices
Properly storing your pressure-canned goods requires careful attention to location and environmental conditions.
You'll want to keep your jars in a cool, dry place with temperatures between 50-70°F (10-21°C). Basements and dark pantries work well, but avoid areas near furnaces, pipes, or appliances that generate heat.
Before storing, remove the screw bands from your sealed jars to prevent rust and seal deterioration. Don't retighten bands or turn jars upside down after they've cooled.
Make sure you clearly label each jar with contents, date, and lot number if you've processed multiple batches.
Keep your jars away from direct sunlight and high humidity, as these conditions can compromise the seal and quality of your preserved foods.
When storing multiple jars, arrange them in a single layer or stack no more than two rows high. Leave at least 2 inches of space between jars during the cooling process.
Never store jars in temperatures above 95°F, as this can affect both safety and quality.
If you don't have closed cupboards available, store your jars in boxes to protect them from light exposure.
Frequently Asked Questions
Can I Reuse Canning Lids From Previous Batches?
You shouldn't reuse canning lids, as they're designed for single use only. The sealing compound deteriorates after first use, increasing your risk of bacterial contamination and food spoilage. Always use new lids for safety.
What Happens if Power Goes Out During Pressure Canning?
If your power goes out during pressure canning, don't open the canner. Let it cool naturally, then either restart the entire process when power returns or freeze the food. Safety's essential with low-acid foods.
Why Did My Jam Change Color After Several Months?
Your jam's color change is likely due to storage time, light exposure, or chemical reactions. Even if you've stored it properly, natural pigments break down over time, and minerals from cooking utensils can affect coloring.
Can I Double or Triple Recipes for Larger Batches?
You shouldn't double jam recipes as it can cause longer cooking times and improper setting. Instead, make multiple smaller batches to maintain quality. This guarantees your jam sets correctly and tastes great every time.
How Long Should I Wait Before Moving Jars After Processing?
You'll need to wait 12-24 hours before moving your processed jars. During this time, keep them undisturbed on a cooling rack or dry towels, spaced an inch apart, to guarantee proper cooling and seal setting.
In Summary
You've now mastered the basics of pressure canning jams safely at home. If you're following these steps carefully, you'll have delicious preserves that last months in storage. Remember to inspect your equipment regularly, maintain proper temperatures, and never skip the sterilization process. By keeping your workspace clean and using fresh ingredients, you'll create perfectly sealed jars every time. Start canning with confidence!


Leave a Reply