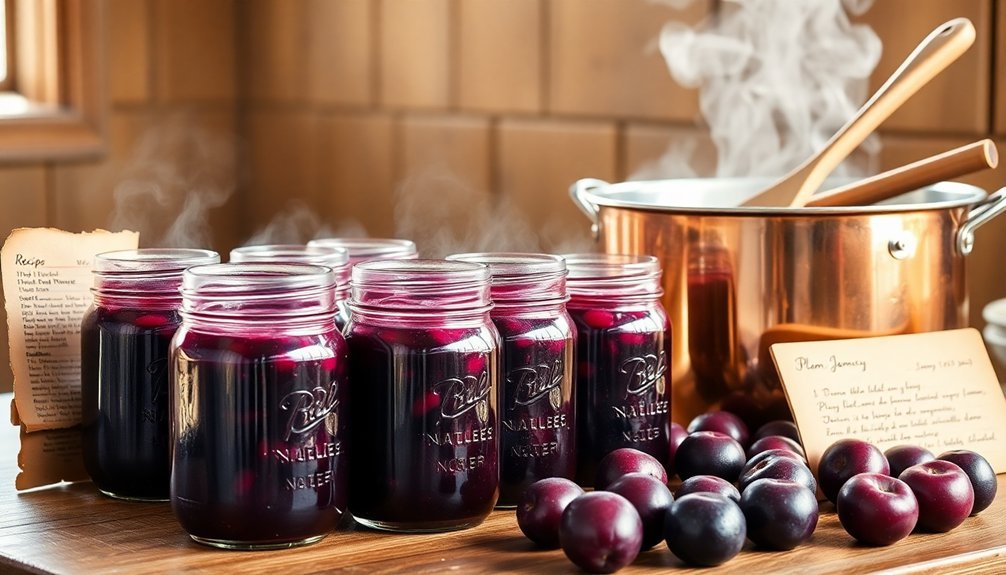
Master your grandmother's plum jam recipe with these time-tested techniques. Start by choosing firm, ripe plums with slight give and no blemishes for ideal pectin levels. Follow the classic 1:4 fruit-to-sugar ratio to achieve that perfect sweet-tart balance. Test for set using the plate method – a dollop should wrinkle when pushed with your finger after cooling. Control texture by cutting plums uniformly and macerating them overnight in sugar and lemon juice. For storage, process jars in a water bath for 5-15 minutes depending on altitude. These foundational steps lay the groundwork for preserving success that would make any grandmother proud.
Perfect Plum Selection Secrets
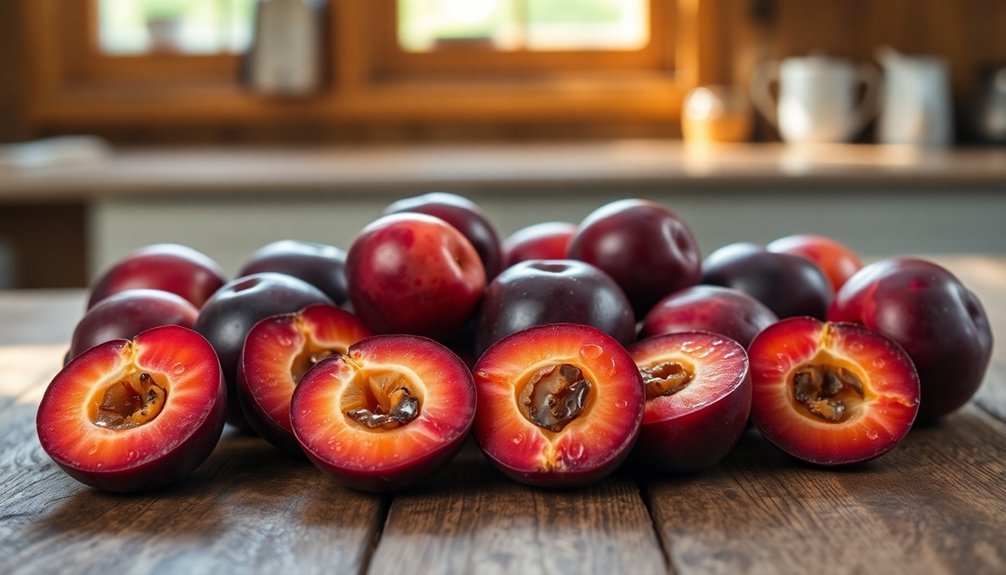
For the perfect plum jam, selecting the right fruit makes all the difference. You'll want to choose plums that are perfectly ripe or slightly underripe, as they contain the highest levels of pectin and acidity. Avoid any fruit that's bruised, blemished, or overripe, as these won't give you the best set or flavor.
Look for firm plums that still have a slight give when gently pressed. You don't need to stick to one variety – all plums work well for jam-making, including red, green, and purple-skinned varieties. Victoria plums, greengages, and damsons are excellent choices for their distinctive flavors, while red plums like Santa Rosa and Elephant Heart offer great natural pectin content. The ideal fruit-to-sugar ratio is 1 kilogram of plums to ¾ kilogram of sugar.
Don't worry about peeling the plums – their skins contribute essential pectin, color, and flavor to your jam. If you're budget-conscious, check farmer's markets for 'seconds,' which are perfectly suitable for jam-making at a lower cost.
Before starting your batch, taste the plums you've selected – their natural flavor will carry through to your final product, so you'll want fruit that tastes good from the start.
The Sugar-to-Fruit Ratio Formula
In successful jam-making, getting the sugar-to-fruit ratio right is essential for both taste and preservation. For plum jam specifically, you'll want to follow the 1:4 ratio method, which means dividing your processed fruit weight by 4 to determine the sugar amount. This approach works particularly well for stone fruits and helps maintain a balanced sweetness while ensuring proper preservation. Using 1 ½ cups sugar per 2 lbs of plums creates an ideal balance of sweetness and texture.
If you're using pectin in your recipe, you might need to adjust to a higher sugar content – some recipes call for 8 cups of sugar to 6 cups of fruit. While this might seem like a lot, it's necessary for achieving a quick set and ensuring your jam stays shelf-stable.
For a more precise approach, you can use the weight-based calculation method. Simply divide your fruit weight by 1.66 to determine your sugar amount. This method's especially helpful when you're working with varying amounts of plums, as you can easily scale your recipe up or down while maintaining consistent results.
Testing for the Perfect Set
Testing whether your plum jam has reached the perfect set is a critical skill that can make or break your preserve-making success. You'll need to master several reliable testing methods to guarantee consistent results.
The sugar thermometer method offers precision – watch for 220°F (104°C) during a rolling boil. Since plums contain natural pectin, you might achieve setting at a slightly lower temperature. Remember to turn off heat while performing any tests to prevent overcooking. Don't rely solely on the thermometer, though; back it up with other tests.
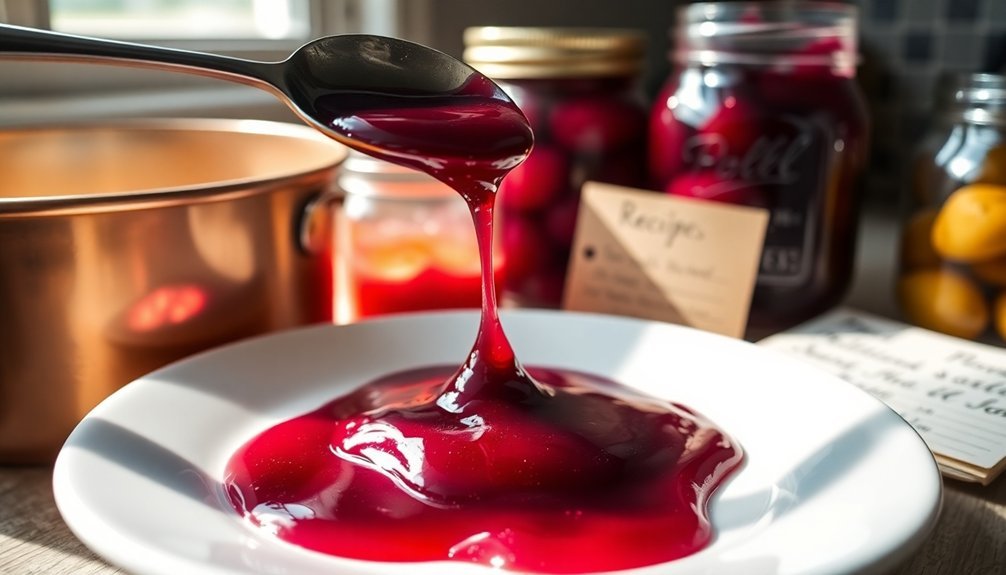
Try the time-honored plate test: place a small dollop of hot jam on a pre-chilled plate and let it cool for 1-2 minutes. Push your finger through it – if it wrinkles and doesn't flow back, you've reached the setting point.
For the sheet test, lift your spoon and watch how the jam falls. You're looking for thick, sheet-like drips rather than thin, watery ones.
You can also perform a quick visual check by tilting a spoonful horizontally. The jam should cascade slowly rather than run off in a thin stream. When you draw your finger through a cooled sample on a white plate, it should leave a clear trail without flooding back together.
Old-School Texture Control Methods
While testing for the right set helps guarantee success, controlling your jam's texture starts well before the setting point. You'll need to begin with proper fruit preparation, cutting your plums into halves or quarters after removing the pits. For extra tenderness, let your fruit macerate overnight in sugar and lemon juice.
Your choice of cooking vessel is essential – select a wide, shallow pan to reduce cooking time and preserve fresh flavors. If you're making a larger batch, opt for a heavy-based, deep pot that allows for vigorous boiling without overflow. Just don't use aluminum, copper, or iron pans, as they can impart a metallic taste.
| Heat Stage | Temperature | Stirring Needed |
|---|---|---|
| Initial | Low-Medium | Occasional |
| Main Cooking | High (Rolling Boil) | Frequent |
| Final Stage | Reduced Heat | Constant |
| Setting Point | Medium | Very Gentle |
Keep a watchful eye on texture development by stirring frequently with a long-handled wooden spoon. If you're aiming for a smoother consistency, you can use a stick blender. Don't forget to skim off any foam that forms, or add a small knob of butter to eliminate scum.
Long-Term Storage Success

Proper storage techniques make the difference between enjoying your plum jam for weeks or savoring it throughout the year. If you're planning to eat your jam soon, store it in the refrigerator where it'll stay fresh for 4-6 weeks without preservatives. Always use a clean spoon to prevent contamination.
For longer storage, you've got two reliable options. You can freeze your jam in airtight containers for up to 6 months – just remember to pit those plums first. Alternatively, try traditional water bath canning for the longest shelf life of 12-18 months at room temperature.
If you're canning, process your jars for 5 minutes at sea level, increasing to 10 minutes above 1,000 feet and 15 minutes above 6,000 feet. Fill hot, sterilized jars with boiling jam, leaving 1/4 inch headspace.
After 24 hours, check the seal by pressing the lid's center – it shouldn't move. If the seal fails, refrigerate and use within 3 months.
When your jam's properly sealed and stored, you'll have delicious homemade preserves to enjoy long after plum season ends.
Frequently Asked Questions
Can I Substitute Artificial Sweeteners for Sugar in Plum Jam?
You'll need special low-methoxyl pectin to make plum jam with artificial sweeteners. Regular pectin won't set properly without sugar. Add sweeteners near the end of cooking to avoid bitter taste and reduced shelf life.
Why Did My Plum Jam Turn Brownish Instead of Bright Red?
Your plum jam's brownish color likely comes from overcooking or excessive heat. You've probably exceeded 105°C, triggering the Maillard reaction. Next time, cook quickly at lower temperatures and stir constantly to prevent browning.
Is It Necessary to Remove the Skin From Plums Before Making Jam?
No, you don't need to remove plum skins before making jam. They're actually beneficial since they contain pectin that helps your jam set properly. Plus, they'll add flavor and save you preparation time.
How Can I Prevent the Jam From Crystallizing in Storage?
You'll prevent crystallization by dissolving sugar completely in warm mixture, stirring constantly, and not exceeding 65% sugar content. Store your sealed jars in a cool place and avoid temperature fluctuations during storage.
Can I Double or Triple the Recipe Without Affecting Quality?
You shouldn't double or triple your jam recipe. It'll affect cooking time, heat distribution, and pectin activation, potentially ruining the batch. Instead, make multiple small batches to maintain quality and guarantee proper setting.
In Summary
You'll find that mastering grandma's plum jam recipe takes practice, but these time-tested techniques will help you create the perfect preserve every time. From selecting the ripest plums to nailing that sugar ratio and achieving the ideal set, you're now equipped with the essential knowledge. Remember to store your jars properly, and you'll enjoy that homemade plum goodness throughout the year, just like grandma did.


Leave a Reply