
Keep your workspace spotlessly clean and wash your hands thoroughly before handling raw fish. You'll need to wear disposable gloves and sanitize your knives frequently. Remove all intestines, scales, and gills completely, then rinse and pat the fish dry. Maintain drying temperatures between 77-86°F (25-30°C) and keep humidity below 45%. Monitor the process regularly with a reliable thermometer, ensuring proper air circulation. Store your dried fish in airtight containers with desiccant packets, and always check for signs of spoilage. For consistently safe results, you'll want to master these fundamental practices and explore additional safety measures.
Clean Workspace and Personal Hygiene
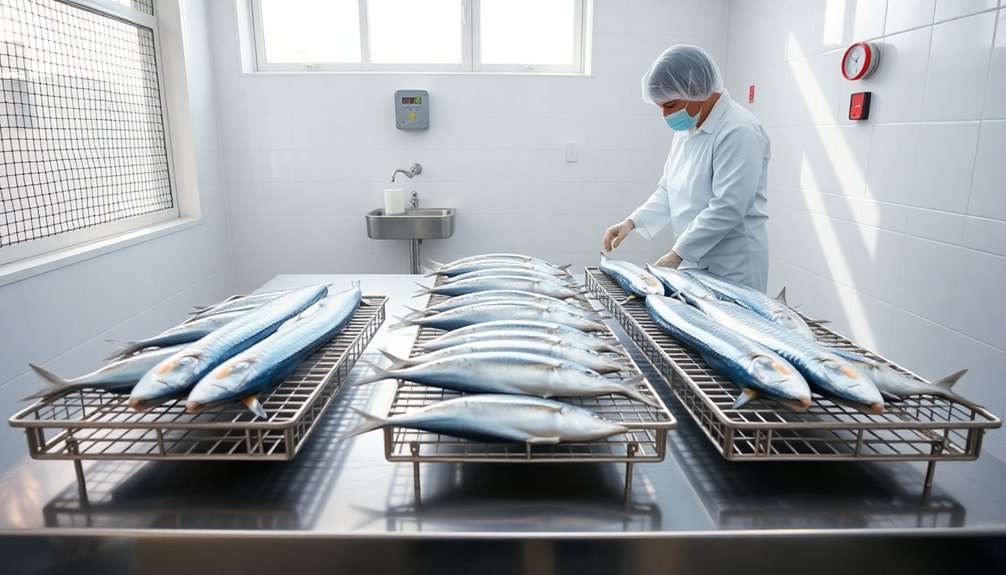
A clean workspace and proper personal hygiene are essential foundations for safely air-drying fish. You'll need to maintain your equipment to prevent contamination while using clean cloths or paper towels to wipe down all surfaces.
When cleaning fish, use clean water, premoistened wipes, or alcohol swabs to sanitize your knives frequently, and guarantee your workspace remains free of any substances that could contaminate the fish. For optimal food safety, rinse in cold water to remove any remaining blood and bacteria.
For personal hygiene, you must wear disposable plastic gloves while handling fish to protect yourself from potential disease exposure. Always wear clean clothing and appropriate hair coverings.
Don't smoke, eat, or play with your hair while handling fish, and if you're sick or have open wounds, avoid handling fish altogether. Make sure to wash your hands thoroughly with hot, soapy water before and after handling raw fish.
Keep your fillet knives sharp and clean, washing them frequently between cuts to prevent bacterial contamination.
Don't forget to clean all counters, cutting boards, and other surfaces that come in contact with raw fish using hot, soapy water. Remember to use only clean drinking water for washing and rinsing your fish.
Temperature Control During Processing
You'll want to maintain drying temperatures between 85°F and 158°F (30-70°C), adjusting based on your humidity levels and the specific drying stage.
Keep a reliable thermometer positioned in the center of your drying area to monitor temperature consistently, and check readings every couple of hours to catch any concerning fluctuations.
When humidity rises above 75%, lower your drying temperature to 35-40°C to prevent quality issues and guarantee proper moisture removal. Modern drying systems like the Airtek heat pump dehydrator feature PLC touch controls that make temperature adjustments precise and effortless.
Optimal Drying Heat Range
When it comes to successfully air-drying fish, maintaining the right temperature range is essential for food safety and quality.
You'll need to keep your drying temperature below 40°C (104°F) for most fish varieties, though tropical fish can handle temperatures up to this upper limit.
For the best results, you should aim for temperatures between 25°C and 30°C (77-86°F), with 27°C (80.6°F) being ideal, especially for temperate-zone fish species. Fresh lean fish are the best candidates for drying since they're less prone to spoilage during the process.
If you're using a solar tunnel dryer, you'll notice temperatures can fluctuate between 35.1°C and 52.2°C, but you'll want to monitor this carefully to prevent overcooking.
You'll achieve the most effective drying when you maintain air temperatures between 35°C and 40°C (95-104°F), paired with relative humidity of 40-50%.
Don't exceed these temperatures for non-tropical fish, as this can compromise quality.
If you're using an oven-drying method, start at 63°C (145°F) for the first two hours, then reduce to 54°C (130°F).
Remember that while higher temperatures speed up the drying process, they can reduce the period of constant drying rate, potentially affecting the final product's quality.
Managing Temperature Fluctuations
Maintaining consistent temperatures throughout the drying process directly impacts your fish's quality and safety.
You'll need to keep temperatures between 25-30°C, with 27°C being the ideal target. Don't let temperatures exceed 40°C, as this will degrade your product's quality and compromise its nutritional value.
To effectively manage temperature fluctuations, you'll want to install automated control systems with accurate thermometers and digital data loggers.
Make certain you're using high-temperature alarms and recorder thermometer charts to track any variations. You should also maintain proper air circulation with velocities between 1-2 m/s, which helps prevent uneven drying and skin hardening.
Monitor both dry and wet bulb temperatures at your dryer's inlet and outlet points continuously.
If you're working with a drying chamber, make sure it's equipped with a fan and heat source featuring automatic temperature control.
You'll want to recycle hot air to maintain uniform conditions throughout the chamber.
Remember that rapid temperature changes can harm your fish's quality, so aim for gradual adjustments when needed.
Keep relative humidity between 45-55% to achieve the best drying results.
Thermometer Placement And Monitoring
Proper thermometer placement plays an important role in monitoring fish temperatures during the drying process. You'll need to insert the temperature probe at least 75-100mm deep into the thickest part of the fish to get accurate readings.
For smaller items like shrimp, thread several pieces onto the probe with the sensor junction centered in the last piece.
To guarantee precise monitoring, you'll want to use thermometers that are accurate within 0.5°C and display readings in 0.1°C increments. Quick-response instruments are vital for minimizing handling time and maintaining product quality.
For best drying results, monitor both wet and dry bulb temperatures at your dryer's inlet and outlet. You'll need to maintain uniform air circulation throughout the drying chamber using fans and properly spaced trays.
- Don't risk your product quality with surface-level readings – always probe the thickest part
- Never guess your temperatures – use precise instruments with 0.1°C divisions
- Don't let your hard work go to waste – continuously record temperature data
- Always check for uniform drying – monitor both inlet and outlet temperatures
- Don't skip the alarms – set high-temperature warnings for added safety
Proper Fish Preparation Steps
Before you start handling any fish, set up a sanitized workspace with all necessary tools and cleaning supplies within reach.
Thoroughly inspect each fish for signs of spoilage or damage to guarantee you're working with quality raw materials.
Keep your hands clean and use proper cutting techniques while following safe handling practices throughout the preparation process.
Clean Workspace Setup First
A clean workspace stands as the foundation for safely air-drying fish. Before you handle any fish, it's vital to create a sanitary environment that'll prevent contamination and guarantee your final product is safe to consume.
Start by thoroughly sanitizing your work surface and gathering all the clean tools you'll need within arm's reach. Your workspace preparation should evoke a sense of confidence and safety.
Make certain you've got:
- A pristine cutting board protected with fresh newspaper to catch debris
- Crystal-clear water ready for rinsing your fish
- Spotless, sharp tools that won't introduce contaminants
- A dedicated disposal container to keep waste organized
- Clean paper towels at the ready for drying surfaces and fish
Once you've set up your workspace, maintain its cleanliness throughout the process. Keep your tools separate – those used for raw fish shouldn't touch other surfaces.
Position your protective layers strategically to catch scales and other debris, making cleanup easier. Remember, a clean workspace isn't just about appearance – it's your first defense against foodborne illness and cross-contamination.
Initial Quality Assessment
The initial quality assessment marks an essential step in successfully air-drying fish.
You'll need to start by selecting fish that's particularly fresh, as this directly impacts both the preservation process and final quality. When choosing your fish, consider whether you prefer bold or mild flavors, and remember that leaner varieties will generally preserve better over time.
Before proceeding with the drying process, you'll need to properly clean and prepare your fish.
Remove all intestines, scales, and gills carefully. If you're working with small to medium-sized fish, butterfly them down to the tail and spread them open. For fish under 8 inches, you can leave the head on, but larger fish require head removal. While deboning isn't mandatory, you might prefer to do this step depending on your final product goals.
Once cleaned, rinse your fish thoroughly to remove any debris, then pat it completely dry with paper towels.
You'll want to prepare a salt marinade, which can be plain or seasoned according to your preference. When applying the marinade, guarantee even coverage and allow excess liquid to drip off completely before proceeding to the drying phase.
Safe Handling Best Practices
Throughout the fish preparation process, maintaining proper safe handling practices stands essential for successful air-drying. You'll need to start by scaling and cleaning the fish thoroughly, removing all scales to eliminate potential contaminants.
Make a precise cut to butterfly the fish while keeping one side of the skin intact, then remove guts and gills to prevent bacterial growth.
For larger fish weighing more than half an ounce or extending beyond 8 inches, remove the head and carefully debone the flesh. Cut your fish into uniform strips between ¼ to ⅜-inch thick, ensuring even drying throughout.
Before proceeding to the drying phase, prepare a salt marinade using 1 to ½ teaspoon of salt per pound of fish.
- Your fish's safety depends on complete evisceration – don't skip removing blood vessels or gall bags
- Your family's health relies on thorough cleaning – wash away all traces of blood and intestines
- Your success hinges on proper cutting – maintain uniform thickness for safe, even drying
- Your results depend on careful salting – follow exact measurements for ideal preservation
- Your preparation matters – pat the fish completely dry before starting the drying process
Safe Evisceration Techniques
Proper evisceration stands as the cornerstone of safe fish preservation. When you're preparing fish for air-drying, you'll need to remove the internal organs carefully to prevent toxin formation and reduce pathogen risks. This vital step helps protect against Clostridium botulinum and stops enzymatic spoilage that could ruin your product.
Before you begin, gather your essential tools: a sharp knife, cutting board, clean water source, and disposable gloves. Start by removing the fish's head while keeping the collarbone intact. Make two precise cuts: one along the backbone and another underneath it, stopping about 2-3 inches from the tail.
You'll then need to thoroughly scrape out all viscera, membranes, and offal. Don't skip the cleaning step – wash the fish thoroughly with fresh water to remove any remaining blood or organ residue. Make several transverse cuts across the flesh to help with the drying process.
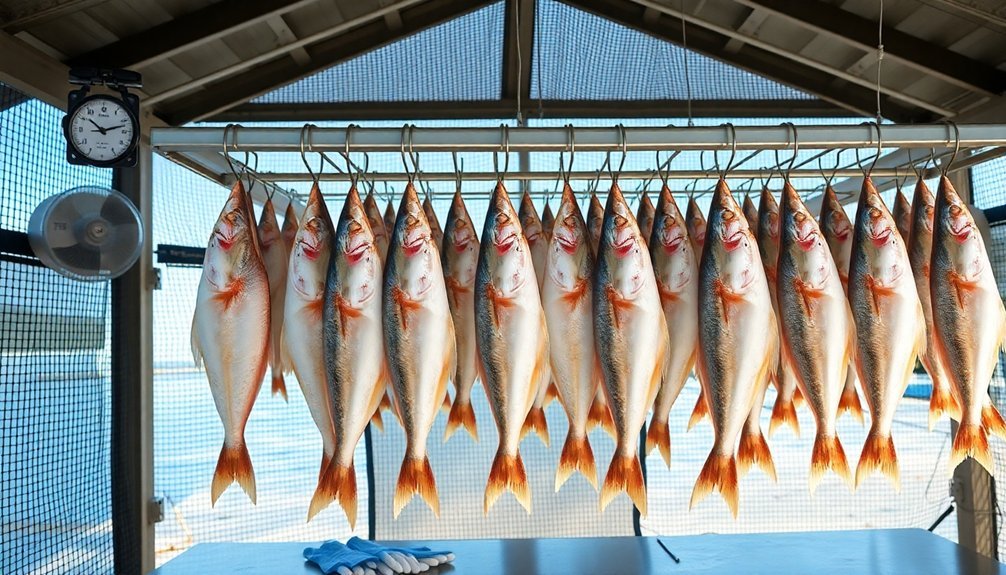
After evisceration, you'll want to immediately begin the preservation process through dry-salting and arrange the fish flesh-side out on your drying frames. Remember to monitor your product regularly for any signs of spoilage during the drying process.
Monitoring Drying Conditions
You'll need to keep a close eye on temperature levels, maintaining them between 8-12ºC during processing, while ensuring relative humidity stays below 45% to prevent spoilage.
Proper air circulation is essential for efficient moisture removal, so monitor airflow patterns and adjust ventilation as needed throughout the drying process.
Regular checks of these conditions at set intervals (10 a.m., 1 p.m., and 4 p.m.) will help you maintain ideal drying conditions and prevent bacterial growth.
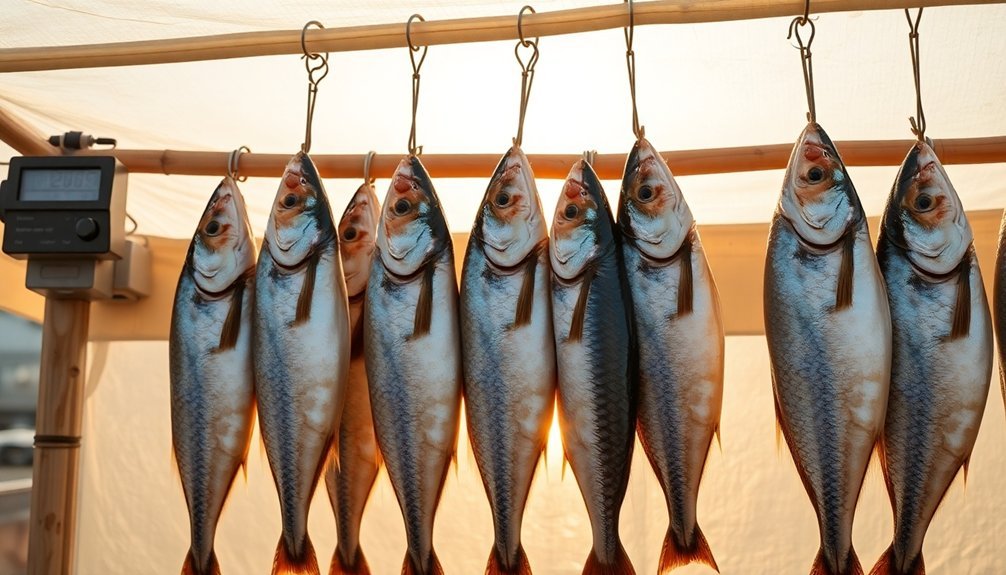
Temperature and Humidity Control
Keeping tabs on temperature and humidity levels is vital when air-drying fish. You'll need to maintain temperatures between 10-75°C, with a maximum of 75°C to prevent overheating and quality loss.
Before starting, verify your fish is properly thawed and cleaned, with an initial body temperature of -2 to 4°C. For best results, keep the relative humidity at around 30% and monitor water activity to stay at or below 0.85.
Use reliable monitoring equipment like thermometers, digital data loggers, and humidity meters to maintain control. If you're using a sealed circulation system, you'll need a dehumidification system to manage moisture levels effectively.
Remember to adjust your drying cycle based on any temperature or humidity deviations you observe.
- Your fish's safety and quality depend on your vigilance
- One temperature slip-up could ruin an entire batch
- Proper monitoring prevents dangerous bacterial growth
- Your family's health relies on maintaining proper conditions
- The satisfaction of perfectly dried fish makes it worth the effort
Monitor these parameters continuously and take immediate corrective action if readings fall outside the safe range. Use automated controls when possible, but don't rely solely on technology – regular visual checks are essential for guaranteeing safe, high-quality dried fish.
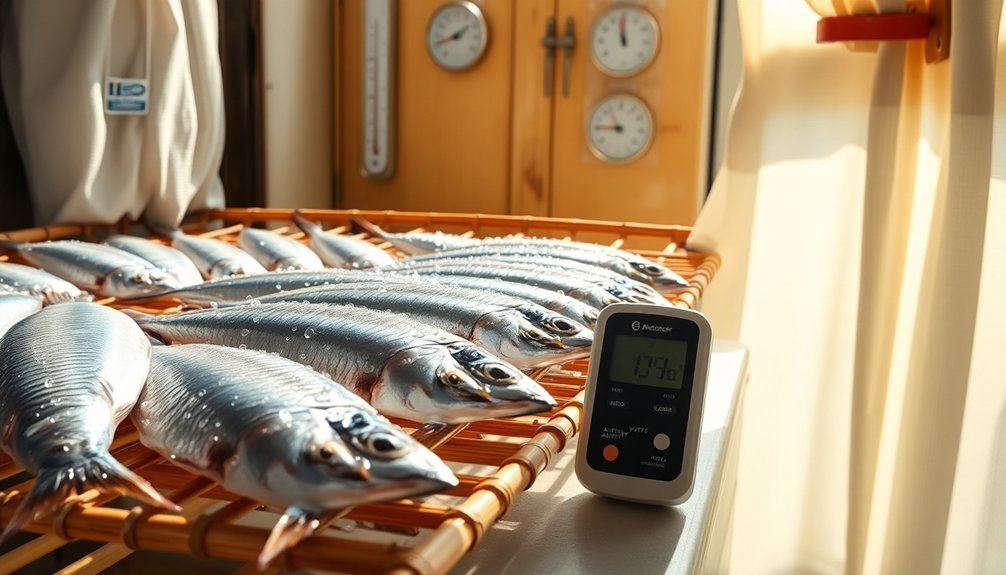
Air Circulation Management
Air circulation plays an essential role in successfully drying fish. You'll need to guarantee your drying chamber maintains homogeneous temperature through proper ventilation and air movement.
Monitor the circulating fan's performance as it sends air through the heater and into the inner chamber via air ducts.
Keep a close eye on air velocity, as it directly impacts drying rates and uniformity. You'll want consistent airflow to prevent case hardening, where the fish's surface dries too quickly and traps moisture inside. If you notice uneven drying, adjust the air velocity to compensate for any variations in conditions.
You must maintain proper air quality to prevent moisture buildup and pathogen growth. Don't let the air become fully saturated with water, as this will slow down the moisture transfer from the fish's deeper layers to its surface.
Guarantee your ventilation system effectively removes humid air while maintaining the desired temperature.
Remember that proper air circulation helps you achieve the critical water activity level of 0.85 or below, which prevents pathogenic bacteria growth. If you notice any deviations in the drying cycle, make immediate adjustments to maintain safe drying conditions and guarantee your final product remains shelf-stable.
Airflow and Ventilation Management
Proper management of airflow and ventilation sets the foundation for successfully air-drying fish.
You'll need to verify uniform airflow distribution through adjustable air plates and dual plenum systems while maintaining temperatures between 40°C to 60°C. Your ventilation system should efficiently remove warm, moist air to prevent humidity buildup that could lead to mold growth and spoilage.
Monitor your digital controls and sensors regularly to maintain ideal temperature and humidity levels.
You'll find that energy-efficient fans and direct drive motors help create a stable drying environment while keeping operational costs low. Don't forget to check that your exhaust systems are working properly to remove moisture quickly.
- You'll sleep better knowing your fish is drying safely in a controlled environment
- You won't have to worry about harmful bacteria or mold contamination
- You'll feel confident serving high-quality dried fish to your family
- You'll save money by preventing product loss due to improper drying
- You'll enjoy peace of mind with a clean, efficient drying process
Remember to keep your system well-maintained by regularly cleaning the ventilation components and checking for proper airflow distribution across all drying chambers.
Water Activity Testing
Beyond airflow management, water activity testing stands as your primary defense against microbial growth in dried fish. You'll need to guarantee your product reaches a water activity (aw) level of 0.85 or below to prevent dangerous pathogens like Staphylococcus aureus and Clostridium botulinum from growing.
| Testing Method | Accuracy Level | Best Use Case |
|---|---|---|
| Chilled Mirror Dewpoint | Highest | Professional Processing |
| Portable Sensors | Moderate | Field Testing |
| Hair Hygrometers | Basic | Initial Screening |
To properly test water activity, you'll need to collect representative samples from your finished product and let them reach equilibrium with the surrounding air. Remember that temperature control is vital – even a 0.1°C difference can affect your readings by 0.005 aw. You'll want to monitor drying time, temperature, and humidity continuously throughout the process.
Don't rely on moisture content alone – water activity provides a much better indicator of food safety. Make sure you're regularly calibrating your testing equipment and maintaining accurate records of your measurements. After achieving the desired aw level, proper packaging is essential to prevent rehydration and maintain product safety.
Storage Environment Requirements
Success in storing dried fish hinges on creating the right environment to maintain quality and prevent spoilage. You'll need to focus on creating ideal conditions that protect your dried fish from moisture, heat, and contamination.
Choose a cool, dry location away from heat sources like ovens and stoves, and guarantee proper ventilation to prevent moisture buildup and pathogen growth.
For the best storage results, you'll want to position your storage area or smokehouse on elevated ground to catch natural breezes. Don't store your dried fish in basements prone to dampness or near creeks.
Use airtight containers or resealable plastic bags, and consider adding desiccant packets in humid climates.
- Your precious dried fish can spoil within days if exposed to direct sunlight
- Mold and maggots can destroy months of hard work if you store fish on damp ground
- Improper ventilation can lead to dangerous pathogen growth
- Temperature fluctuations can ruin your fish's texture and flavor
- Cross-contamination from handling with wet hands can trigger rapid spoilage
Keep your storage area clean, maintain consistent temperatures, and avoid touching the dried fish with damp hands.
Remember to store containers off the ground and under proper roofing to prevent moisture damage.
Safe Packaging Methods
Your choice of packaging materials directly impacts how well your dried fish maintains its quality over time. To protect your product, select packaging that's impermeable to oxygen and moisture, such as polyester polyethylene laminated materials.
Avoid traditional options like hessian sacks or palmyra leaf baskets, as they won't protect against moisture, oxygen, or pests.
For the best results, use high-density polythene woven gusseted bags, which offer excellent mechanical strength and durability. You'll want to guarantee your packaging creates an effective barrier against moisture and gases to prevent rehydration and delay spoilage.
Consider vacuum packing or gas flushing techniques to minimize oxidation risks.
When selecting packaging materials, check that they're resistant to mechanical abrasion and puncture. Pay special attention to package closures to prevent moisture exposure.
UV-stabilized transparent polythene sheets offer good durability while allowing product visibility. While low-density polythene and polypropylene are common choices, they've higher water vapor transmission rates, so they're not ideal for long-term storage.
Remember that your packaging must comply with safety regulations while maintaining your dried fish's low water activity levels for shelf stability.
Quality Control Checkpoints
Four essential quality control checkpoints must be monitored during the air-drying process to guarantee food safety and product quality.
You'll need to regularly check temperature, humidity, and air velocity while maintaining detailed records of your measurements.
When you're monitoring these parameters, it's vital to use calibrated equipment for accurate readings and collect representative samples throughout the drying cycle.
Here's what you must check during the process to protect your family's health:
- Your fish's internal temperature – it's your first line of defense against dangerous bacteria like Staphylococcus aureus
- The cleanliness of all work surfaces – contamination can destroy hours of careful work
- The proper execution of evisceration – this critical step prevents deadly botulinum toxin formation
- Your product's water activity levels – incorrect moisture content can lead to food poisoning
- The time elapsed between each processing step – delays can spark bacterial growth
If you detect any deviations, take immediate corrective action.
You might need to adjust the drying temperature, extend the drying time, or in severe cases, destroy compromised products.
Remember to document all corrective actions and their outcomes for future reference.
Frequently Asked Questions
Can Fish Be Safely Air-Dried Outdoors During Winter Months?
You can safely air-dry fish in winter if temperatures stay below 50°F, there's good airflow, and you protect them from pests. However, you'll need adequate shelter from snow and freezing precipitation.
How Long Should Fish Be Salted Before Starting the Air-Drying Process?
You'll need to salt your fish for different durations based on your method: 1-2 days for brine salting, 2-14 days for pickle salting, or around 10 days for dry salting before starting air-drying.
What Signs Indicate That Air-Dried Fish Has Spoiled?
You'll know your air-dried fish has spoiled if you notice mold, a slimy surface, unusual dark patches, or a strong sour smell. The texture shouldn't be overly soft, and any off-putting odors indicate spoilage.
Is It Necessary to Use Food-Grade Preservatives When Air-Drying Fish?
Yes, you'll need preservatives for safer air-dried fish. While drying reduces moisture, it doesn't eliminate all microorganisms. Using food-grade preservatives helps prevent bacterial growth and extends shelf life of your dried fish.
Can Different Types of Fish Be Dried Together in the Same Space?
You shouldn't dry different fish types together, as they require unique drying conditions and can cross-contaminate. It's safer to dry them separately to prevent bacterial spread and guarantee proper drying for each variety.
In Summary
You've now learned the critical steps for safely air-drying fish. By following these guidelines for cleanliness, temperature control, proper preparation, and storage, you'll minimize the risk of foodborne illness and spoilage. Remember to consistently monitor the drying process and water activity levels. Don't skip any safety steps, even if they seem time-consuming. Your diligence will result in a safe, high-quality preserved fish product.


Leave a Reply