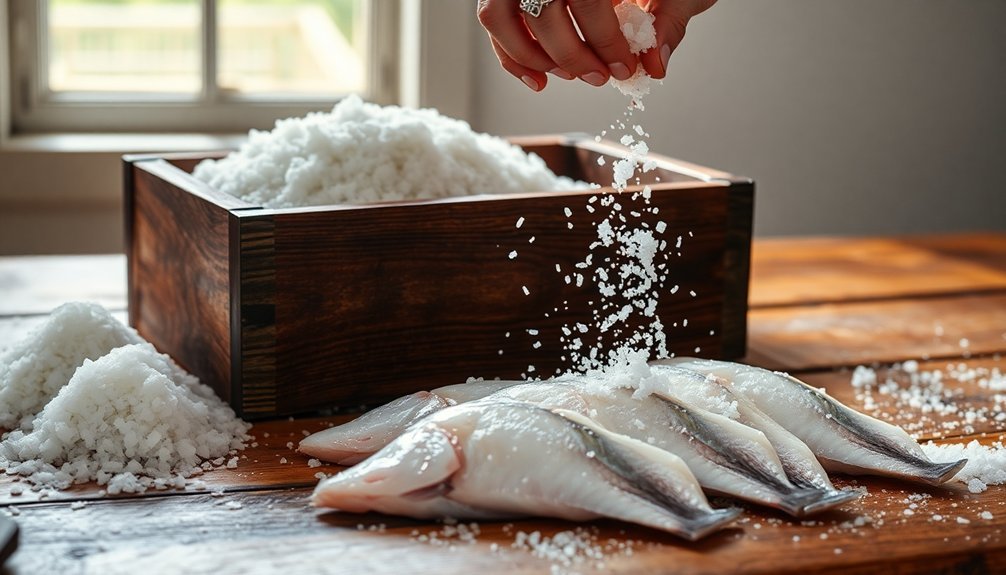
To salt-box fish, you'll need large watertight containers, non-iodized salt, and fresh, high-quality fish. Start by cleaning your catch thoroughly, removing scales, gills, and organs, then pat it dry. For dry salting, make shallow cuts in the flesh and layer the fish with salt at a 1:3 to 1:10 ratio, depending on size. For wet brining, create a solution using 270g of salt per liter of water. Both methods require temperatures below 20°C and proper curing time – typically 5-10 days for dry salting and 2-14 days for brining. These time-tested preservation techniques hold centuries of coastal wisdom within their steps.
Essential Tools and Containers
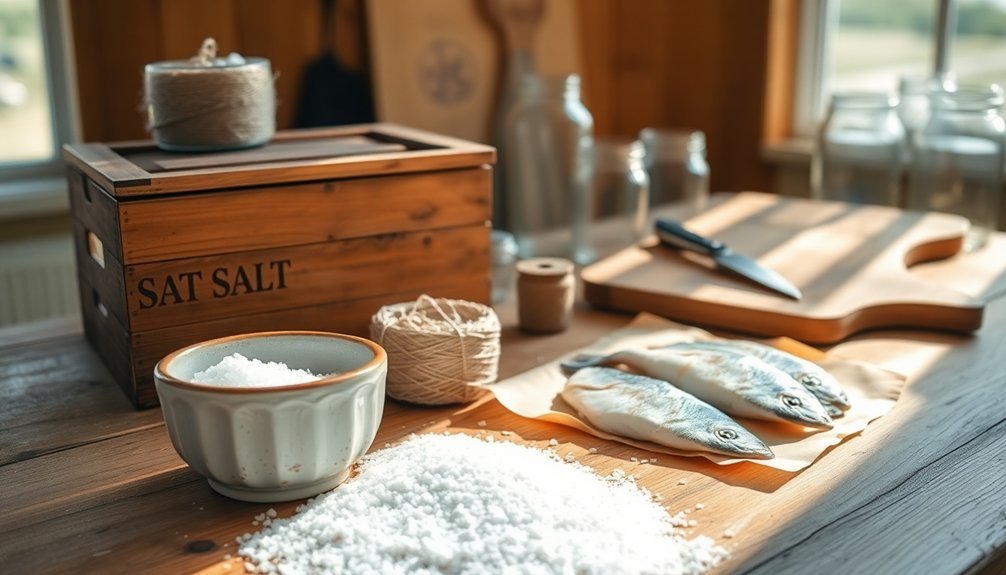
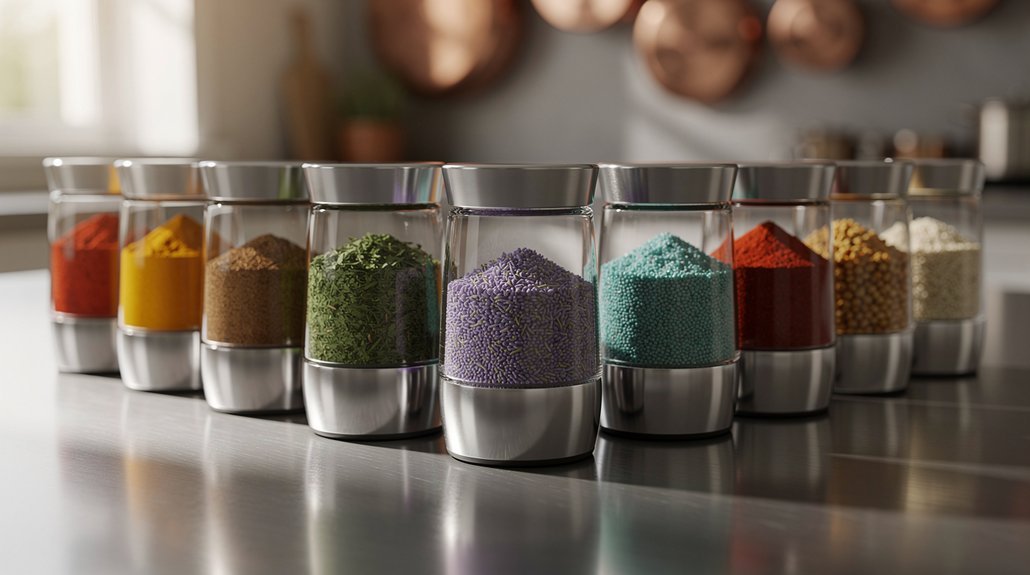
Before starting the salt-box fish process, you'll need several essential containers and tools to secure proper curing and preservation. Start by gathering large watertight containers or coolers that'll hold your fish and salt mixture.
You'll also need flat-bottomed baking sheets or bowls for the initial salt coating, plus stoneware crocks or glass containers if you're using the brine method. You'll want to measure approximately 2.5 cups of salt per gallon of water when preparing your brine solution.
For proper pressing and weight distribution, collect clean wooden planks and non-metallic weights. These tools make certain your fish stays submerged in the brine and maintains even contact with the salt.
You'll want wooden drying racks or frames to support the fish during the drying phase.
Don't forget your measuring tools – a salinometer is vital for checking brine concentration, and you'll need sharp knives for fish preparation.
Keep wooden stirring tools handy for mixing salt and fish. To monitor the process effectively, you'll need equipment to check moisture levels and salt saturation.
Store your supplies in a clean, organized space, including airtight containers for the finished product and burlap or cloth to regulate moisture and temperature during the curing process.
Preparing Your Fish
Proper fish preparation forms the cornerstone of successful salt-box preservation. You'll need to start with fresh, high-quality fish, whether you're using whole fish or fillets.
Begin by thoroughly cleaning your fish under cold running water, removing any scales, gills, and internal organs if they're still present. Pat the fish completely dry with paper towels to reduce excess moisture that could interfere with the salting process. Maintaining proper texture and freshness is crucial, as Chef Ricky Moore emphasizes in his approach to seafood preparation.
Before applying salt, you'll want to prepare your fish by following these essential steps:
- Score the flesh with shallow diagonal cuts to help the salt penetrate more effectively.
- Remove any dark meat or bloodlines that could affect the final taste and texture.
- Cut larger fish into uniform pieces to guarantee even salt distribution.
- Clean away any remaining blood or impurities from the surface.
Make certain your cuts are clean and precise, as rough handling can damage the flesh and affect the final product.
Pay special attention to the cavity area if you're working with whole fish, ensuring it's completely clean and free of membrane or blood vessels. Your fish should now be ready for the salting process.
The Dry Salting Method
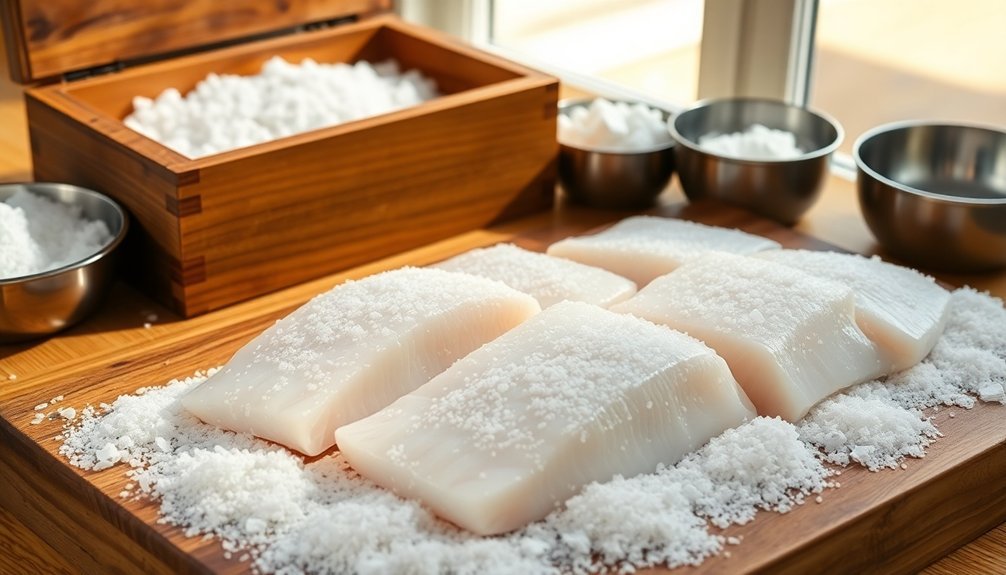
The dry salting method builds directly on your careful fish preparation work. You'll need to calculate your salt-to-fish ratio, which typically ranges from 1:3 to 1:10, depending on your fish size. The larger the fish, the more salt you'll need relative to the fish weight.
Start by making deep slashes in the fish flesh and thoroughly rubbing salt into these cuts. You'll want to guarantee complete coverage, as any missed spots can lead to spoilage. Non-iodized salt is essential for proper preservation and best results.
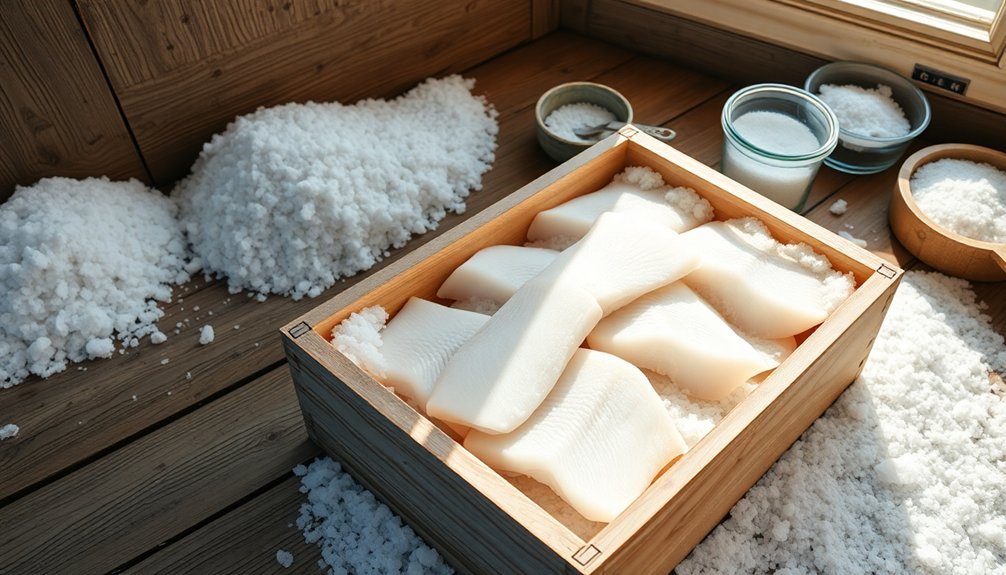
Layer your fish in a container, adding salt between each layer until you've completely covered the fish. Place a weight on top of the final layer to keep the fish submerged in the brine that'll form during the process.
Let your fish cure in the salt for 5-10 days, adjusting the time based on the fish size and weather conditions. Once curing is complete, scrub the fish in fresh brine or water to remove excess salt.
The final product should weigh about 35-40% of the original fish weight. If you've done everything correctly, your salt-boxed fish can last up to six months when stored in airtight containers in a cool, dry place.
Wet Brining Techniques
Wet brining offers a more controlled approach to fish preservation than dry salting. You'll need to prepare your brine by dissolving either 270g of salt per liter of water for a strong solution or 120g for a weak one. The concentration you choose will affect how long you'll need to brine your fish.
The brining process requires careful attention to timing and temperature. Keep your workspace at 20°C or below, and remember that oily fish need 25% more time than non-oily varieties. You'll want to guarantee your fish is completely submerged in the brine using appropriate containers made of glass, enamel, or stainless steel.
- For 2kg of fish, brine for 12-14 hours in a weak solution
- Double the brining time if you're chilling the fish during the process
- Monitor firm-fleshed fish more carefully as they take longer to absorb salt
- Adjust timing based on whether you're using strong or weak brine
After brining, rinse your fish thoroughly under cold water and pat it dry with paper towels. You can then proceed with additional preservation methods like smoking or drying, or store your brined fish in a cool, dry place.
Storage and Curing Times
Once you've completed the brining process, understanding storage requirements and curing times becomes your next priority.
You'll need to store your salt-cured fish in a cool, dark place at temperatures between 32°F and 39°F (0-4°C). For room temperature storage, use airtight containers with desiccants, but avoid hot and humid conditions that can spoil your fish.
Your curing times will vary based on your chosen method and the fish type. Pickle salting takes 2-14 days, while dry curing can range from a few hours to several days.
If you're curing salmon, plan for 8-12 hours, or up to 16 hours for thick fillets. Trout requires 3-6 hours, while steelhead needs 6-8 hours. Remember, skinless fillets cure in half the time since the cure penetrates from both sides.
For proper maturation, allow 4-6 weeks until the fish reaches 17-18% salt content. If you're making klippfisk, continue drying until the water content drops below 48%.
When air-drying, expect 1-2 weeks depending on your climate conditions. With proper storage in a cool, dry place, your salt-cured fish can last several months.
Frequently Asked Questions
Can I Reuse Leftover Brine Solution for the Next Batch of Fish?
Don't reuse leftover brine solution for your next batch of fish. It's unsafe due to bacterial growth risks and can lead to inconsistent flavor. You'll want to make fresh brine each time.
How Can I Tell if My Salted Fish Has Gone Bad?
You'll know your salted fish has spoiled if you notice a strong ammonia smell, slimy gills, soft flesh that doesn't spring back, or yellowish discoloration. Trust your senses—if it smells off, don't eat it.
What Types of Fish Are Best Avoided for Salt-Box Preservation?
You'll want to avoid fatty fish like mackerel and tuna, delicate fish like flounder, species prone to melanosis like shrimp, and fish with high water content. These won't preserve well in salt.
Will Salt-Boxing Affect the Nutritional Value of My Fish?
While you'll lose some moisture, your fish will retain most nutrients like protein and omega-3s. Just be mindful that the sodium content increases considerably. Vitamins and minerals stay largely intact during salt-boxing.
Can I Add Spices or Herbs During the Salting Process?
Yes, you can add herbs and spices during salting. Mix them with your salt before applying, or layer them between fish. You'll get the best results using dried herbs in pickle or dry salting methods.
In Summary
You've now learned the time-tested methods of salt-boxing fish, whether through dry salting or wet brining. With proper preparation, the right salt-to-fish ratio, and careful attention to curing times, you'll be able to preserve your catch for months to come. Remember to check your fish regularly during the curing process and store it in a cool, dry place. You're now ready to carry on this traditional preservation technique.
Leave a Reply