You'll need to deep-clean your clay food pots regularly because their porous surface can trap food particles, bacteria, and unwanted odors over time. These tiny pores naturally absorb liquids during cooking, which makes them great for flavor but also vulnerable to contamination. Regular deep cleaning prevents mold growth, eliminates harmful pathogens, and maintains the pot's natural benefits like mineral enrichment and enhanced food digestibility. Proper cleaning with natural agents like baking soda and salt also extends your pot's lifespan and guarantees safer, healthier cooking. Discover how these traditional cooking vessels can transform your culinary experience with the right care.
Understanding Clay Pot Porosity

Before cleaning any clay pot, you'll need to understand how its porosity affects its care and maintenance. Clay pots naturally contain tiny pores that can absorb liquids, and this porosity level varies depending on how the pot was fired during manufacturing. High-fired clay pots are less porous, while low-fired ones absorb more water, which directly impacts how you'll need to clean them.
The composition of your clay pot also matters considerably. If it contains materials like dolomite or rice husks, it'll likely be more porous, making it more susceptible to absorbing not just water but also flavors, detergents, and potentially harmful substances. This absorption capability can affect both the pot's functionality and your health. Terra cotta pots in particular require careful attention as they typically have high iron content and are fired at lower temperatures.
You'll want to pay special attention to whether your pot is glazed or unglazed. Unglazed pots can leach substances into your food and absorb cleaning agents, while glazed ones provide a protective barrier.
If you're using an unglazed pot, you'll need to be particularly careful about what cleaning products you use, as these products can remain in the porous surface and later contaminate your food.
Natural Cleaning Methods
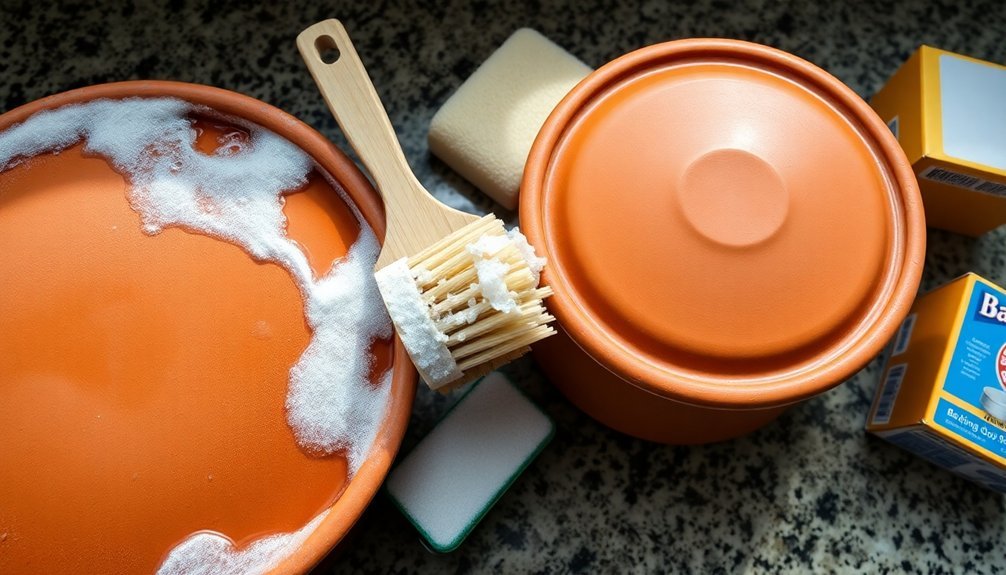
You'll find that salt and baking soda provide powerful yet gentle cleaning action for your clay pots, with baking soda particularly effective at neutralizing odors and removing stains.
Warm water solutions work best when you're soaking your pots, especially when combined with natural cleaners like vinegar or baking soda in the right proportions. Soft brushes or sponges should be used to protect the delicate surface during cleaning.
While vinegar's acidic properties make it excellent for breaking down mineral deposits, you'll want to rinse thoroughly afterward and allow your pot to dry completely in the sun.
Salt And Baking Soda
For a natural and effective approach to cleaning clay food pots, salt and baking soda stand out as two powerhouse ingredients.
You'll find salt particularly useful as a non-toxic scouring agent – simply sprinkle it into your pot and use a scouring pad to remove food residue while maintaining the clay's natural texture. Extreme temperature changes can damage your pot, so always use warm water for cleaning.
When it comes to baking soda, you've got multiple cleaning options. Mix 3 tablespoons per liter of hot water for a basic cleaning solution, or create a paste for tackling mold.
For deep cleaning, you can soak your pot overnight in the baking soda solution. To eliminate strong odors, fill your pot with warm water and add 2 tablespoons of baking soda, letting it sit for at least 15 minutes.
You can use these methods separately or combine them for stubborn stains. Instead of harsh chemical cleaners or abrasive scouring powders, stick to these natural alternatives.
Remember to use a soft bristle brush or nonmetallic scrubbing pad, and always rinse thoroughly with warm water after cleaning. Regular deep cleaning with these natural ingredients will help preserve your clay pot's porosity and extend its lifespan.
Warm Water Solutions
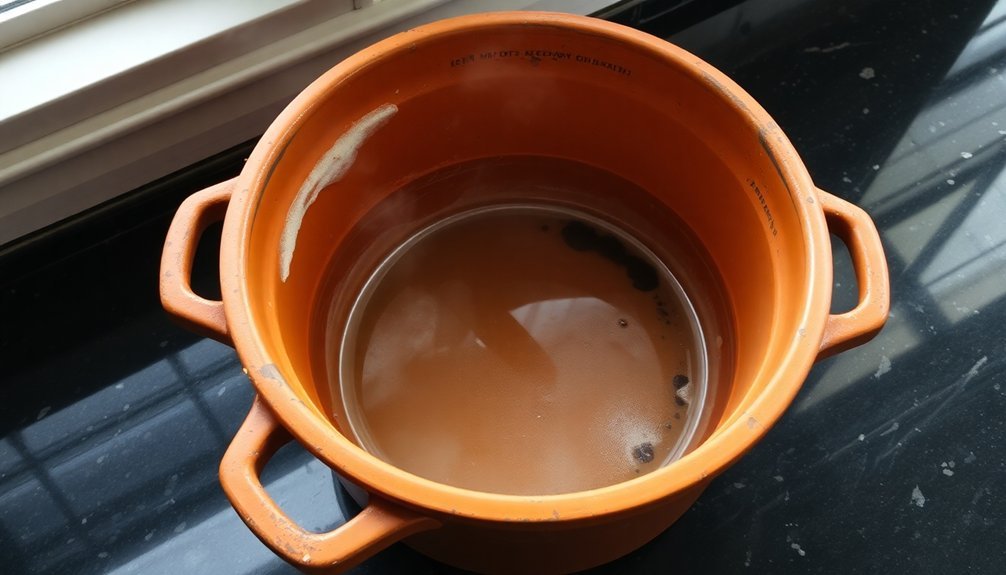
Warm water stands out as one of the most effective yet gentle solutions for cleaning clay food pots. You'll want to use scalding hot water for the initial cleaning process, but avoid using any soap or detergent as these can seep into the clay and alter your food's taste.
For stubborn stains or residue, you can soak your pot overnight in water, making the cleaning process much more manageable.
When deep-cleaning your clay pot, follow these essential steps:
- Pre-soak the pot in cold water for at least 15 minutes before you begin the cleaning process.
- Use a stiff brush or mild scrubber with warm water to thoroughly clean all surfaces, including the lid.
- Rinse completely with warm water and guarantee the pot is entirely dry before storing.
For particularly challenging odors or stains, you can create a natural cleaning solution using warm water and baking soda. Let this mixture soak in the pot for several hours.
Remember to store the pot and lid separately after cleaning to prevent trapped moisture, which can lead to mold growth. By following these warm water solutions, you'll maintain your clay pot's integrity while guaranteeing it's properly sanitized.
Vinegar Cleaning Tips
White vinegar serves as a powerful natural cleaning agent for clay food pots, effectively dissolving mineral deposits and eliminating stubborn stains.
You'll need to mix 2 cups of white vinegar with 2 liters of distilled or rain water for a standard cleaning solution. For tougher stains, increase the vinegar concentration to a 50-50 ratio with hot water.
Before soaking your pots, use a scrub brush to remove loose dirt and debris. Then, submerge them completely in the vinegar solution. You'll want to let them soak for 8 hours to a day, though severe stains might require overnight treatment.
For crusty rims, apply pure vinegar directly to these areas.
After the soaking period, you can easily brush away loosened mineral deposits and hard water stains. You'll find that white vinegar not only removes unsightly buildup but also kills bacteria and pathogens.
Once you've finished cleaning, it's essential to dry your pots thoroughly in a well-ventilated area or sunlight. Don't store them until they're completely dry, as moisture can lead to mold growth.
Regular vinegar cleaning will help maintain your pots and prevent future mineral deposits.
Mold Prevention Techniques
You'll need to tackle mold growth before it becomes a problem by keeping your clay pots in well-ventilated areas and ensuring they dry completely between uses.
Natural cleaning methods like baking soda, salt, or vinegar solutions provide effective ways to remove existing mold without damaging the clay's porous surface.
Regular maintenance, including proper drying techniques and the use of paper towels between stored lids, creates an environment that's naturally resistant to mold growth.
Stop Mold Before Starting
Preventing mold in clay food pots starts with proper drainage and ventilation. You'll need to guarantee your pots have adequate holes for water runoff and aren't sitting in areas with poor air circulation.
When selecting your potting mix, choose one that doesn't retain excessive moisture, as oversaturated soil creates the perfect environment for mold growth.
Glazing your pots creates an essential barrier against mold formation and makes them easier to maintain. If you're using unglazed pots, consider taking them to a potter for glazing to reduce clay absorbency and enhance their protective properties.
For ongoing protection, you'll want to:
- Clean and thoroughly dry your pots after each use, using sunlight or stovetop heat on low settings.
- Store pots and lids separately in well-ventilated areas to prevent moisture buildup.
- Regularly inspect for early signs of mold or mildew development.
Remember to manage your irrigation carefully, as overwatering is a common culprit in mold growth.
Natural Anti-Mold Cleaning Methods
Natural cleaning methods effectively combat mold while keeping your clay pots chemical-free and food-safe.
You'll find vinegar particularly useful as a natural mold killer – simply spray undiluted white vinegar on affected areas and wipe with a disposable towel after a few minutes. If you find the scent too strong, you can dilute it with water, but don't let it soak into the clay's pores.
For a potent natural solution, try tea tree oil by mixing one teaspoon with a cup of water. Spray this mixture on moldy areas and let it sit for an hour before wiping clean. You can also use grapefruit seed extract or citrus seed extract following similar dilution methods.
Hydrogen peroxide offers another effective option – use a 3% concentration and let it sit for 10 minutes before scrubbing with a stiff brush. Remember to test it on a small area first to avoid discoloration.
For a gentler approach, create a paste with baking soda and water or lemon juice. Apply it to affected areas, scrub gently without metal scrubbers, and rinse thoroughly.
Always guarantee your pot dries completely after cleaning to prevent future mold growth.
Health Benefits of Clean Pots
Did you know that cooking and storing food in clean clay pots offers remarkable health benefits? When you maintain pristine clay cookware, you're ensuring maximum nutrient absorption from minerals like calcium, phosphorous, iron, magnesium, and sulfur.
These essential nutrients naturally infuse into your food and water during the cooking process, contributing to your overall health and mineral balance.
Clean clay pots promote better digestive health through their natural alkaline properties. They'll help neutralize acidic foods and maintain your body's ideal pH balance, making digestion easier and reducing gastric problems.
You'll also need less cooking oil, resulting in healthier, lower-fat meals.
Here are key benefits you'll experience with properly cleaned clay pots:
- Enhanced nutrient retention through slow cooking and circulating steam
- Natural water filtration that removes impurities while preserving beneficial minerals
- Chemical-free cooking environment that prevents harmful substances from leaching into your food
The porous nature of clean clay pots provides natural cooling through evaporation, making them perfect for storing water, especially during hot weather.
This natural cooling helps maintain ideal body temperature and provides gentle hydration that won't irritate your throat.
Proper Deep Cleaning Steps
To maintain your clay pot's ideal cooking performance, a thorough deep-cleaning routine is vital. Start by soaking your pot overnight in a mixture of hot water and baking soda, using 3 tablespoons per liter of water. Before the soak, scrub off loose debris with scalding water and a stiff brush.
| Step | Action |
|---|---|
| Pre-Clean | Scrub with hot water and brush |
| Soak | Submerge in baking soda solution |
| Deep Clean | Use soft brush with salt or baking soda |
| Dry & Store | Air dry completely, store with lid open |
When cleaning, avoid soap and detergents as they'll absorb into the clay. Instead, use baking soda or salt as your primary cleaning agents. For stubborn stains, add a squeeze of lemon juice to your cleaning mixture and let it sit for 10-15 minutes before scrubbing with a nonmetallic pad.
After thorough rinsing with warm water, it's essential to dry your pot completely. You can speed up the process by placing it in sunlight or using medium heat on your stove. When storing, keep the lid inverted or separated with a paper towel to prevent moisture buildup, and always store in a well-ventilated area.
Seasoning Your Clay Pot
You'll need to start the seasoning process by thoroughly coating your clay pot with natural oil, allowing the oil to penetrate deep into the porous surface.
To maintain proper moisture balance, alternate between soaking the pot in water and letting it dry completely under the sun.
This initial seasoning prevents your pot from cracking during cooking and creates a protective barrier that helps stop food from sticking to the surface.
Initial Oil Treatment Process
Seasoning a clay pot properly is essential for creating a naturally non-stick surface and preventing food from sticking during cooking. Before you apply any oil, you'll need to verify your pot has been thoroughly soaked, cleaned, and dried.
Once your pot is completely dry, you're ready to begin the oil treatment process.
Take coconut oil or ghee and generously coat the entire surface of your clay pot, including both the interior and exterior. You'll want to guarantee even coverage, as this oil treatment serves multiple purposes:
- Creates a protective barrier that prevents food from sticking
- Helps seal the pores in the clay material
- Adds durability to your pot's structure
After you've applied the oil, place your pot in direct sunlight to help with absorption. Let it sit for at least an hour, allowing the oil to penetrate deeply into the clay.
You'll notice the pot gradually absorbing the oil – this is exactly what you want. Once the oil has been fully absorbed, your pot is ready for the next step in the seasoning process: the rice water treatment.
Keep Moisture Balance
With proper moisture balance, your clay pot will become a reliable cooking companion for years to come.
Before you begin using your pot, soak it in cold water for 8-9 hours overnight to activate its porous surface. You'll know it's working when you hear a slight sizzle as water enters the tiny pores for the first time.
To maintain ideal moisture balance, you'll need to soak your unglazed clay pot in cold water for 15 minutes before each use. Don't skip this step, as it helps prevent your food from drying out during cooking.
After the initial seasoning, you can enhance the pot's performance by soaking it in starch water or rice-washed water.
Remember to avoid sudden temperature changes that could crack your pot. Don't place it in a preheated oven; instead, start with a cold oven and let it heat gradually.
When you're done cooking, resist the urge to pour water into the hot pot immediately. Store your clay pot in a cool, dry place between uses, and stick to water-based recipes for the first 3-5 cooking sessions to properly seal the surface.
Prevention Through Seasoning
Properly seasoning a clay pot stands as the most vital step in preventing damage and ensuring its longevity. You'll need to start by soaking your pot in water for at least 8 hours, allowing the porous surface to absorb moisture thoroughly.
After drying it in the sun, apply a generous coating of vegetable or olive oil to all surfaces, which helps strengthen the pot and prevent cracking.
For the best seasoning results, follow these vital steps:
- Rub a fresh garlic clove on the interior surface, then coat with oil to enhance the seasoning process.
- Heat the pot slowly with water or oil at a low temperature, allowing the oil to penetrate deeply.
- Boil rice water in the pot to help the surface absorb starch and create an additional protective layer.
You'll want to avoid heating an empty pot or exposing it to sudden temperature changes, as these can cause cracks.
Remember to let your pot cool completely before washing it, and never use harsh detergents that can damage the seasoned surface.
Stick to hot water, baking soda, or salt for cleaning to maintain the pot's integrity and preserve its natural flavoring properties.
Common Clay Pot Problems
Clay pots' hidden challenges can turn a promising cooking experience into a problematic one if you're not careful.
You'll face four major concerns when using clay cookware: contamination risks, mold growth, structural fragility, and cleaning difficulties.
Your pot might be leaching heavy metals like arsenic, lead, and cadmium into your food, especially if it's unglazed or made from poorly sourced clay.
While glazing reduces this risk, it doesn't eliminate it completely, so you'll need to buy from reputable vendors.
You'll also battle mold and mildew if you don't maintain proper cleaning and drying practices.
The pot's porous nature retains moisture and organic matter, creating perfect conditions for fungal growth, particularly in humid environments with poor air circulation.
Temperature changes pose another threat – your pot can crack or explode if you don't let it reach room temperature before heating.
It's equally vulnerable to impacts and drops due to its fragile nature.
Cleaning presents its own challenges because clay absorbs salts, pathogens, and food flavors.
You can't use regular soap, as it'll make the clay brittle, and you'll need special cleaning methods like vinegar or heat treatment for proper maintenance.
Maintaining Nutritional Value
Despite the challenges of clay pot cooking, its remarkable ability to preserve nutrients makes it worth mastering. When you cook with clay pots, you'll retain more vitamins and minerals compared to other cooking methods, thanks to their unique slow and even heating properties.
The pots' porous nature and natural insulation work together to circulate heat and moisture efficiently, preventing nutrient loss during cooking.
You'll benefit from the clay pot's alkaline properties, which help neutralize acidic foods and improve digestibility. Plus, these pots naturally enrich your meals by adding essential minerals like calcium, phosphorus, and iron to your food.
The slow cooking process guarantees these nutrients are evenly distributed throughout your dish.
Here's why maintaining your clay pot's cleanliness is vital for nutritional benefits:
- Clean pots better preserve the natural pH balance that helps with nutrient absorption
- Proper maintenance guarantees peak mineral transfer from pot to food
- Regular cleaning prevents buildup that could interfere with the pot's moisture-retention properties
Extending Pot Lifespan
Through consistent care and maintenance, you'll greatly extend your clay pot's lifespan, ensuring years of nutritious cooking.
Start by cleaning your pot properly without using soaps or detergents, as these can be absorbed into the porous clay and affect food flavor. Instead, rely on natural cleaning agents like baking soda, salt, and water for both regular and deep cleaning.
To prevent mold growth, always dry your pot thoroughly after each use and store it with the lid off in a well-ventilated area. You'll want to place it near a window or in sunlight to maintain ideal dryness.
For stubborn mold issues, sprinkle baking soda inside the pot and rinse with warm water.
Your pot's seasoning improves with each use, typically becoming fully seasoned after 5-6 uses. This seasoning creates non-stick properties and enhances durability.
When cooking, match the pot's diameter to your burner size and use low-medium heat to prevent damage.
Remember to deep clean your pot every month or two, and if the pores become clogged, boil the pot in water for 30 minutes to restore its effectiveness.
Essential Safety Precautions
While maintaining your clay pot extends its life, following proper safety measures keeps both you and your cookware protected. You'll need to be particularly mindful of temperature changes and cleaning methods to prevent damage and guarantee safe cooking.
When it comes to safety precautions, remember these essential steps:
- Never use soap or detergents to clean your clay pot – they'll soak into the porous surface and contaminate your food. Instead, stick to natural cleaners like baking soda, salt, or vinegar, and always rinse thoroughly.
- Protect your pot from thermal shock by avoiding sudden temperature changes. Don't place it in a preheated oven; start from cold and let it warm gradually. Use a diffuser on stovetops and let it cool completely before cleaning.
- Handle your pot with extra care to prevent physical damage. Use wooden utensils instead of metal ones, keep it separate from other cookware during storage, and make sure children can't access it unsupervised.
To prevent mold and mildew growth, always dry your pot completely before storing it in a well-ventilated area.
If you notice any mold, clean it immediately with vinegar or lemon juice and dry it thoroughly on low heat.
Traditional Cleaning Wisdom
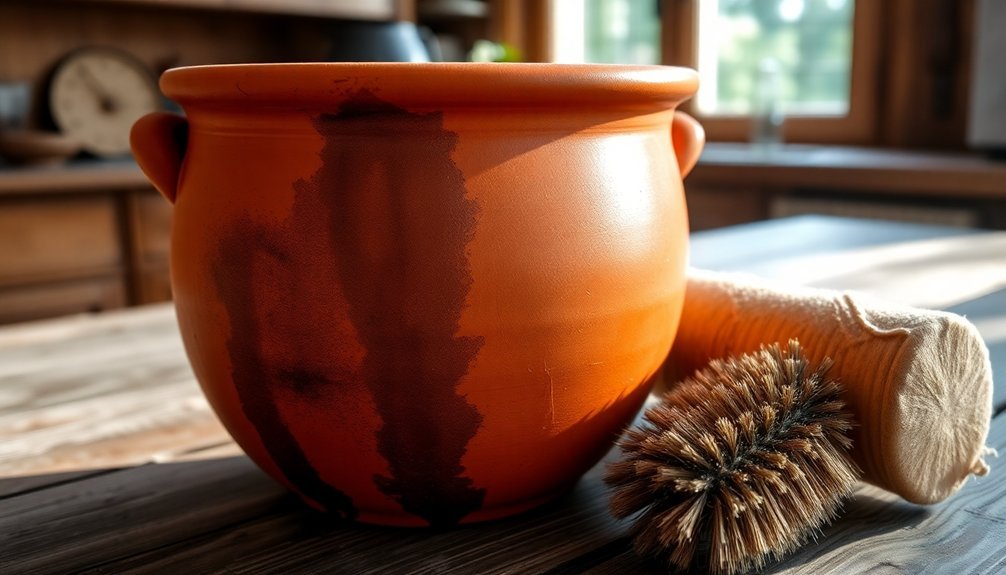
Traditional wisdom for cleaning clay pots has stood the test of time, passed down through generations of cooks and artisans. You'll find that natural cleaning agents work best, as they won't compromise your pot's porous surface or affect the taste of your food.
Rice flour or gram flour mixed with salt creates an effective cleaning paste, while the combination of baking soda, lemon, and salt serves as a powerful deep-cleaning solution.
You'll want to begin by soaking your pot overnight in a mixture of hot water and baking soda, using about three tablespoons per liter. When scrubbing, always use a soft bristle brush or nonmetallic pad to protect the clay's surface.
If you're dealing with stubborn white stains or residual salts, you can soak the pot in white vinegar or citric acid overnight.
Never use dish soap or detergent, as these chemicals can seep into the clay and later leach into your food. Instead, rely on salt as your primary scouring agent.
After cleaning, it's essential to rinse thoroughly with warm water and allow the pot to dry completely to prevent mold formation.
Storing Clean Clay Pots
Proper storage of clay pots requires careful attention to prevent damage and maintain their longevity. Before storing your pots, ascertain they're completely dry to prevent mold growth. Place a paper towel between the inverted lid and pot bottom to promote airflow, and choose a cool, dry location like a garage or shed for storage.
For long-term protection, consider these essential steps:
- Apply a clay pot sealant if you're storing pots outdoors, though it's best to keep unglazed terracotta inside during winter to prevent freeze-thaw damage.
- Check your stored pots periodically for signs of mold, and if you spot any, treat it immediately with a baking soda paste (equal parts water and baking soda).
- Consider applying a light coat of oil to keep the clay hydrated during extended storage periods.
During seasonal storage, maintain your pots by cleaning them thoroughly with mild agents and removing stubborn stains with a coarse, unsoaped stainless steel pad.
Don't forget to inspect stored pots regularly for damage or contamination, and avoid using saucers that collect water, as this can lead to cracking when temperatures drop below freezing.
Signs of Contamination
Identifying contamination in your clay pots can prevent potential health risks and maintain the quality of your food. The most serious concern is heavy metal contamination, particularly in unglazed pots where arsenic can leach up to 10 times more than safe levels. Lead and cadmium are equally dangerous, as they're toxic even in trace amounts due to bioaccumulation.
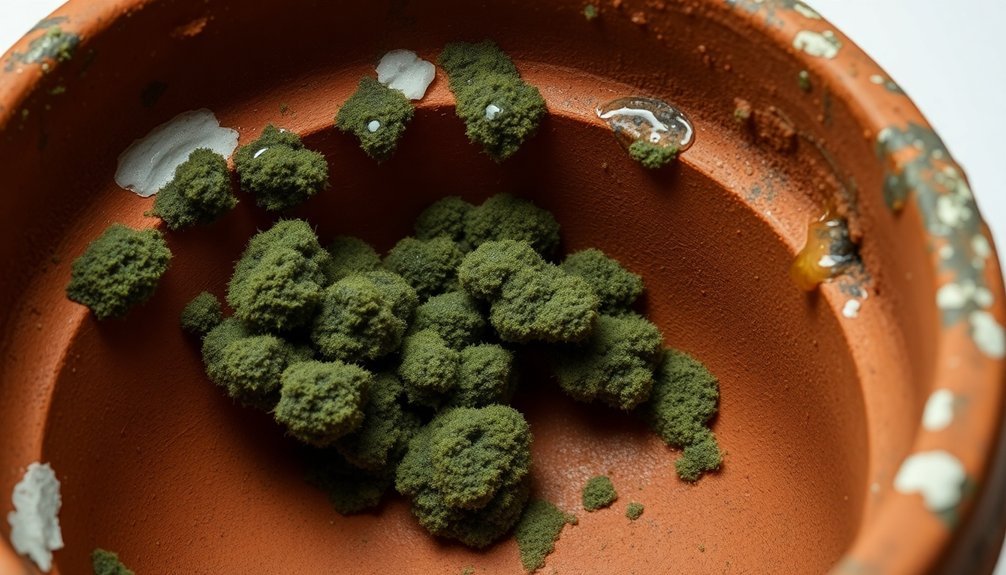
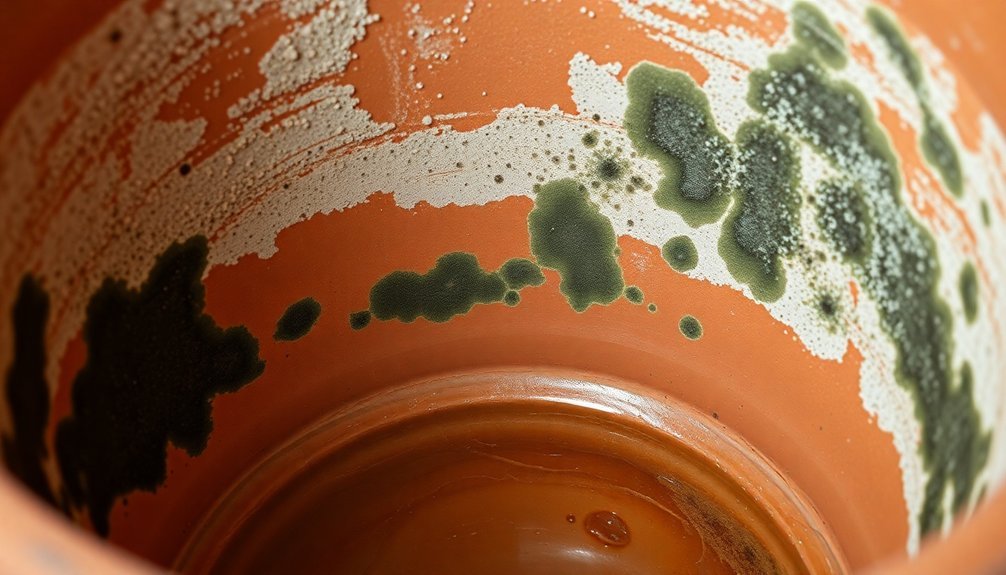
You'll need to watch for visible signs of mold and mildew, which can develop if you don't properly clean and dry your pots. While mold typically remains on the surface, spores can grow within the clay's pores and contaminate your food. In humid conditions, this risk increases considerably.
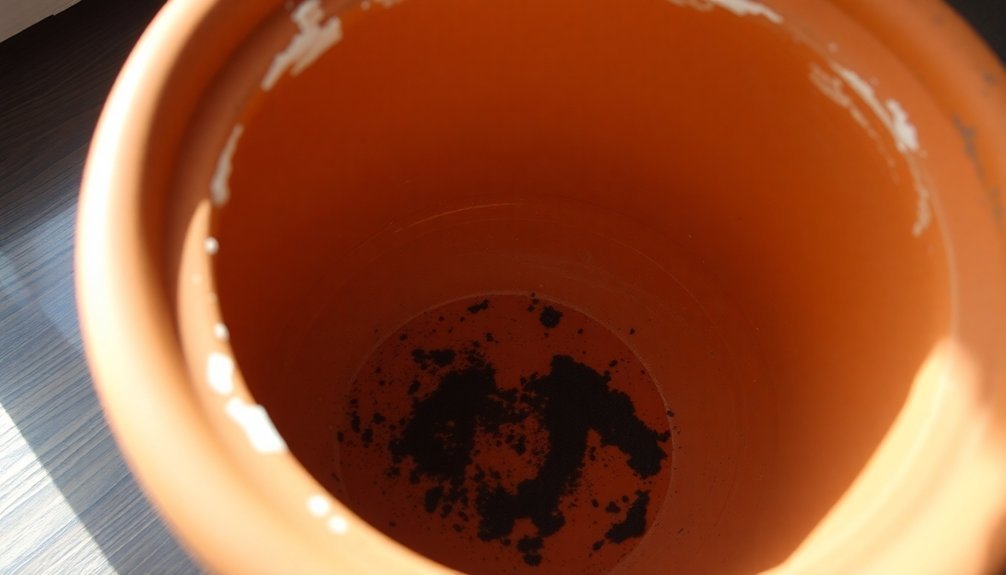
Pay attention to brown droplets or white residue on your pot's exterior – these actually indicate the clay is working to clean out toxins and salts from water. However, if your pot's absorbing food flavors or showing signs of soap residue, it's contaminated.
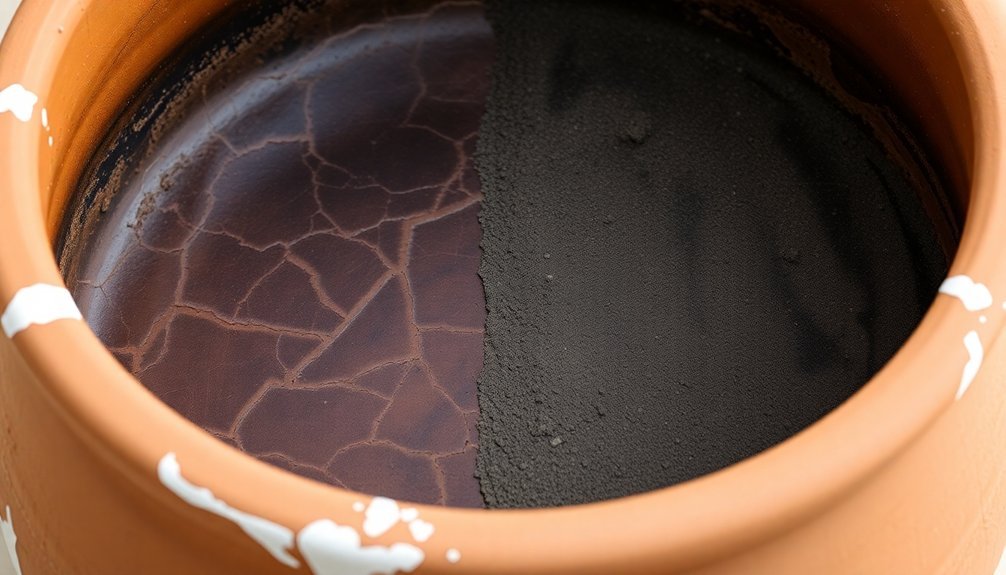
Watch for blackening on the bottom from excessive heat or oil use, and inspect for cracks that can occur from sudden temperature changes. These physical damages make your pot more susceptible to contamination.
Frequently Asked Questions
Can I Cook Acidic Foods Like Tomatoes in a Clay Pot?
You shouldn't cook tomatoes or other acidic foods in clay pots unless they're certified lead-free. Acids can leach harmful metals from glazed or unglazed clay, so it's safer to use alternative cookware for acidic ingredients.
How Do I Know When My Clay Pot Needs Replacing?
You'll need to replace your clay pot when you notice cracks, persistent odors that won't clean out, uneven heating, excessive water absorption, or if food consistently takes on an unpleasant clay taste despite proper cleaning.
Is It Safe to Use Clay Pots on Glass Stovetops?
You can use clay pots on glass stovetops, but you'll need to be careful. Use low to medium heat settings, guarantee your pot has a flat bottom, and consider using a flat heat diffuser for safety.
Does the Color of the Clay Pot Affect Its Cooking Properties?
No, your clay pot's color doesn't affect its cooking properties. The performance depends on the clay type, firing temperature, and construction methods. What matters most is the material composition and porosity, not the surface color.
Can I Use My Clay Pot for Both Sweet and Savory Dishes?
Yes, you can use your clay pot for both sweet and savory dishes. Your pot will work great for everything from stews to desserts, but you'll need to deep-clean it between different flavor profiles.
In Summary
Regular deep cleaning of your clay pots isn't just about maintenance – it's essential for your health and the quality of your cooking. You'll protect yourself from harmful bacteria that can lurk in the porous surface while preserving the pot's natural benefits. Make deep cleaning a routine part of your clay pot care, and you'll enjoy safer, more flavorful dishes while extending your cookware's lifespan.


Leave a Reply