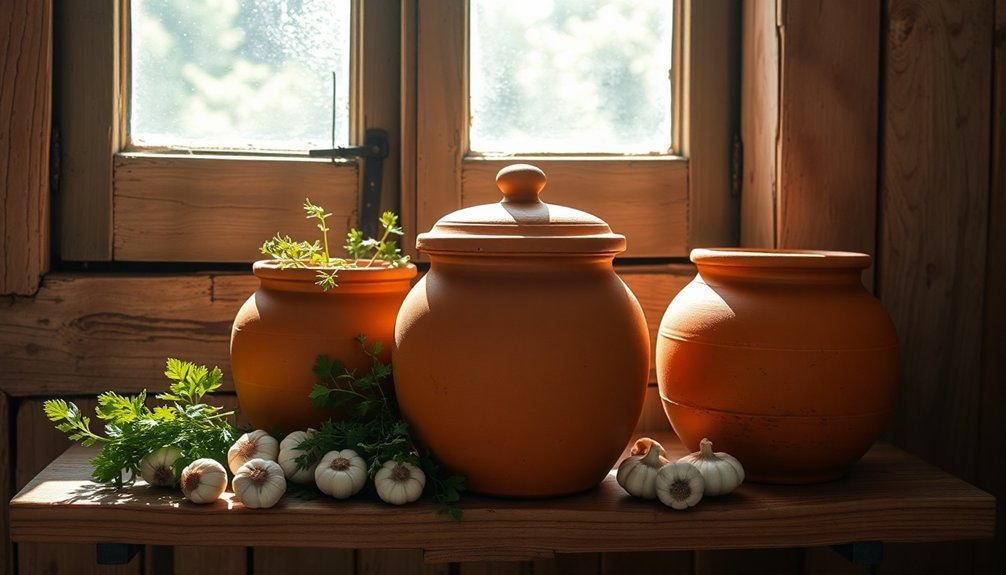
To extend food life in clay jars, you'll need to start with certified non-toxic pots tested for harmful elements. Place your jars in shaded, well-ventilated areas with good airflow, keeping them elevated and away from walls. Add a sieved sand layer for cooling efficiency and use humidity disks between food layers. Maintain proper moisture by wrapping damp cloth around jars in dry climates, while focusing on ventilation in humid areas. Clean jars thoroughly before first use, and monitor temperature and humidity levels daily. Regular maintenance and seasonal adjustments will guarantee your stored foods stay fresh, and there's much more to discover about maximizing your clay jar storage system.
Choose the Right Clay Pot
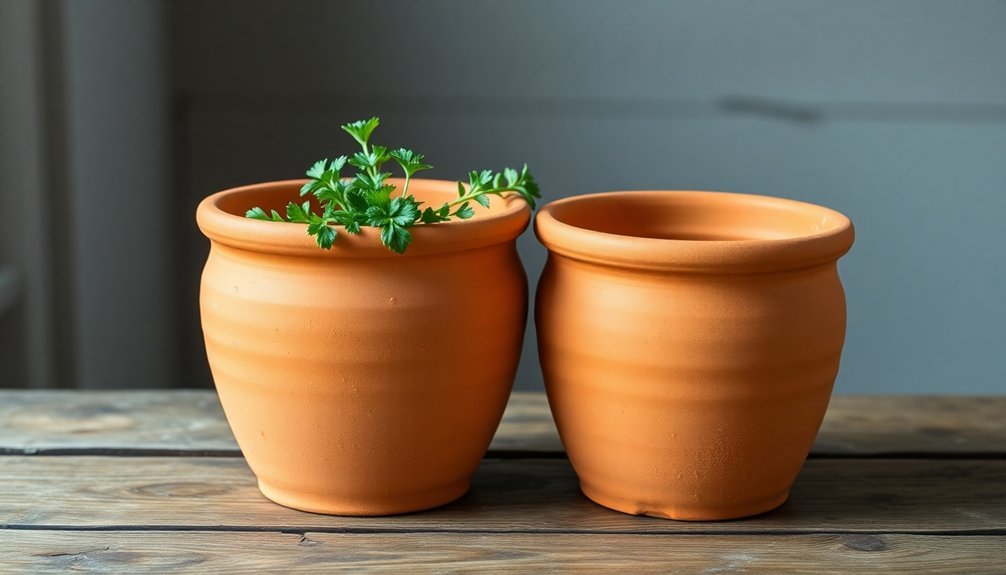
When selecting a clay pot for food storage, you'll need to contemplate both safety and functionality. Start by checking the material composition, as clay pots can contain both beneficial minerals like calcium and magnesium, as well as potentially harmful elements such as aluminum and antimony.
Choose certified non-toxic clay pots made from primary clay that's been tested for the absence of lead, cadmium, arsenic, and heavy metals. If you're considering unglazed pots, they'll require thorough treatment processes, including boiling and test cooking, to guarantee they're safe for food storage.
Consider the clay type carefully. While earthenware is common, it's more delicate than stoneware. Raku clay offers better resistance to thermal shock, making it more durable for daily use.
If you're using the pot for cooling purposes, make certain it's properly constructed with adequate porosity for effective evaporative cooling. This cooling method can help extend produce shelf life from one day to over four days for leafy greens.
Don't forget to examine the construction quality. The pot should be well-fired and completely dry before use.
Look for pots that incorporate proper spacing between inner and outer vessels if you're planning to use them for cooling storage, as this design can help reduce ambient temperature by up to 10°C.
Location Matters for Cooling
Three key factors determine the cooling effectiveness of your clay pot: shade, ventilation, and distance from heat sources.
You'll need to find a spot that balances all these elements to maximize your food's shelf life. Place your clay pot cooler in a shaded area away from direct sunlight, as this helps maintain a stable internal temperature and prevents unwanted heating that could spoil your food.
Good airflow is essential for the evaporative cooling process to work properly. Position your cooler in a well-ventilated space where air can freely circulate. Proper placement can help reduce food waste by 30-50% in fruits and vegetables, similar to results seen in Sub-Saharan Africa.
Don't place it in confined areas like basements or closed rooms, as poor ventilation will reduce its effectiveness and may lead to moisture buildup and food spoilage.
- A covered porch with natural breeze works perfectly
- Under a tree's canopy provides ideal natural shade
- Near an open window captures gentle air currents
- Against a shaded exterior wall with good air circulation
Keep your clay pot cooler away from any heat-generating appliances, including stoves, ovens, and radiators.
These heat sources can compromise the cooling effect and reduce the cooler's efficiency in preserving your food.
Sand Layer Preparation
Before assembling your clay pot cooler, proper sand preparation is essential for ideal cooling performance. Start by sieving your sand through a 3-5 mm wire mesh to remove large particles and stones.
You'll need to winnow the sand by pouring it from shoulder height onto a cloth to eliminate dust. For final cleaning, sieve the sand through a thin cloth to prevent any remaining dust from clogging your clay pot's pores.
Once you've cleaned your sand, you'll need to wet it properly. Add enough water so it takes a few seconds to absorb, but don't oversaturate it – you don't want your inner pot floating.
Pour a layer of sand into the bottom of your outer pot, creating an even surface. Center your inner pot and fill the gap between the pots with more sand, ensuring the inner pot sits higher than the outer one. This method follows traditional preservation techniques that have been utilized across cultures for centuries.
You'll need to maintain your sand daily by checking moisture levels and adding water as needed. Keep the sand consistently damp but not waterlogged.
Regularly inspect for debris and clean or replace the sand if it loses its effectiveness or becomes contaminated.
Proper Moisture Control
With your sand layer properly prepared, maintaining the right moisture balance inside your clay jars becomes your next priority.
You'll find that humidity disks made from natural clay are excellent regulators, working alongside desiccant packs to create the perfect storage environment. These clay disks, when bisque fired at 350°F, develop a porous structure that effectively manages moisture levels without introducing harmful elements to your stored foods.
For ideal results, incorporate these moisture control elements into your storage system:
- Place bentonite clay desiccant packs at the top of your jars to absorb excess moisture and prevent mold growth
- Position humidity disks between food layers to maintain consistent moisture distribution
- Use FDA-approved desiccants that can absorb up to 17% of their weight in water vapor
- Monitor your stored items regularly for signs of excessive dryness or moisture
You can greatly extend your food's shelf life by combining these methods.
The desiccants will help prevent vitamin oxidation and preserve flavors, while the humidity disks can rehydrate overly dried herbs and spices when needed.
This dual approach guarantees your stored items maintain their quality and nutritional value longer.
Clean Before First Use
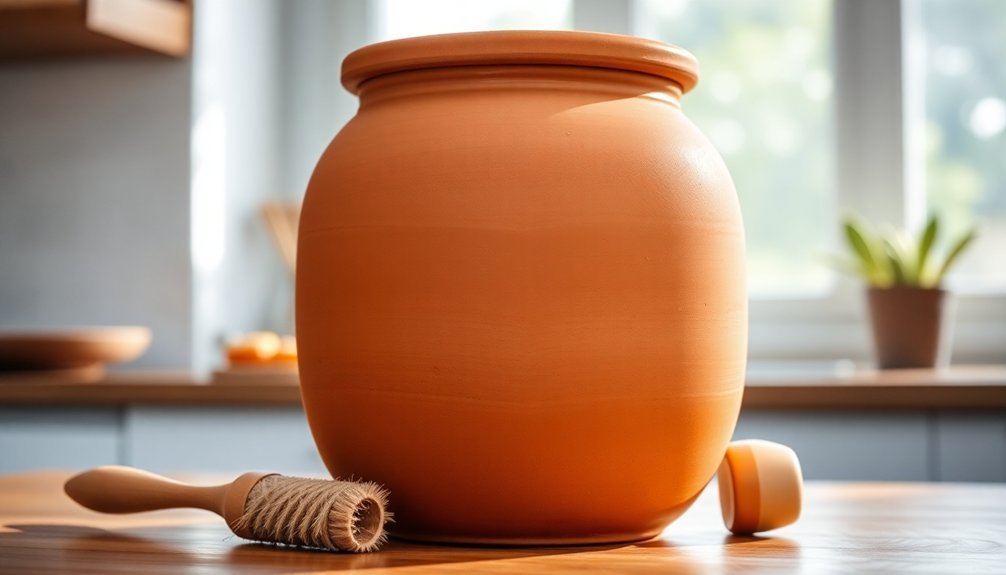
Properly preparing your new clay jar for food storage starts with a thorough cleaning routine. First, rinse the jar with water to remove debris, then soak it for at least 24 hours to fill the pores. You'll want to listen for a sizzling sound when water first enters the pores, confirming proper absorption.
Instead of using soap, which can contaminate your food, use natural alternatives like rice flour, besan flour, or chapathi flour to clean the jar. Scrub gently with a coconut scrubber to remove manufacturing residues while protecting the clay surface.
| Cleaning Step | Do's | Don'ts |
|---|---|---|
| Initial Wash | Use plain water | Use detergents |
| Deep Clean | Use flour-based cleaners | Use abrasive tools |
| Maintenance | Regular inspection | Store when wet |
After cleaning, sun dry your jar completely before storage. Don't forget to check regularly for mold or damage. For maintenance cleaning, avoid soap and limit the use of white vinegar, rinsing thoroughly if used. Store your jar in a dry place away from direct sunlight and extreme temperatures to maintain its integrity and guarantee safe food storage.
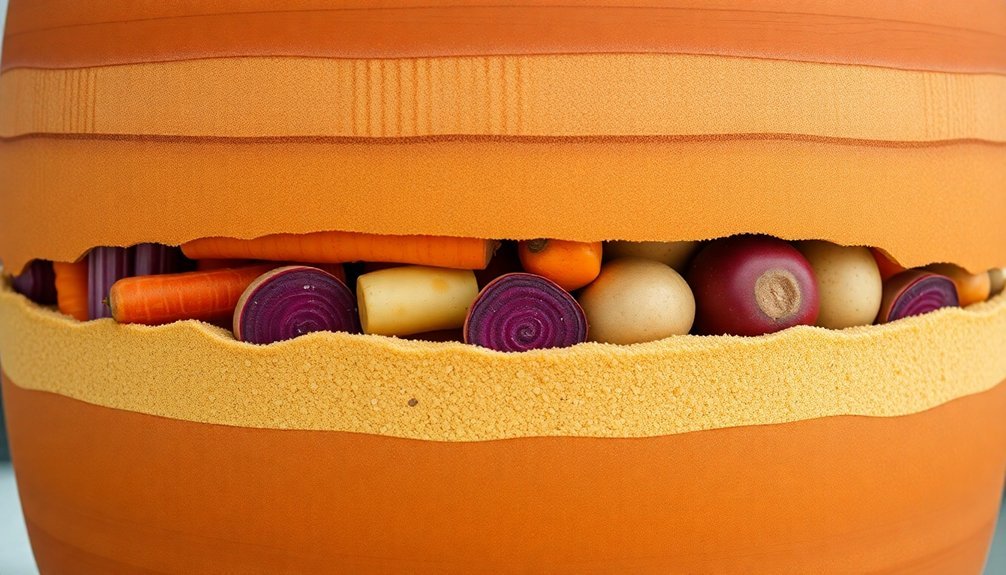
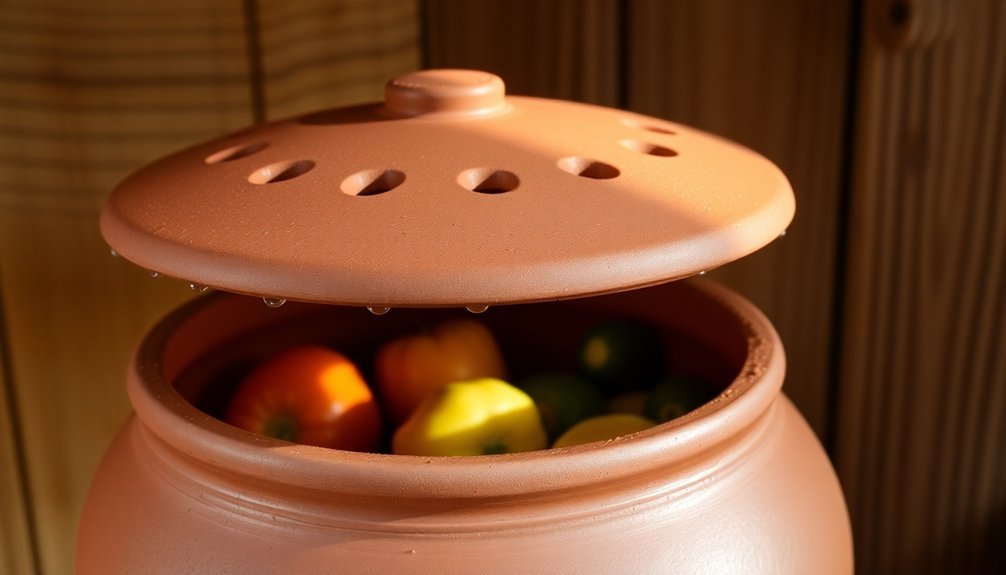
Best Food Placement Methods
You'll get the best results from your clay pot cooler by arranging foods in strategic layers, keeping items that shouldn't touch separated with space between them.
For ideal freshness, place harder vegetables at the bottom and more delicate produce toward the top, making sure no fruits or vegetables are directly touching each other.
Create channels for air circulation by leaving small gaps between items and around the edges of your clay pot, which helps maintain consistent cooling throughout the container.
Strategic Layering For Freshness
Inside clay jar storage systems, strategic layering plays an essential role in maintaining food freshness. You'll need to create proper insulation between the inner and outer pots using a carefully prepared sand mixture.
Mix equal parts of sand and clay reclaim, guaranteeing it's free from large particles and dust. Add water until it takes a few seconds to absorb, and consider incorporating sawdust and straw to enhance heat retention and prevent cracking.
When placing your food items, verify they're completely dry and clean. Remember that certain foods don't play well together – keep your garlic, onions, potatoes, and cereals separated to prevent quick spoilage. The inner pot should sit about 2 cm higher than the outer pot for maximum air circulation.
- Maintain consistent moisture in the sand layer by checking and adding water regularly
- Store your clay pot system in a shaded, well-ventilated area
- Leave adequate space between food items to prevent overcrowding
- Keep the cloth covering the inner pot damp for continuous evaporative cooling
Monitor the moisture levels daily and adjust as needed to maintain perfect cooling conditions throughout your storage system.
Air Flow Maximizing Techniques
Strategic air circulation within clay jar storage requires careful attention to food placement and spacing. You'll need to position your jars in a shaded, well-ventilated area where temperatures remain consistently cool without reaching freezing. Natural ventilation methods, like air shafts, can greatly enhance the airflow around your storage setup.
When arranging foods, you'll want to separate items that can affect each other through odor absorption. Don't store garlic, onions, or potatoes in your clay pot coolers, as they don't respond well to high humidity environments. Instead, focus on fruits and vegetables that benefit from evaporative cooling, making sure they're clean and dry before storage.
To maximize your cooling system's efficiency, maintain a proper sand-and-water ratio between the inner and outer pots. Keep the sand moist but not waterlogged, and cover the inner pot with a damp cloth or burlap to enhance evaporation.
You'll need to monitor water levels regularly and adjust as needed. Use airtight containers made of glass or durable plastic to protect items from excess moisture, and maintain proper spacing between containers to preserve consistent airflow throughout your storage system.
Ventilation Management Tips
Proper ventilation management plays an essential role in maintaining the effectiveness of clay jar food storage. You'll need to position your jars strategically in shady, well-ventilated areas while keeping them elevated to maximize air circulation.
Don't place them directly against walls or in spaces with high humidity, as this can compromise their cooling efficiency.
When covering your clay jars, use a lightweight, breathable wet cloth that's damp but not soaking. You'll want to check the cover regularly and rewet it as needed to maintain consistent cooling.
Remember to remove the cover periodically to prevent ethylene buildup and allow fresh air to circulate.
- Place jars on elevated platforms in shaded areas
- Keep at least 6 inches of space between jars and walls
- Monitor humidity levels in your storage area
- Remove covers daily for 15-20 minutes
For ideal performance, you'll need to manage the sand and water balance carefully.
Keep the sand between the pots consistently damp but not waterlogged, and change it if it becomes contaminated.
Don't forget to maintain the outer pot's surface moisture to enhance the cooling effect through evaporation.
Regular Maintenance Schedule
You'll need to check the sand's moisture level daily, adding water to maintain consistent cooling performance.
Your weekly cleaning routine should include scrubbing the pot with salt and baking soda, followed by a boiling treatment to eliminate any chemical residue.
Don't forget to inspect the burlap or cloth covering during these checks, replacing it if it shows signs of wear or contamination.
Daily Sand Moisture Checks
Maintaining moisture levels through daily checks of your sand layer stands out as one of the most critical tasks in clay jar food storage.
You'll need to visually inspect the sand layer daily to ascertain it retains proper moisture content, which helps regulate the jar's overall humidity. By understanding how sand settles within the first hour and monitoring its hydration levels, you can better preserve your stored foods.
Place your clay jar in a stable location where you can easily observe the sand layer's condition. Make consistent checks at the same time each day to establish a reliable monitoring routine. If you notice the sand becoming too dry, add small amounts of water gradually, allowing it to settle properly before making further adjustments.
- Look for a uniform, slightly damp appearance across the sand layer
- Check for any clumping or unusual settling patterns
- Monitor the boundary between sand and clay layers for proper separation
- Observe the sand's color – darker indicates higher moisture content
Document your daily observations in a moisture log to track patterns and make informed adjustments to your storage conditions.
This careful monitoring helps prevent both over-saturation and excessive drying, which could compromise your food's preservation.
Weekly Cleaning Protocol
Three essential steps form the backbone of a weekly clay jar cleaning routine: thorough scrubbing, proper drying, and careful inspection. You'll need to start by combining salt and baking soda to create a gentle scrubbing mixture that won't damage your clay pots. Apply this mixture to remove any food residues or oil buildup, then rinse thoroughly with water.
For stubborn stains, boil water with lemon slices in the pot, followed by a baking soda boil to eliminate any remaining chemicals. After cleaning, guarantee complete drying under direct sunlight or on medium heat on your stovetop.
| Task | Method | Timing |
|---|---|---|
| Scrubbing | Salt + baking soda paste | 5-7 minutes |
| Deep cleaning | Boiling lemon water | 10 minutes |
| Final sanitizing | Baking soda boil | 5 minutes |
Don't forget to check for cracks or damage during your weekly cleaning routine. Apply a thin layer of cooking oil to the exterior after drying to prevent the clay from becoming too brittle. Always use wooden or silicone utensils when cleaning to avoid scratching the surface, and store your pots in a well-ventilated area after they're completely dry.
Monitor Temperature and Humidity
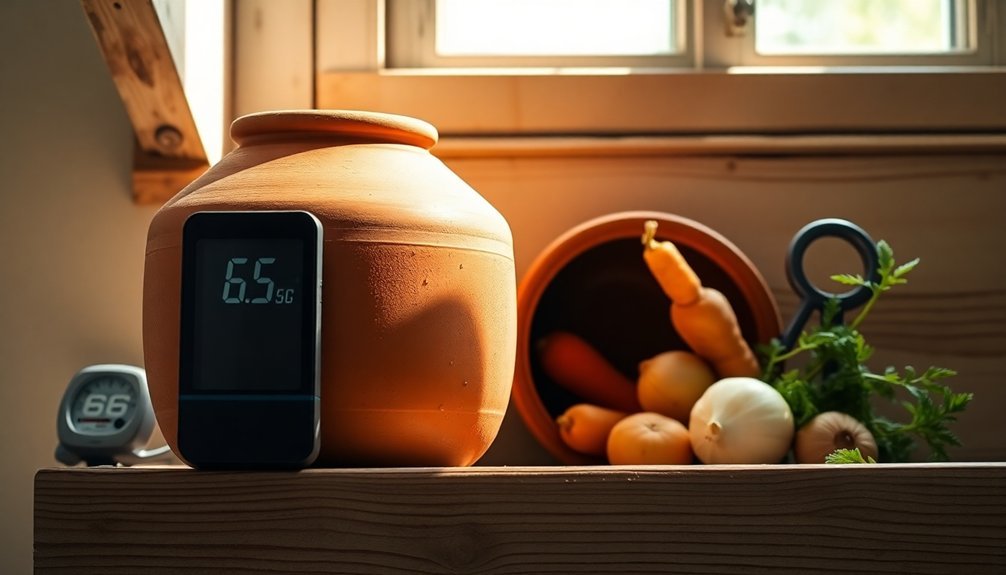
Proper temperature and humidity levels are critical to successful food storage in clay jars. Your clay pot cooler can reduce average temperatures by over 4°C while maintaining humidity above 90%, creating an ideal environment for vegetables.
You'll want to keep the ambient temperature between 40-70°F (4-21°C) to prevent spoilage and minimize microbial growth.
- Place a thermometer inside your clay jar to monitor temperature fluctuations
- Use a humidity gauge to guarantee levels remain appropriate for your stored foods
- Check readings twice daily – morning and evening – and record any notable changes
- Keep your clay jar away from direct sunlight and heat sources
To maximize your clay jar's effectiveness, you'll need to respond quickly to any temperature or humidity variations. If you notice temperatures climbing above 77°F (25°C), move your jar to a cooler location immediately.
For dry foods, watch for excessive moisture that could cause clumping or mold growth. For leafy greens, maintain higher humidity levels above 90%.
Remember that proper monitoring helps preserve both nutritional value and food safety. When temperatures and humidity stay within suitable ranges, you'll greatly extend your food's shelf life and reduce waste.
Seasonal Storage Adjustments
During winter months, you'll need to control humidity in your clay jars by adding a thin layer of dry sand at the bottom and checking regularly for condensation buildup.
In summer, you can manage heat by placing your jars in the coolest part of your storage area and using breathable cloth covers instead of airtight lids.
If you're in a dry climate, you can enhance the natural cooling properties of clay by wrapping a damp cloth around the jar's exterior, while in humid areas you'll want to focus on ventilation to prevent moisture-related spoilage.
Winter Humidity Control Tips
Winter's frigid temperatures present unique challenges for maintaining proper humidity levels in clay jar food storage. During cold months, you'll need to carefully balance moisture levels to prevent food spoilage while protecting your stored items from freezing temperatures. Clay jars naturally regulate humidity, but they require extra attention when temperatures drop.
- Keep clay jars in a basement or root cellar where temperatures stay between 35-55°F.
- Place damp cloths near (not touching) jars storing fruits and vegetables to maintain 85-95% humidity.
- Position jars away from exterior walls to prevent temperature fluctuations.
- Use a humidity meter to monitor levels and adjust as needed.
For dry foods like rice and noodles, you'll want to maintain 50-60% relative humidity in your storage area. If you're storing vegetables, don't wash them before placing them in clay jars – just brush off excess soil.
You can wrap certain vegetables in damp dishcloths before placing them in jars to maintain proper moisture levels. When storing root vegetables, make certain your storage area maintains 70-95% relative humidity while keeping temperatures above freezing.
Remember to check your stored items regularly for signs of moisture damage or spoilage.
Summer Heat Management Strategies
Blazing summer temperatures demand strategic adaptations for your clay jar food storage system. You'll need to focus on maximizing the evaporative cooling effect to maintain ideal food preservation during the hottest months.
| Summer Strategy | Implementation |
|---|---|
| Location Setup | Place your clay jar in the shadiest, most ventilated spot available |
| Moisture Control | Keep sand layer consistently wet, checking twice daily |
| Temperature Check | Monitor interior temperature; aim for 10°C below ambient |
| Ventilation | Guarantee air can circulate freely around the entire vessel |
| Coverage | Use damp cloth covers during peak heat hours |
During intense heat, you'll want to increase the frequency of water additions to the sand layer between your pots. Position your storage system away from heat-reflecting surfaces and direct sunlight to maintain consistent cooling. If you're storing leafy greens, they'll stay fresh for up to four days when you maintain proper humidity levels.
Remember to check the moisture levels more frequently in summer than in other seasons. You can enhance cooling by placing your clay jar system in a breezeway or similar area where natural air movement boosts the evaporative effect.
Frequently Asked Questions
Can I Store Dairy Products or Meat in Clay Pot Coolers?
No, you shouldn't store dairy products or meat in clay pot coolers. They're only suitable for fruits and vegetables. The storage conditions aren't appropriate for dairy or meat, which could lead to dangerous spoilage.
How Do I Repair Cracks That Develop in My Clay Pot Cooler?
First, clean the crack with water and baking soda. Apply a flour-water paste to seal it, then heat at low temperature. Once cooled, season with cooking oil and cure at 250°F for 30 minutes.
What's the Maximum Weight of Food These Coolers Can Safely Hold?
You'll want to keep your food load under 10-15 pounds for standard clay pot coolers. It's best to distribute the weight evenly and avoid overfilling, which could stress the inner pot and cause cracks.
Will Storing Strong-Smelling Foods Affect the Taste of Other Stored Items?
Yes, strong-smelling foods can affect other items' taste if not properly stored. You'll need to use separate airtight containers and keep strong-scented foods isolated to prevent odor transfer between different items.
Can Clay Pot Coolers Be Used Effectively in High-Humidity Coastal Areas?
You can use clay pot coolers in coastal areas, but they won't work as effectively due to high humidity. While they'll still provide some cooling benefit, you'll experience reduced evaporative cooling performance.
In Summary
You'll find that clay pot storage is an effective traditional method for keeping food fresh longer. By following these guidelines for proper pot selection, placement, moisture control, and maintenance, you're setting yourself up for success. Make it a habit to check your stored items regularly and adjust conditions based on seasonal changes. With practice, you'll master this sustainable food preservation technique.


Leave a Reply