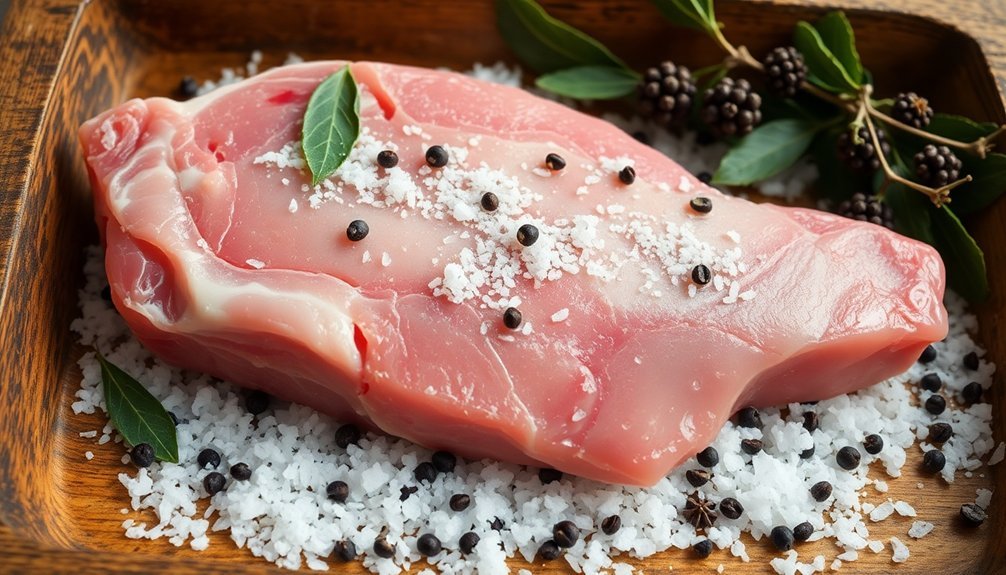
Salt-curing is your essential first step for creating competition-worthy smoked meats. You'll need to choose between dry salting, which coats meat directly with salt, or wet brining, where you'll submerge cuts in a saltwater solution. For dry curing, use ½ to ¾ teaspoon of kosher salt per pound of meat, while wet brining requires 1 cup of salt per gallon of water. The salt draws out moisture through osmosis, creating an environment that enhances flavor and prevents harmful bacteria growth. Proper curing transforms ordinary cuts into extraordinary smoked masterpieces – and that's just the beginning of your smoking journey.
Understanding Salt-Curing Fundamentals
Mastering salt-curing begins with understanding its two primary methods: dry salting and wet brining. Each technique draws moisture from meat through osmosis, creating an environment where harmful bacteria can't thrive, while also enhancing flavor and texture.
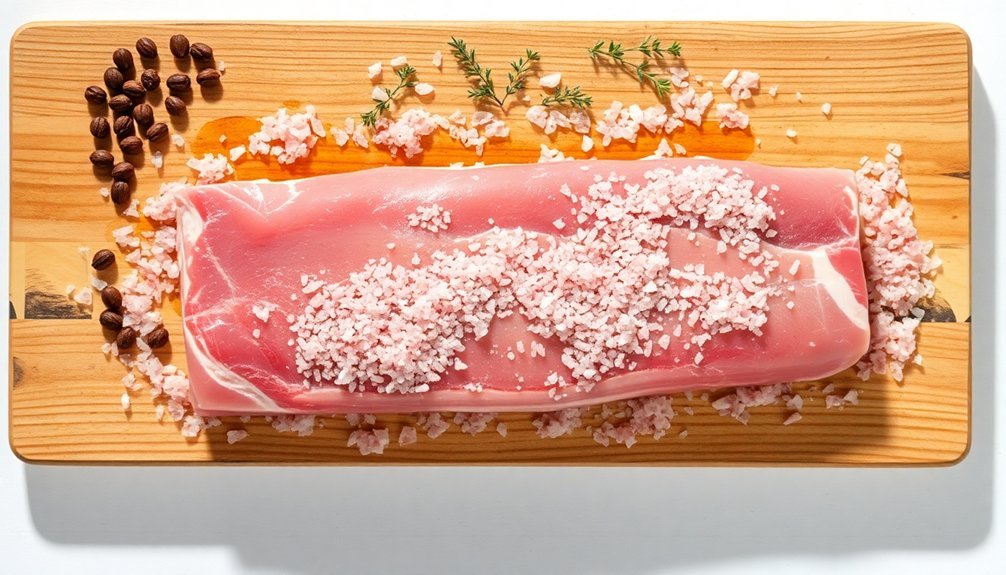
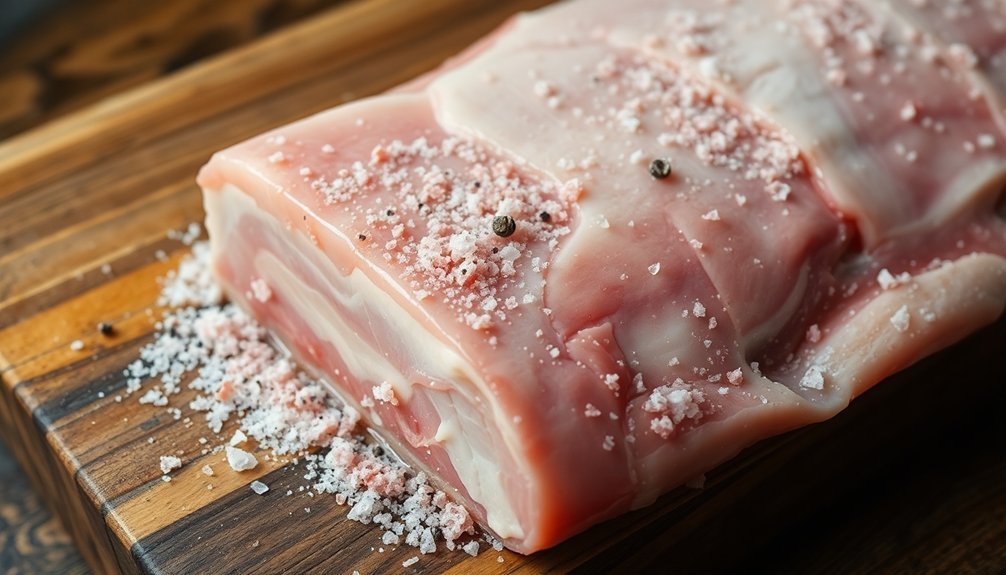
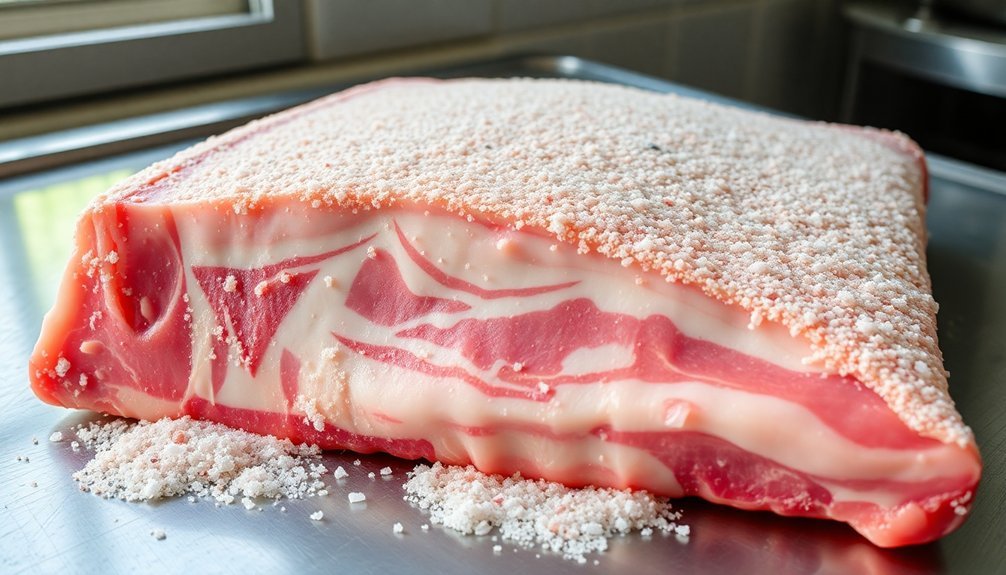
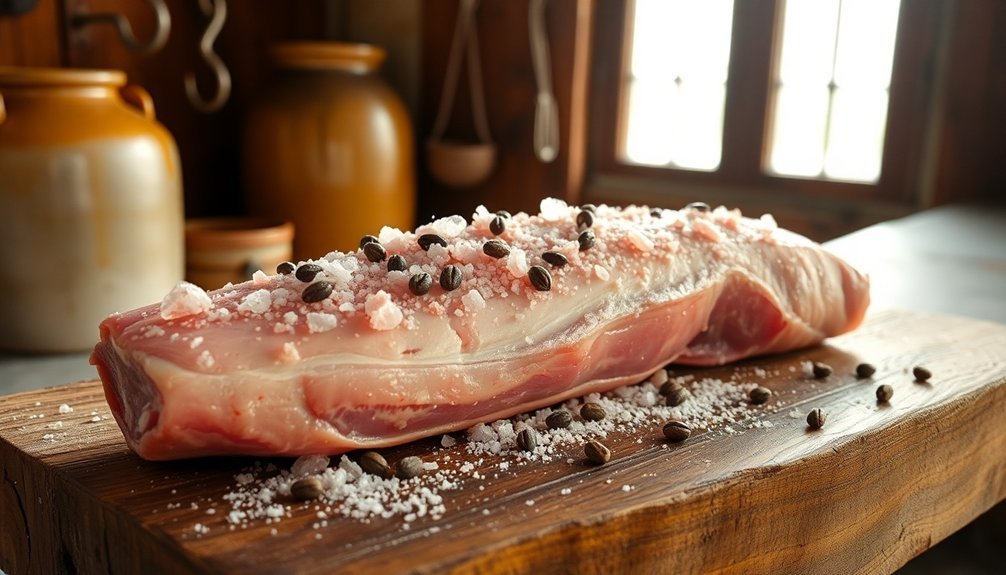
Dry salting, also known as corning, is an ancient preservation method that's been used since Anglo-Saxon times. You'll need to thoroughly coat your meat with salt, which pulls moisture from the proteins. Before smoking, you'll want to rinse off excess salt crystals, as they can slow down the smoking process. The process significantly intensifies flavor development during this initial curing stage.
Wet brining offers a different approach, where you'll submerge your meat in a solution of one cup of salt per gallon of water. You'll find this method particularly effective for lean cuts like turkey and pork loin, as it helps maintain moisture. Remember to keep your meat below 42 degrees Fahrenheit during brining.
Both methods often incorporate nitrates and nitrites, which do more than just preserve. They'll give your cured meats their characteristic pink color, prevent dangerous bacteria like Clostridium botulinum from forming, and slow down fat oxidation.
These compounds are essential for both safety and quality in your cured meats.
Selecting Quality Meat Cuts
With your salt-curing techniques ready to go, selecting the right cuts of meat will determine your smoking success. When choosing cuts for smoking, you'll find excellent options across beef, pork, and poultry categories that won't break the bank. Your cuts should have decent marbling and fat to maintain moisture during the smoking process.
For beef enthusiasts, brisket remains the gold standard, delivering rich flavor and fall-apart tenderness when smoked low and slow. Don't overlook more affordable cuts like chuck roast and skirt steak, which offer impressive results. The often-forgotten hanger steak and top round are butcher's secrets that smoke beautifully.
Pork offers versatile options, with pork butt and shoulder leading the pack for pulled pork preparations. Both spare ribs and baby back ribs require preparation but reward you with exceptional flavor. For leaner options, consider pork loin, especially when feeding larger groups.
If you're new to smoking, start with chicken. Whole birds, thighs, and wings are forgiving and develop unique smoky flavors. They're perfect for practicing your technique before moving to more challenging cuts.
Remember that each cut requires different cooking times and temperatures – from quick-smoking tri-tip (90 minutes) to longer projects like top round (4-5 hours).
Essential Tools and Equipment
You'll need a collection of non-reactive containers, including plastic bins and vacuum-sealed bags, to safely store your meat during the curing process.
A reliable digital scale and measuring spoons are critical tools for achieving precise measurements of salts and seasonings throughout your curing journey.
These basic tools, combined with proper labels for tracking dates and ingredients, will set you up for consistent results in your salt-curing projects. Using a salinometer to measure the salt concentration helps ensure optimal preservation of your meats.
Basic Storage Containers Required
Proper storage containers form the foundation of successful salt-curing and smoking. You'll need airtight containers that protect your meat from oxygen exposure while maintaining ideal temperature and humidity levels. For most cured meats, you'll want to invest in refrigerated containers, though insulated options work well for products like jerky and whole muscle salumi.
Consider these essential storage options for your curing projects:
- Vacuum-sealed packages that prevent oxygen exposure and maintain freshness
- Wax-coated or plastic airtight containers for the initial curing phase
- Insulated shipping containers for specific products requiring temperature control
Your storage containers should be clean, dry, and properly labeled with contents and dates.
Don't forget to store them in a cool, dark place during the drying phase, and maintain temperatures no warmer than 64°F (18°C) during storage.
You'll want to regularly check your containers for any signs of spoilage or bacterial growth. When organizing multiple products, use proper shelving systems within your containers to prevent cross-contamination between different meats.
Remember that vacuum-sealed packages are particularly effective when using the equilibrium curing method.
Measuring Tools For Success
Accurate measuring tools serve as the cornerstone of successful meat curing and smoking. You'll need a salimeter to measure salt concentrations in your brine, which works best at 60°F. To determine the actual salt percentage, multiply your salimeter reading by 26.4%. Remember that sugar and phosphates can affect readings, so use pure salt water for accurate measurements.
Temperature and humidity monitoring are essential for your curing process. You'll want to maintain temperatures between 35°F and 40°F for wet curing, and you'll need reliable sensors to track both temperature and humidity levels consistently.
For precise application of curing agents, you'll need to carefully measure Prague Powder #1, which contains 6.25% sodium nitrite and 93.75% salt.
Your toolkit should include sharp knives for different purposes – wide-bladed ones for slicing and thin-bladed ones for deboning. Keep them sharp with proper sharpeners and honing steels.
Don't forget to set up a nonporous work surface for safe meat handling, and equip yourself with insulated mitts for managing hot equipment. If you're using a charcoal or wood smoker, you'll need a fireplace-type poker for heat management.
Types of Curing Salts
When it comes to curing meats, understanding the different types of curing salts is essential for both safety and success. You'll encounter four main types of curing salts, each designed for specific purposes and curing durations.
- Prague Powder #1 (Pink Curing Salt #1) is perfect for quick cures, containing 6.25% sodium nitrite.
- Prague Powder #2 works best for long-duration cures like salami, with both nitrite and nitrate.
- Sodium Nitrite (Pink Salt) serves as the foundational curing agent for most quick-curing processes.
For shorter curing periods, you'll want to use Prague Powder #1 or straight sodium nitrite. These options provide the characteristic pink color and cured flavor while effectively preventing bacterial growth.
If you're planning to make products that require extended curing times, like prosciutto or hard salami, you'll need Prague Powder #2 or sodium nitrate. These contain time-release compounds that gradually convert to nitrite during the lengthy curing process.
You'll notice all these curing salts are tinted pink – that's not by accident. This distinctive coloring helps prevent confusion with regular table salt or sugar, which could lead to dangerous mistakes in measurement.
Proper Salt-to-Meat Ratios
Getting your salt-to-meat ratios right can make or break your smoked meat results.
You'll want to start with ½ to ¾ teaspoon of kosher salt per pound of meat for dry brining, or 1 tablespoon of curing salt per gallon of water for wet brining.
For commercial-style consistency, you can aim for 16 to 20 grams of salt per kilogram of meat, ensuring uniform flavor distribution throughout your finished product.
Critical Measurements For Success
In accordance with food safety standards, proper salt-to-meat ratios form the cornerstone of successful meat curing. You'll need to maintain precise measurements to achieve ideal results and guarantee food safety. The standard ratio is 2 tablespoons of cure per 5 pounds of meat, though specialty products like polish sausage may require up to 3 tablespoons.
When working with curing salts, you'll find specific formulations that require careful attention:
- Prague powder contains 6.25% sodium nitrite and 92% sodium chloride
- Morton® Tender Quick® uses 0.5% each of sodium nitrite and sodium nitrate
- The maximum allowable nitrite content is 156 ppm per USDA guidelines
You'll need to measure carefully to achieve the perfect 2-3% salt concentration that balances preservation with palatability. For consistent results, use weight-based measurements, aiming for approximately 18g of salt per kg of meat.
Don't exceed manufacturer-recommended amounts, as this could lead to over-salting or safety concerns. Track your measurements and process dates carefully, as proper documentation guarantees repeatability and helps you refine your technique over time.
Balancing Salt Per Pound
The art of balancing salt-to-meat ratios stands as the foundation of successful meat curing. You'll need to measure your salt precisely to achieve ideal results, following the standard ratio of 2 tablespoons of curing salt per 5 pounds of meat.
If you're using Prague Powder #1, stick to 1 level teaspoon per 5 pounds to maintain food safety.
For commercial-style results, you can follow the 16-20 grams of salt per kilogram of meat guideline. If you prefer equilibrium curing, you'll want to calculate 3% of your meat's total weight in salt.
Remember that different recipes may call for slightly higher amounts, such as 3 tablespoons per 5 pounds, so always check your specific recipe's requirements.
When applying the salt, you'll need to guarantee complete coverage of your meat. If you're dry curing, bury the meat entirely in salt for 24 hours.
For more precise control, consider using a vacuum sealer for equilibrium curing. If you find your finished product too salty, you can soak it in cold water before smoking to reduce the salt intensity.
Preparing Your Workspace
Proper workspace preparation stands as the foundation for successful meat curing. You'll need to control four critical elements in your curing space: temperature, humidity, lighting, and cleanliness. A cool basement or dark closet typically provides ideal conditions, maintaining temperatures around 55°F (13°C) and relative humidity near 70%.
Key elements for your workspace setup:
- Install a thermometer and hygrometer to monitor environmental conditions constantly.
- Set up wire racks or hooks to guarantee proper air circulation around your meats.
- Arrange sanitized tools, including scales for precise measurements, within easy reach.
You'll want to keep your workspace meticulously clean and sanitized. Clean or change cutting boards frequently to prevent cross-contamination, and guarantee all surfaces that contact the meat remain sanitized.
Keep your curing area away from windows and bright light sources, as direct sunlight can lead to uneven curing. If you need to observe the process, use UV-filtered lighting.
For temperature control in small batches, you can convert an unplugged refrigerator into a curing chamber by placing a pan of salt and water inside to regulate humidity.
The Dry Curing Process
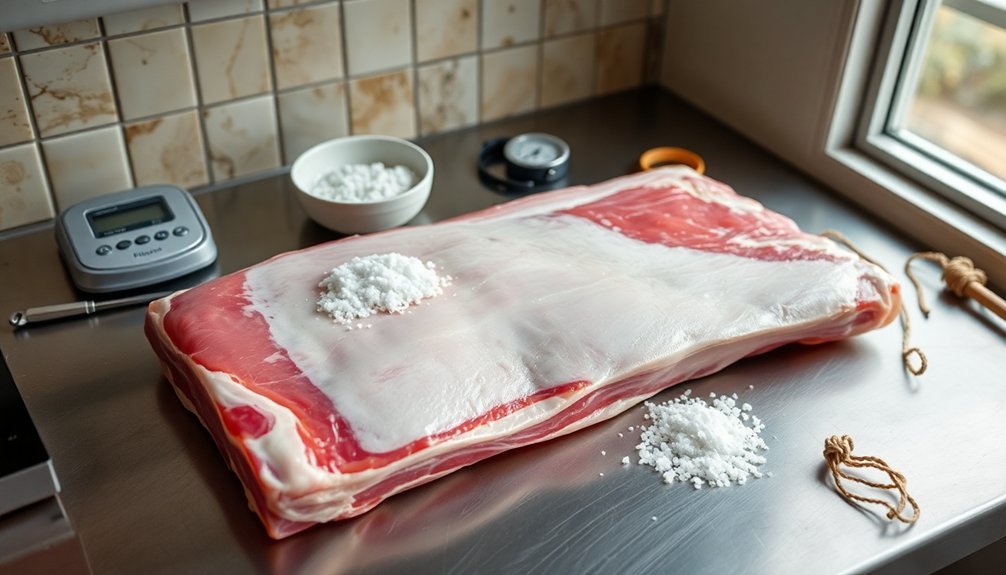
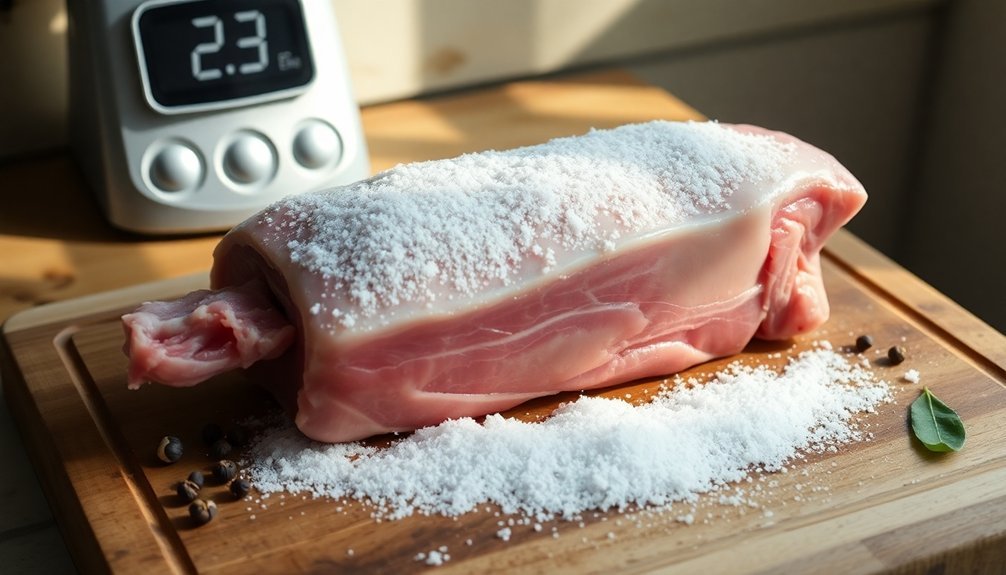
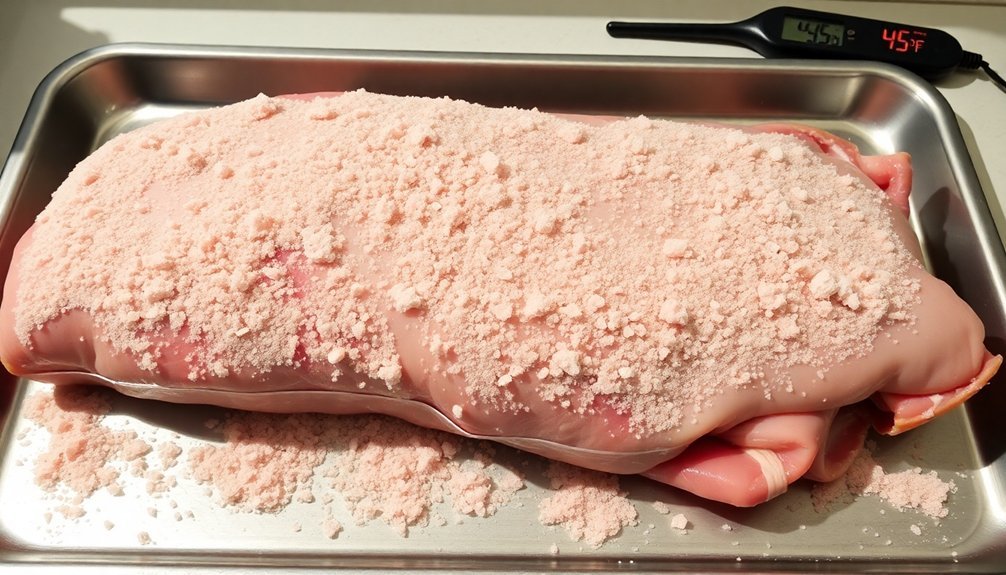
Once your workspace meets the required conditions, you'll begin the methodical process of dry curing your meat. Start by calculating 3% salt by weight of your cleaned meat, then thoroughly coat every surface, paying special attention to hams and shoulders.
Place the salted meat in a plastic container, cover it with plastic wrap, and store it at 40°F (4°C).
You'll need to monitor the process daily, draining excess liquid and rotating the meat every other day for even distribution. The curing duration depends on the cut size – allow two days per pound for larger cuts and seven days per inch thickness for bacon.
Don't over-cure, as this leads to excessive saltiness.
After curing, move your meat to a controlled drying environment with 80% humidity and temperatures between 32-40°F (0-5°C). Maintain proper air circulation and wait until the meat loses 35-40% of its original weight.
Before smoking, rinse off excess salt and soak the meat in cold water – 1½ hours for hams and shoulders, 30 minutes for bacon. Scrub the surface with a stiff brush, then hang the pieces separately in your smokehouse, maintaining temperatures between 80-90°F (27-32°C).
Brine Solution Methods
You'll need to master basic brine ratios, starting with 1 cup of salt per gallon of water for most cuts of meat and adjusting based on your specific needs.
For meat injection, you should calculate 10% of your meat's weight to determine the amount of brine needed, then use a clean meat pump to inject the solution at regular intervals throughout the cut.
Your cure time directly relates to the meat's weight, typically requiring one hour per pound when fully submerged in the solution, though larger cuts may need additional time for proper penetration.
Basic Brine Ratios Guide
Creating the perfect brine starts with mastering the fundamental ratios of salt to water. For a standard brine, you'll need 1 cup of kosher salt per gallon of water, or 4 tablespoons per quart. If you're using regular table salt, reduce the amount to 3/4 cup per gallon to avoid over-salting.
To enhance your brine's effectiveness and flavor profile, consider these essential additions:
- Brown sugar (1 cup per gallon) balances saltiness and improves moisture retention
- Natural sweeteners like honey or maple syrup can replace sugar 1:1
- Aromatics such as garlic powder and onion powder add depth to the final flavor
Your brining time depends on the meat's size and thickness. Small cuts like fish need just 30 minutes, while chicken pieces require 4 hours. For larger cuts like pork loins, brine for 12 hours, and whole turkeys need 6-12 hours.
As a rule of thumb, allow 1 hour per pound of meat. Always keep your meat refrigerated during brining, and use a zip-top bag to guarantee complete submersion while removing excess air to prevent oxidation.
Meat Injection Techniques
While traditional brining methods work well for smaller cuts, larger and thicker pieces of meat benefit from direct brine injection. You'll want to focus on briskets, hams, and other thick cuts, ensuring they're at the proper temperature before you begin the process.
To inject effectively, you'll need a needle with holes along its shaft. Insert it deep into the meat, following the natural grain to avoid damaging muscle fibers. Apply steady pressure when injecting, and concentrate on areas around bones and within muscle tissue. You'll notice some liquid seeping out – that's normal. Simply pat it dry with paper towels.
Divide your injection pattern strategically: use half your solution in the thicker sections and the remainder in leaner areas. When you're working with brisket, this means focusing on the point and flat separately.
Make sure you're using chilled brine solution that's been properly mixed and dissolved.
After injection, submerge your meat in the remaining brine if you're using a combination method. Store it in the refrigerator for the recommended curing time, which varies based on the cut's thickness.
Remember to agitate the solution daily for even curing.
Cure Time By Weight
In accordance with proper curing techniques, meat weight directly determines the required time in a brine solution. You'll need to measure your brine at 10% of the meat's total weight, guaranteeing proper distribution of the curing agent throughout the cut. The standard curing period ranges from 13 to 15 days, though some methods may require up to 21 days for complete penetration.
Keep track of these critical factors during the curing process:
- Monitor weight loss – your meat should lose 35-40% of its initial weight
- Maintain temperature between 36°F and 40°F consistently
- Agitate the brine solution daily to guarantee even distribution
You'll want to calculate cure time based on the meat's thickness and composition. Track your progress by labeling the container with both start and projected completion dates.
During the curing period, you must keep the meat fully submerged, using weights if necessary. If you're working with thicker cuts, you'll need to inject the brine directly into the meat using a meat pump. This guarantees even distribution of the cure throughout the entire piece, preventing any uncured spots that could compromise food safety.
Common Curing Mistakes
Successful meat curing depends on avoiding several essential mistakes that can compromise both safety and flavor.
You'll need to pay careful attention to salt distribution, ensuring you're rubbing it evenly across all meat surfaces, including hard-to-reach areas like ham hocks. If you don't use enough salt, you risk bacterial growth, while too much will make your meat inedible.
Timing is equally important. Don't rush the curing process, but also avoid leaving meat in salt for too long. You'll need to adjust your curing time based on meat thickness and refrigerator temperature rather than relying on generic guidelines.
When choosing between equilibrium and excess salt methods, consider that equilibrium curing offers more precise control and consistent results, though you'll need to adjust calculations for fatty cuts.
Don't overlook additional factors that affect curing success. If you're using sodium nitrite, apply it correctly and consistently.
Manage moisture by properly draining meat juices, and store your curing meat in sealed containers. Remember that sugar in your cure mix can soften the final product, and skin requires special attention as it acts as a barrier to the curing process.
Safety During Salt Curing
Beyond avoiding common mistakes, maintaining strict safety protocols during salt curing can mean the difference between creating delicious cured meats and risking serious foodborne illness. Start with selecting fresh, high-quality cuts from reliable sources, and inspect them thoroughly for any signs of spoilage before beginning the curing process.
Your safety measures should include:
- Maintaining consistent temperatures between 36-40°F (2-4°C) throughout the entire curing process
- Using properly measured amounts of salt (3-5% of meat weight) and following exact instructions for curing salts
- Keeping all tools, containers, and work surfaces thoroughly sanitized before and during the curing process
You'll need to monitor your meat regularly for warning signs like unusual odors, slimy textures, or discoloration.
Use only non-reactive containers made of glass, ceramic, or food-grade plastic to prevent unwanted chemical reactions. Don't forget to wash your hands frequently during preparation and handling to minimize cross-contamination risks.
If you're using traditional hanging methods, guarantee proper ventilation and keep the curing area free from potential contaminants. Remember, proper refrigeration is your safest option, especially if you're new to curing or living in a warmer climate.
Signs of Successful Curing
Knowing the telltale signs of properly cured meat helps guarantee your efforts have paid off and your product is safe to consume. You'll notice successful curing through several key changes in your meat's characteristics, from texture to color and aroma.
| Indicator | What to Look For | Why It Matters |
|---|---|---|
| Moisture | Firmer, denser texture | Indicates proper dehydration and bacterial control |
| Color | Pink to reddish hue | Shows proper nitrite penetration and reaction |
| Texture | Even firmness throughout | Confirms uniform salt distribution |
| Surface | Clean, glossy appearance | Suggests proper microbial control |
| Aroma | Pleasant, fermented smell | Indicates beneficial bacterial activity |
You'll know your curing process is complete when the meat has developed a uniform firmness and shows no signs of surface moisture. The color should be consistently pink or reddish throughout, without any dark spots or discoloration. If you're using nitrites, they'll contribute to both color development and preservation. When you slice into the meat, it should have an even texture from edge to center, showing that the salt and cure have fully penetrated. The absence of any off-putting odors and the presence of a clean, slightly fermented aroma indicates proper microbial control.
Transitioning From Cure to Smoke
Moving from cure to smoke requires careful attention to temperature control and timing to guarantee both safety and ideal flavor development. When you're ready to shift your cured meat to the smoker, you'll need to take into account your desired smoking method and the safety requirements for each temperature range.
- For cold smoking (40°F-100°F), you must use Cure #1 to protect against bacterial growth, as these low temperatures won't cook the meat.
- If you're cool smoking (100°F-180°F), maintain proper cure application since these temperatures still require protection against harmful bacteria.
- For hot smoking above 220°F, while the heat will cook the meat thoroughly, using cure will enhance flavor and guarantee complete safety.
Remember that your smoking method directly impacts the final product's characteristics. If you're cold smoking, you'll want to maintain temperatures between 50°F and 70°F for best results.
The combined effect of proper curing and smoking creates multiple barriers against harmful microorganisms – the salt and cure prevent bacterial growth, while smoke compounds provide additional antimicrobial protection.
When shifting, verify your meat's surface is dry to the touch, as this allows better smoke absorption and indicates proper cure completion.
Traditional Regional Curing Techniques
Traditional curing techniques have evolved across different regions, each reflecting unique cultural practices and local climate conditions. You'll find that ancient civilizations, from Rome to Egypt, relied heavily on salt curing as their primary preservation method, establishing foundations that continue to influence modern practices.
If you're interested in historical methods, you'll want to explore the salt box technique, where meat is thoroughly coated with pure salt and stored in a cool space. This method has evolved into specialized regional approaches, like the Italian prosciutto process, where meats lose about 30% of their original weight during extended drying periods after the initial cure.
The Anglo-Saxon corning technique, which you might recognize from corned beef, demonstrates how regional preferences shaped preservation methods. When working with feral pork, you'll need to follow a more intensive process, applying salt multiple times over a month before aging and possibly cold smoking.
Each region's method has been refined over generations to account for local humidity, temperature, and available resources. These traditional techniques remain relevant today, offering proven approaches to meat preservation that you can adapt for your own curing projects.
Frequently Asked Questions
Can I Reuse Leftover Curing Salt Mixture for Future Meat Preparations?
You shouldn't reuse leftover curing salt mixture. It can harbor dangerous bacteria, lose effectiveness, and compromise meat safety. Always prepare a fresh batch to guarantee proper curing and avoid potential food poisoning.
What Happens if I Accidentally Over-Smoke Meat After Curing?
If you over-smoke your meat, you'll end up with bitter flavors, tough texture, and potentially higher levels of harmful compounds like PAHs and HCAs. It'll also overpower the meat's natural taste.
How Do Different Altitudes Affect the Meat Curing Process?
At higher altitudes, you'll notice your meat cures faster due to lower humidity and increased evaporation. You'll need to reduce curing time and add more moisture to prevent over-drying of your meats.
Can I Cure Multiple Types of Meat in the Same Container?
You shouldn't cure different meat types together because they require varying curing times and salt concentrations. If you do, choose meats with similar curing requirements and keep them separated to prevent cross-contamination.
Why Does Some Cured Meat Develop White Mold Spots?
You'll notice white mold developing naturally during curing because of the right humidity and temperature conditions. Don't worry – it's usually Penicillium nalgiovense, a safe mold that helps preserve your meat and develop flavor.
In Summary
You're now equipped to begin your salt-curing journey. With the right cuts, proper ratios, and essential safety measures, you'll create perfectly cured meats ready for smoking. Don't rush the process – successful curing takes time and attention to detail. Whether you're following traditional methods or developing your own style, remember that mastering salt-curing is your vital first step toward exceptional smoked meats.


Leave a Reply