The five most effective historical ice house building materials will help you construct a natural cooling system. You'll find stone construction offers superior insulation with thick double walls extending into the ground. Double wood partitioning creates robust frameworks filled with sawdust or tan for temperature control. Desert clay methods utilize specialized firing techniques and glazes for durability. Traditional hay insulation, packed tightly between walls, provides excellent temperature regulation. Persian brick domes, crafted with water-resistant Sarooj mortar, can preserve ice even in desert conditions. These time-tested techniques hold the secrets to maintaining ice without modern refrigeration.
Natural Ice House Stone Construction
Throughout the eighteenth and nineteenth centuries, stone served as the primary building material for ice houses due to its superior insulating properties and durability. You'll find that historical builders constructed these walls without mortar for most of their height, only using it near the surface to guarantee structural stability. The field stone construction provided excellent insulation while maintaining the structure's integrity.
When you examine historical examples, like America's first ice house built in 1785, you'll notice they typically featured stone-lined pits, some reaching impressive dimensions like 13 feet in diameter and 18 feet deep. The walls required substantial foundations, often extending two feet into the ground, with both inner and outer walls creating a space for additional insulation materials. The average family required 500 to 700 cubic feet of ice storage annually to meet their preservation needs.
You'll see that builders enhanced the stone walls' effectiveness by applying rough cast or stucco for extra insulation. They'd construct the walls thick enough to minimize heat loss, which proved vital for preserving ice from winter through late autumn.
This careful stone construction, combined with proper drainage systems and insulation techniques, allowed ice houses to maintain cold temperatures effectively throughout the year, demonstrating why stone remained the material of choice for these essential structures.
Architectural Double Wood Partitioning
While stone construction dominated early ice house design, wooden double partitioning emerged as an innovative architectural approach in ice house construction. You'll find this system utilized two ranges of 6 x 4-inch upright joists, placed opposite each other with precise spacing – two and a half feet at the bottom and two feet at the top. The joists were morticed into cross-beams, creating a robust framework for the upper floor.
| Component | Specifications |
|---|---|
| Joist Size | 6 x 4 inches |
| Bottom Spacing | 2.5 feet apart |
| Top Spacing | 2 feet apart |
The partitions were lined with rough boarding on one side, nailed directly to the joist edges. You'd notice the space between these partitions wasn't left empty – it was filled with wet tan or sawdust, providing essential insulation. The sound insulation properties of wood made it an excellent choice for maintaining consistent temperatures within the ice house. The flooring system was equally thoughtful, featuring small blocks of wood and wood shavings at the base, topped with a strong plank floor to support the ice. This double-wall design wasn't just about insulation; it created a remarkably stable structure with ventilation through lattice windows at the gable ends to release warm air.
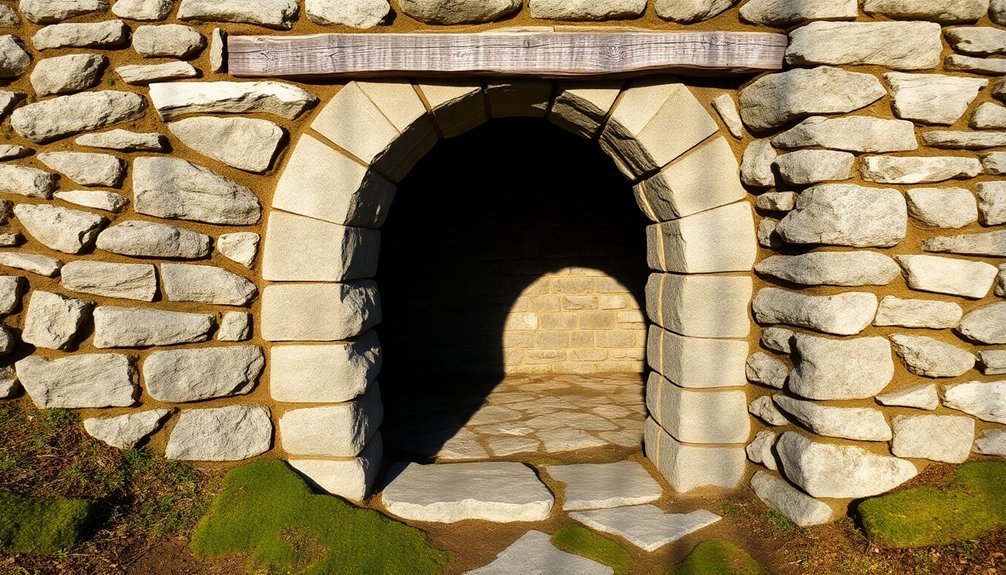
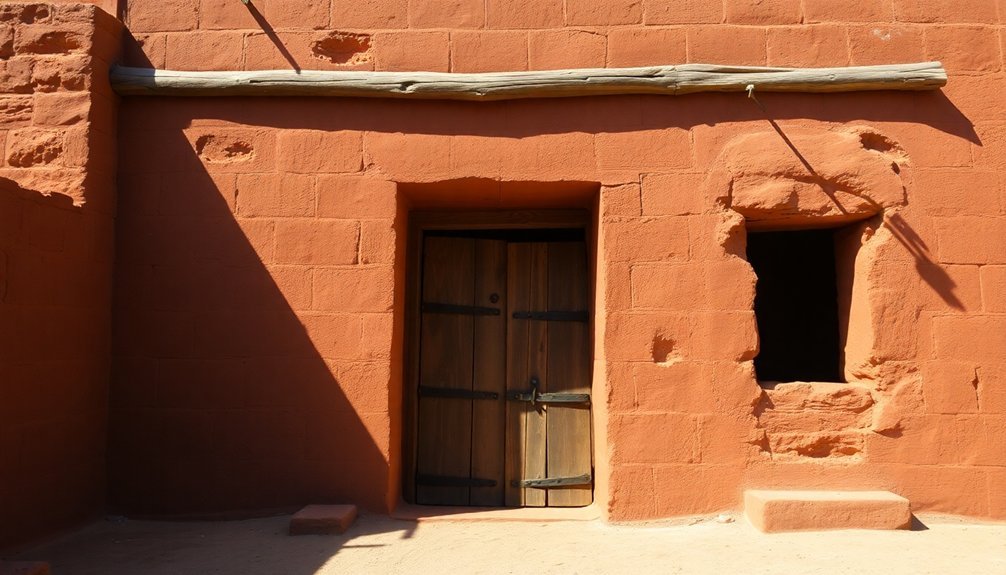
Desert Clay Building Methods
Desert clay building methods evolved from three primary construction elements: clay-rich earth mixtures, precise firing techniques, and specialized finishing methods.
You'll need to start with earth that's high in clay content, similar to adobe but purer, and mix it with water until it reaches a bread dough-like consistency. Adding flux materials like glass, soda, or colemanite to your mortar helps fuse the mixture effectively. The staggered joint layout helps accommodate thermal expansion during the heating process.
When you're ready to shape your structure, you'll form blocks and let them dry for one to two weeks. You can create arches by stacking these blocks without mortar as formwork, and you'll want to incorporate built-in features like seats and shelves during construction.
The firing process is essential – you'll heat the structure gradually from 200°C to 900°C, then increase to at least 1,000°C for proper baking. Managing steam escape through roof flues and heat circulation via floor vents is vital.
For finishing, you've got several options: apply mud straw plaster, use low-fired glazes that allow the structure to breathe, or try salt glazing for an economical finish.
You can even incorporate recycled glass bottles for unique glazing effects.
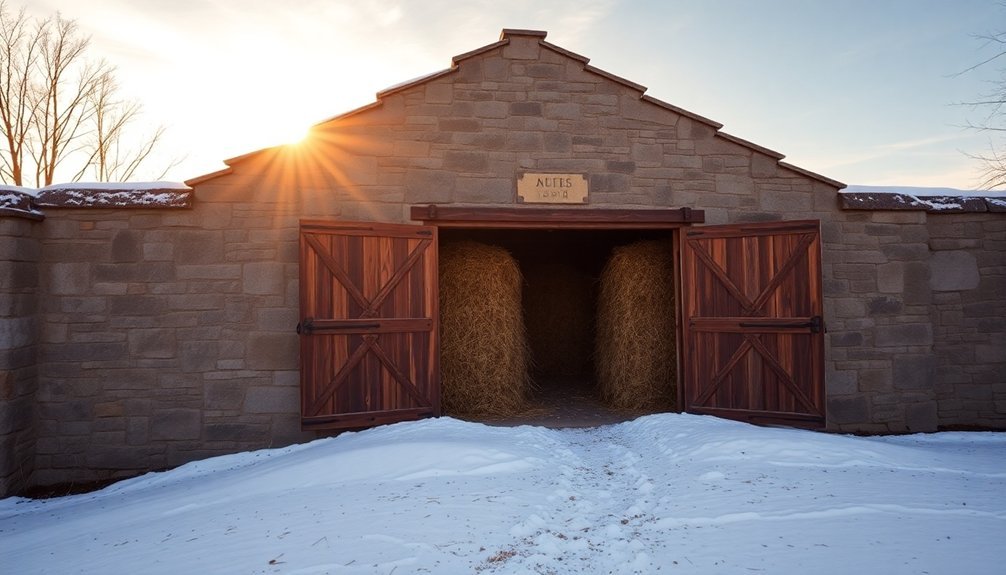
Traditional Hay Insulation Layers
Ice house builders relied heavily on hay insulation layers as one of their primary temperature control methods. Marsh hay, in particular, proved effective when packed tightly between double walls and around ice storage areas.
You'll find that these natural materials worked alongside other traditional insulators like sawdust and charcoal powder to maintain consistently low temperatures.
When you're studying historical ice house construction, you'll notice these key techniques for hay insulation:
- Builders would pack the hay tightly between inner and outer walls, creating a dense barrier against heat transfer.
- They'd place several inches of hay insulation at the top of ice storage areas to prevent warm air from affecting the ice.
- The bottom of ice vaults received a foundational layer of hay before ice placement.
- Workers would carefully tread the hay to guarantee maximum density and effectiveness.
The success of hay insulation depended largely on proper moisture control and ventilation.
You'll notice that historical ice houses featured ventilators and louvers to maintain airflow, preventing hay from becoming too damp and losing its insulating properties. The broad, overhanging eaves also protected the hay-filled walls from excessive moisture exposure.
Persian Brick Dome Structures
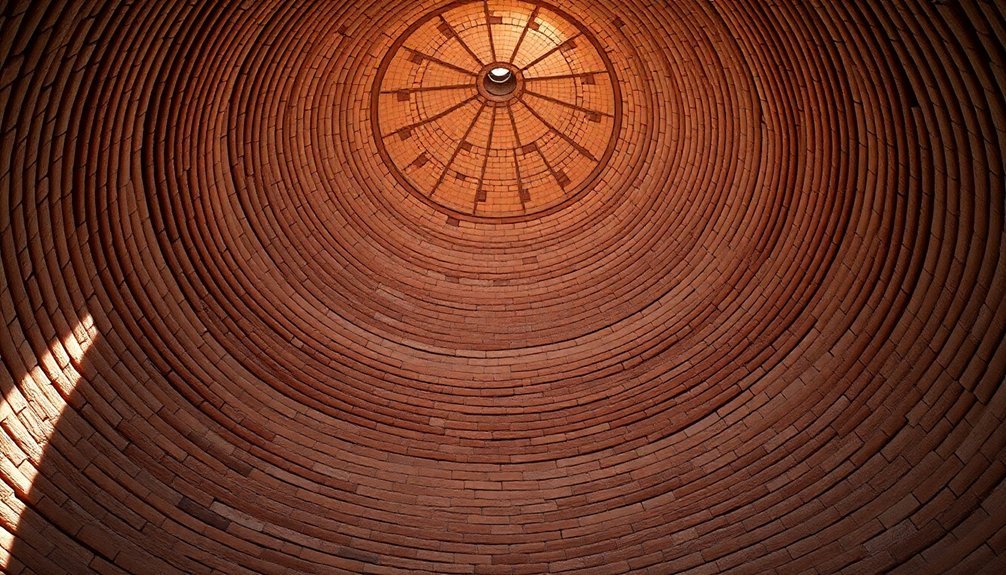
Persian engineering ingenuity shines through in the massive brick dome structures that once served as ancient cooling systems. You'll find these remarkable domes, reaching heights of up to 20 meters, constructed with a special mortar called Sarooj. This unique material combines sand, clay, egg whites, lime, goat hair, and ash to create water-impenetrable bricks that resist heat transfer – perfect for ice storage in desert climates.
When you examine these structures, you'll notice they're strategically built with large underground storage rooms beneath the conical domes. The architects incorporated clever features like openings at the dome's apex to allow heat and moisture to escape, while wind towers draw cool air from below to maintain lower temperatures.
They've positioned these ice houses on the desert's edge, where winter temperatures could freeze water in nearby channels and basins. The mud bricks used in construction come directly from excavating the deep ice pits, making these structures both sustainable and practical.
You'll find these domes were remarkably effective, keeping ice frozen throughout scorching summers until electric refrigeration made them obsolete about 50 years ago.
Frequently Asked Questions
How Long Could Ice Typically Last in a Well-Constructed Historical Ice House?
You'd find that ice could last 9-12 months in a well-constructed historical ice house, with proper insulation and maintenance. This meant you could store winter ice through summer and into the following cold season.
What Was the Average Construction Cost of Ice Houses in Ancient Times?
You can't determine exact ancient ice house construction costs due to limited records, but they'd vary based on local material availability, size, and labor costs in different regions and time periods.
How Did Builders Waterproof Ice Houses to Prevent Moisture Damage?
You'll find builders waterproofed ice houses using stucco or rough casting on stone walls, while installing gravel drainage systems below. They'd also create wooden platforms to keep ice elevated and prevent direct water contact.
Which Direction Did Most Ice Houses Face to Minimize Sun Exposure?
You'll want to face your ice house north, as this orientation minimized sun exposure. Historical builders typically placed these structures on the north side of hills to keep them naturally cool and shaded.
How Many Workers Were Typically Needed to Construct an Ice House?
You'd need 2-6 workers for a basic domestic ice house, but commercial structures required 10-20 laborers. The complexity of your design and whether it's above or below ground determines the exact workforce needed.
In Summary
You'll find these five time-tested materials and methods remarkably effective for building traditional ice houses. Whether you're drawn to sturdy stone walls, efficient double-wood partitions, cooling desert clay, insulating hay layers, or elegant Persian domes, each approach has proven its worth over centuries of use. Consider incorporating these historical elements into your ice house design to achieve natural, sustainable cooling without modern technology.


Leave a Reply