You'll find three reliable snow storage designs for preserving food through winter: snow bank pit storage, layered snow pack, and insulated snow caves. Snow bank pits use below-frost-line holes with drainage and ventilation systems for stable temperatures. Layered snow packs rely on compacted snow and ice reinforcement, maintaining temps between 32-40°F. Insulated snow caves use a T-shaped design with proper ventilation to keep food 10-15 degrees cooler than outside temps. Each method requires careful monitoring of temperature and humidity levels. Exploring these time-tested techniques will help you master cold storage preservation methods.
Snow Bank Pit Storage
When constructing a snow bank pit storage system, you'll need to start by digging a square hole below the frost line to maintain stable temperatures.
Create a shallow, gravel-filled drainage trench around the hole's perimeter to prevent water from pooling. Install a vertical wooden duct in the pit's center to help control temperature and humidity levels. Storage duration increases significantly compared to keeping produce at room temperature.
You'll want to position a well box with an access hatch several feet above ground level, then bank it with earth for additional insulation.
Store your produce in sacks attached to a rope system, which lets you retrieve items without disturbing others. Use two easily releasable knots to secure the sacks to the main line, and fill the space above with insulation bags on a separate line.
Monitor conditions by placing thermometers and hygrometers through the central duct. You can introduce cold air through the duct to lower temperatures or add hot objects to raise them.
Control humidity by using cloth sacks with desiccant material or adding water as needed. Check your stored items every couple of weeks, removing any spoiled produce and adjusting conditions based on weather changes.
Layered Snow Pack Design
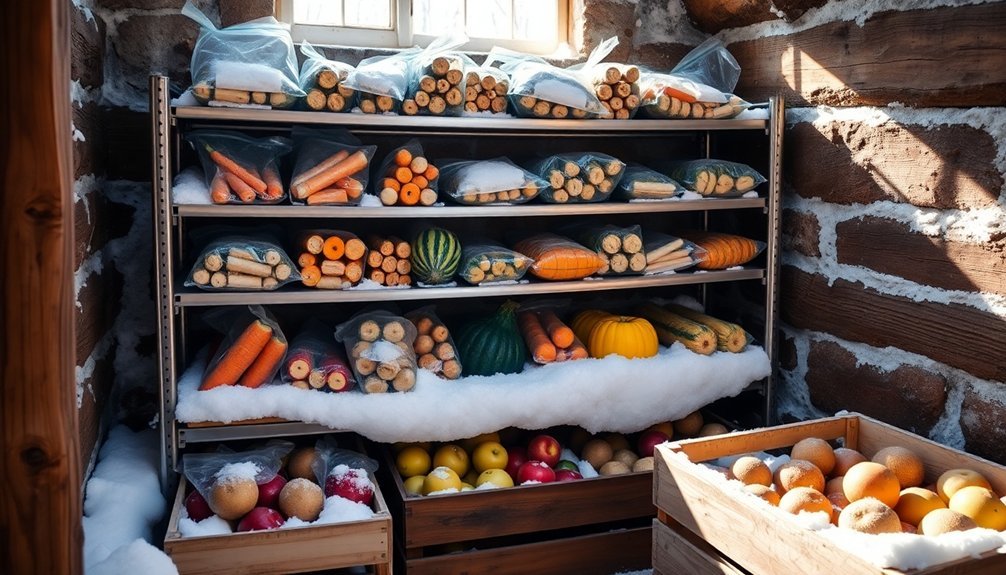
While snow bank pit storage offers underground protection, a layered snow pack design provides an above-ground alternative that's equally effective for food preservation.
You'll start by creating a compacted snow base, then build up layers systematically, packing each one firmly before adding the next. Reinforcing the structure with ice will enhance its durability and insulation properties. Traditional root cellar techniques have proven that proper layering and insulation are crucial for long-term storage success.
Your storage design should maintain temperatures between 32°F and 40°F, which you'll achieve through proper snow layering and ventilation.
You'll need to wrap food items in appropriate materials and use airtight containers to prevent moisture damage. Remember to separate different food types to avoid cross-contamination and organize them for easy rotation.
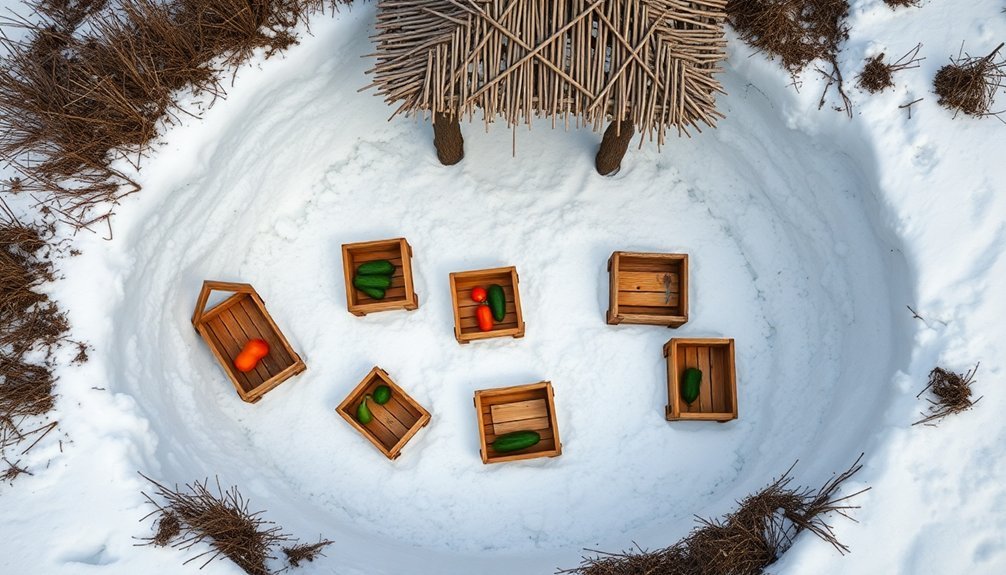
To protect your food from animals, you'll want to bury the storage area in slushy snow and let it freeze solid.
It's essential to mark your storage site clearly and monitor it regularly for structural integrity. You should also create a secure, insulated entrance that allows quick access while maintaining internal temperatures.
Don't forget to check the structure periodically and manage moisture levels to prevent damaging freeze-thaw cycles.
Insulated Snow Cave Method
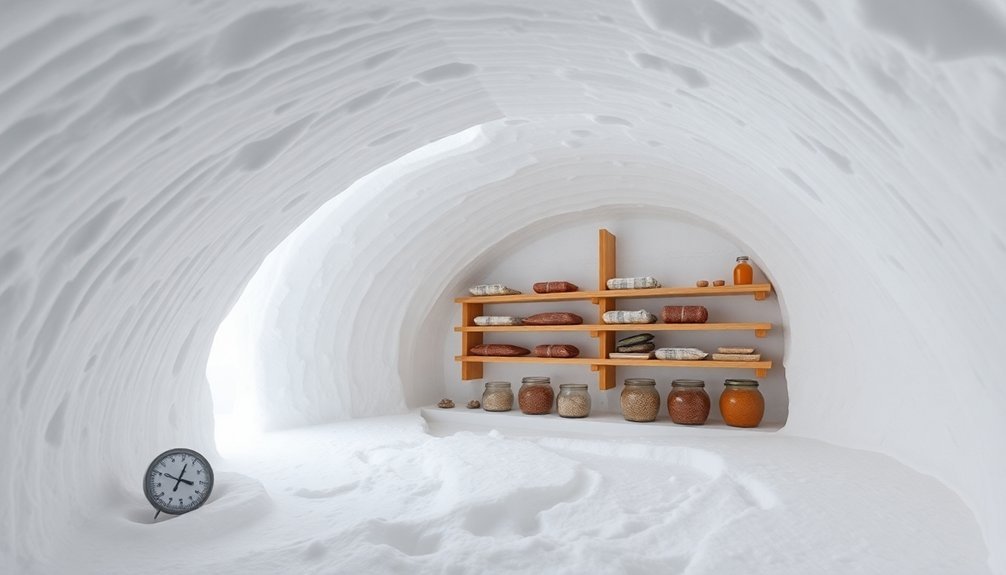
Through careful design and precise construction, the insulated snow cave method offers a highly effective approach to food preservation in winter conditions. You'll start by using the "T" method, making a straight cut down and creating a platform for food storage. This efficient design maintains temperatures 10-15 degrees different from the outside, perfect for preservation. Similar to how ancient Romans and Persians used ice storage techniques, these snow caves provide reliable cold storage solutions.
To build your storage cave, you'll need to focus on proper insulation and ventilation. Create two roof holes for air circulation, and use snow blocks to seal cracks. The entrance should include a pit or tunnel to trap cold air, while steps guarantee safe access to your preserved goods.
| Component | Purpose | Maintenance |
|---|---|---|
| T-Cut Design | Quick construction | Check stability daily |
| Ventilation Holes | Prevent CO2 buildup | Clear with probe regularly |
| Snow Block Walls | Enhance insulation | Fill cracks as needed |
| Pit Entrance | Temperature control | Keep steps clear |
| Storage Platform | Food organization | Monitor for drips |
Remember to keep the structure's parabolic dome shape for maximum strength, and create storage shelves for organized food placement. Regular maintenance of ventilation holes and insulation is essential for preserving your food supplies effectively throughout the winter season.
Frequently Asked Questions
How Long Can Food Stay Preserved in Snow Storage Before Quality Deteriorates?
You'll find that most produce can last 2-6 months in snow storage. Your winter squash may stay fresh for 6+ months, while root vegetables typically remain good for 2-4 months under proper conditions.
What Emergency Backup Systems Work Best if Snow Melts Unexpectedly?
You'll want portable power stations paired with solar panels for electricity backup. Keep ice chests and blue ice packs ready, and make certain you've got a generator as your final backup system.
Can Wild Animals Detect Food Through Snow Storage Systems?
Yes, you'll need to protect your stored food since animals can detect it through snow. Their keen sense of smell, spatial memory, and tactile abilities let them locate food even beneath several inches of snow.
Which Foods Should Never Be Stored Using Snow Preservation Methods?
You shouldn't store meat, eggs, dairy, cooked pasta, fresh produce, or high-moisture foods in snow. They'll either risk bacterial growth when thawing or become water-logged and deteriorate in quality upon thawing.
How Do Temperature Fluctuations Above Freezing Affect Snow-Stored Food?
When your snow-stored food experiences temperatures above freezing, you'll face rapid bacterial growth, nutrient loss, and texture changes. You're risking foodborne illness as bacteria multiply quickly above 40°F (4°C).
In Summary
You'll find these three snow storage designs invaluable for preserving food during winter months. Whether you choose the traditional snow bank pit, the efficient layered snowpack, or the protective snow cave method, each offers reliable cold storage without modern electricity. Remember to monitor temperatures regularly and check your food items for quality. With proper setup and maintenance, you've got natural, sustainable food preservation at your fingertips.


Leave a Reply