
You've got three proven ways to build a winter food storage pit for preserving your harvest. First, dig a traditional 3x3x4-foot pit below the frost line with proper drainage and ventilation pipes. Second, try the underground container method using a metal garbage can or plastic bin layered with straw and covered with insulating materials. Third, construct a permanent root cellar with brick or concrete walls, ensuring it's deep enough to maintain temperatures between 32-40°F. Each method requires careful attention to moisture control, temperature monitoring, and proper air circulation. Let's explore how to create your ideal winter storage solution.
Traditional Cold Storage Pit
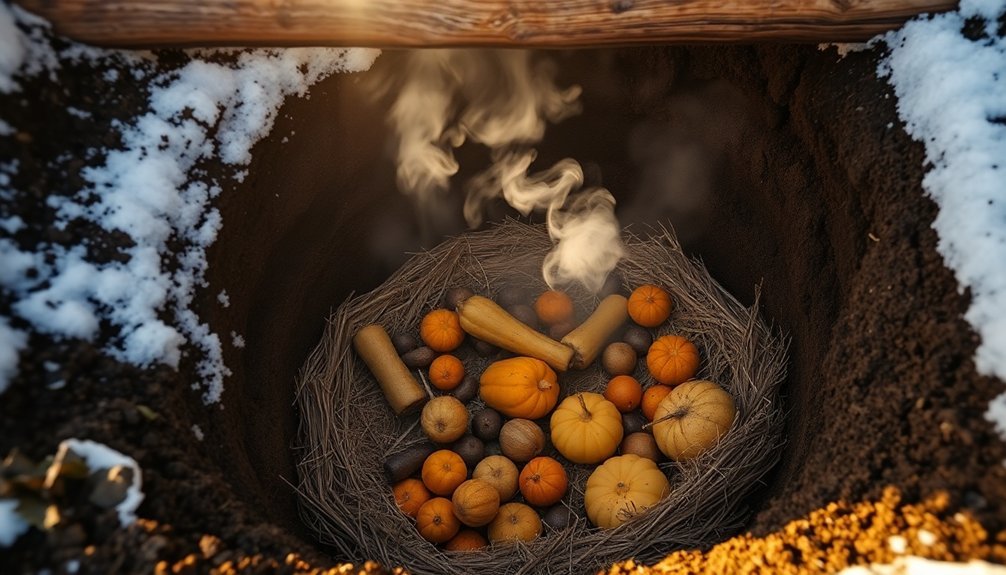
A traditional cold storage pit offers a time-tested method for preserving food through winter months without electricity. To create one, you'll need to dig a square hole measuring 3 feet on each side and 4 feet deep, guaranteeing it extends below the frost line. Surround the hole with a gravel-filled drainage trench at ground level to prevent water accumulation. Wooden crates placed between duct shaft supports provide efficient storage organization.
Install a lower stage duct assembly and position a well box with an access hatch several feet above ground level. You'll want to bank the well box with earth, keeping it above the snow line. Using dimension lumber for the 4-foot square well box provides convenience and stability.
For ideal storage conditions, you'll need to attach produce sacks to a rope system, spacing them apart for easy access. Keep the sacks raised a couple inches off the pit bottom and guarantee they don't rise above the lower duct stage.
Install vent pipes in the ceiling or walls for proper air circulation, and monitor temperature and humidity levels with appropriate instruments. You can adjust moisture levels by pouring water down the duct or using an aluminum foil evaporator pan. Fill remaining space with insulation sacks on a separate line system.
Underground Container Method
Underground storage containers offer a simpler alternative to traditional food storage pits. You'll need to select a new or clean container, such as a metal garbage can or plastic storage bin, that hasn't held nonfood items. Make sure to drill drainage holes in the bottom and choose a durable container that can withstand underground conditions.
When preparing your site, pick a spot that's convenient to your house but away from car fumes. The location shouldn't flood and should have good drainage. You'll want to mark the spot to find it easily, even under snow. This method helps maintain optimal storage temperatures between 32 and 40 degrees Fahrenheit.
Dig a hole slightly larger than your container and deep enough so the lid sits below soil level. Place rocks or crushed stone at the bottom for drainage, then set your container in the hole, leaving about 2 inches above ground. Pack soil firmly around it.
Layer your vegetables with straw or dead leaves, keeping different types separate to prevent cross-contamination. Cover the top with 1-2 feet of insulating material like straw or hay, and add a plastic sheet to keep out precipitation.
Don't forget to include ventilation, such as a straw chimney, so moisture and gases can escape.
Root Cellar Construction
Building a root cellar starts with choosing the right location and preparing the site properly.
You'll want to select a spot with good drainage, preferably on elevated ground with sandy soil. Mark your chosen location with stakes so you can find it easily after snowfall, and guarantee there's enough space for your planned cellar size.
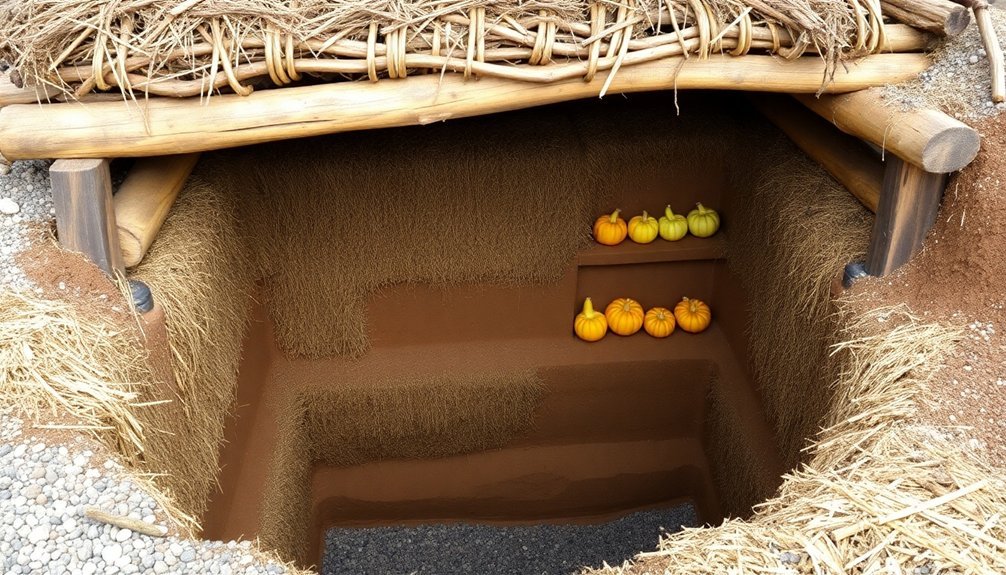
When you're ready to dig, make the hole deeper than your area's frost line, especially if winter temperatures drop below 25 degrees. A standard size of 8 x 12 feet is recommended for most household needs.
Flare the sides to prevent cave-ins, and line the bottom with straw or dried leaves. For the walls, you can use bricks, concrete blocks, or earthbags filled with soil. If you're using earthbags, secure them with rebar and barbed wire for stability.
For the roof, construct an arch to manage condensation and prevent mold growth.
Cover plywood with plastic sheeting and reinforce it with rebar. You'll need to create a lid or well box for access, making sure to include a small gap for air circulation.
Don't forget to insulate the space between your stored produce and the excavation walls using insulation sacks.
Frequently Asked Questions
How Long Can Different Types of Vegetables Last in Underground Storage?
You'll find your root vegetables last longest: potatoes keep 6-8 months, onions 8 months, carrots and parsnips 4-6 months. Beets and turnips store for 3 months, while cabbage lasts 4 months.
What Plants Should Never Be Stored Together in Winter Storage Pits?
You shouldn't store ethylene-producing vegetables like apples with root crops, as they'll cause premature spoilage. Keep potatoes away from onions, and separate strong-smelling produce like cabbage from absorption-prone vegetables.
Can Animals or Rodents Damage Underground Food Storage Systems?
Yes, you'll need to watch out for ground squirrels, moles, voles, and gophers. They'll burrow into your underground storage, damage containers, and eat your food. Use metal containers and barriers for protection.
What Temperature Fluctuations Are Acceptable for Maintaining Food Quality?
You'll want to keep temperature variations minimal, ideally within 32-40°F (0-4°C). Don't let temperatures fluctuate more than 5-8°F, as larger swings can trigger bacterial growth and food spoilage.
How Do Different Soil Types Affect the Success of Storage Pits?
You'll have better success with sandy soil as it drains well, while clay soil retains too much water. Pick soil that's well-draining but stable enough to prevent cave-ins for your storage pit.
In Summary
Building your own winter food storage using any of these three methods will help you preserve fresh produce throughout the cold months ahead. Whether you've chosen the traditional pit, opted for underground containers, or invested in a root cellar, you'll save money and enjoy home-grown vegetables longer. Remember to check your stored items regularly and maintain proper temperature and moisture levels for the best results.


Leave a Reply