You'll get the most from your wild ice storage by following these essential tips. Start by selecting high-quality natural ice blocks that melt slowly and provide superior cooling. Keep temperatures stable between 1-3°C using proper insulation like sawdust layering around the sides and top. Install effective drainage to manage meltwater and prevent pooling. Guarantee good air circulation with strategically placed fans to maintain consistent temperatures. Clean your storage space thoroughly with diluted bleach solution before use. Monitor conditions regularly and adjust ventilation as seasons change. These fundamentals will set you up for successful long-term ice preservation.
Selecting Natural Ice Blocks
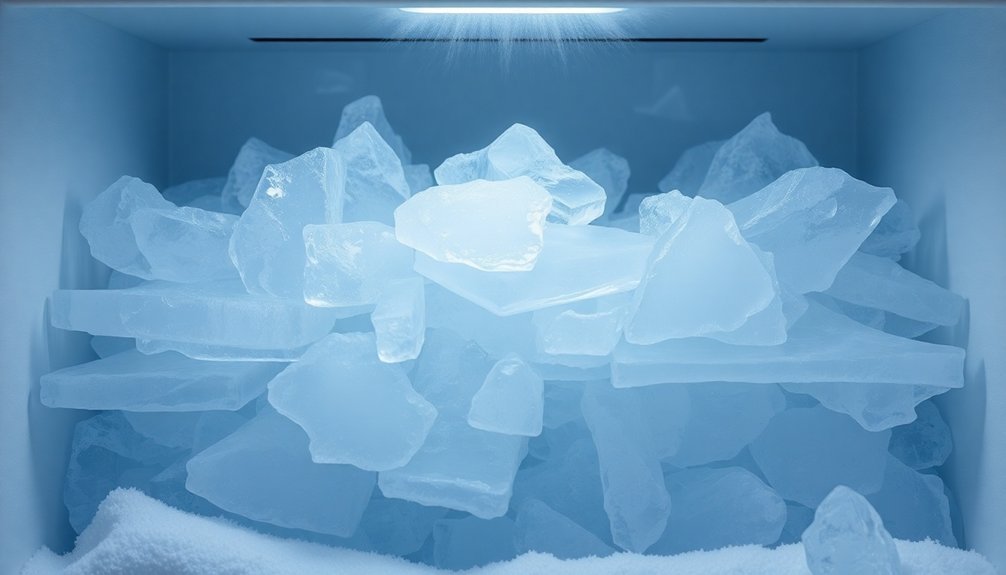
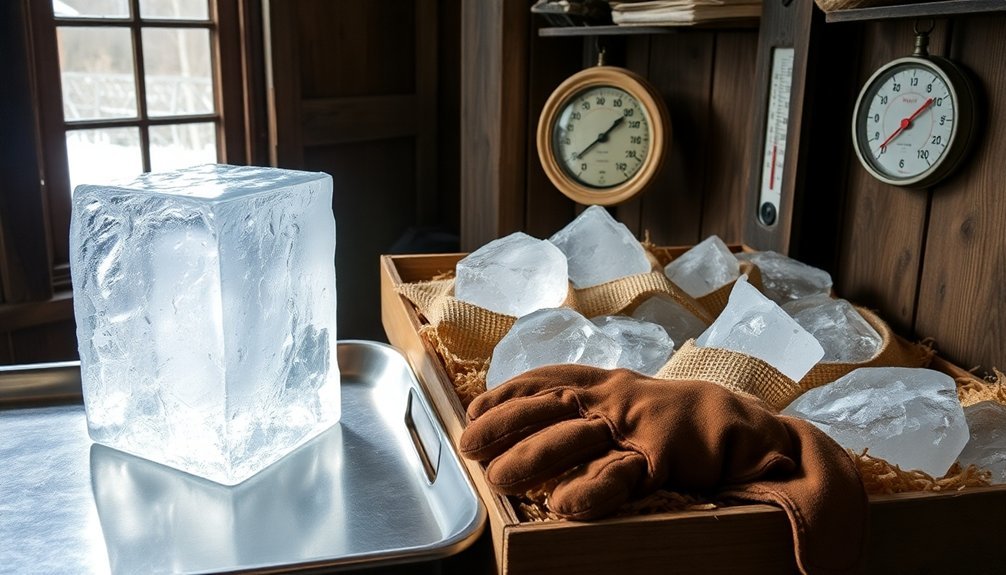
Natural ice blocks stand as a cornerstone of effective cold storage, offering superior cooling efficiency and lasting preservation. When selecting block ice, you'll find it maximizes space efficiency since there's no wasted container space, and its compact shape makes it ideal for packing around items. Block ice also melts more slowly than other ice forms, making it perfect for long-term storage needs.
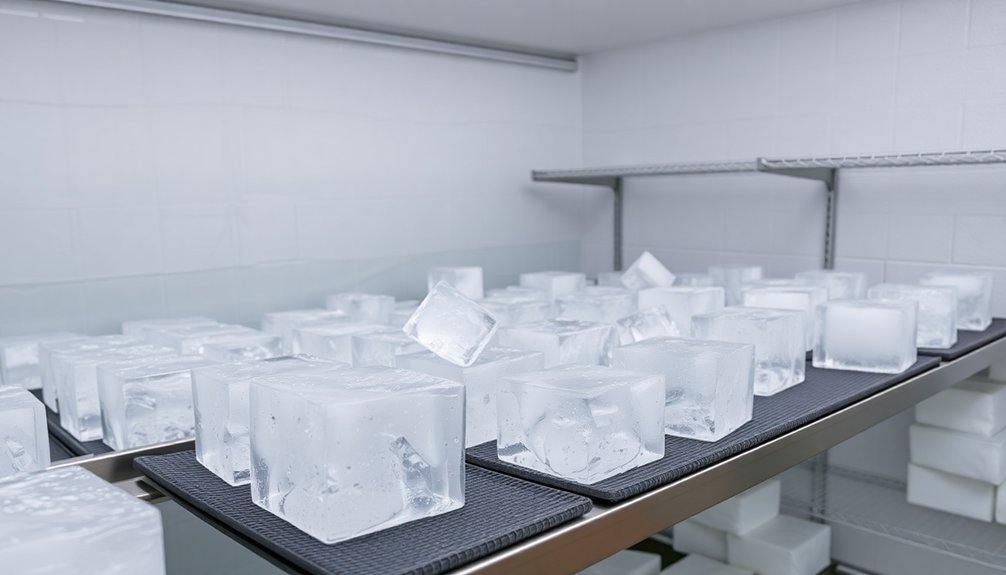
To enhance your cooling performance, you'll need to take into account how you'll use the ice. While block ice requires crushing to effectively surround non-standard shapes, it maintains colder temperatures longer than other ice types. Proper equipment is essential for crushing to avoid product damage from large chunks. You can combine it with cubed ice for best results, following a 2:1 ice-to-goods ratio. Pre-chilling your cooler with cubed ice before adding block ice will enhance its performance.
When handling block ice, you'll need proper tools. While traditional picks and hammers work, specialized crushing equipment produces more consistent results and is safer to use.
You can also create your own blocks by freezing water in rectangular containers at home, or collect natural ice from lakes and compress it into manageable slabs for storage.
Temperature Control During Transport
You'll need to pack your wild ice blocks with zero-loss techniques, using watertight containers and proper insulation to prevent meltwater runoff during transport.
Choose insulated containers that can maintain temperatures between 1-3°C, as higher temperatures can lead to significant ice loss within 48 hours.
Installing temperature monitoring equipment in your transport containers lets you track any fluctuations and adjust conditions before your ice starts to deteriorate.
Inadequate cooling can result in up to 740 liters of runoff during standard transportation conditions.
Packing For Zero Loss
Mastering temperature control during transport starts with proper pre-packing procedures. You'll need to chill your fish to below 1°C before packing to minimize meltwater. For non-frozen items, refrigerate them overnight, while frozen products require a full 24-hour freeze before packing.
You'll want to use insulated packaging with foam inserts and gel packs to maintain stable temperatures. Place these cooling elements strategically inside the box, and don't forget to use watertight plastic or vacuum-sealed pouches to prevent condensation damage. Add dunnage materials to prevent items from shifting during transit. Subpar packaging can lead to increased product damage rates and customer complaints.
For your cooling agents, you've got options. Gel packs work best for items that need to stay between 32 and 60 degrees Fahrenheit, and they're airline-friendly. If you're handling frozen products, dry ice is effective but requires ventilated packaging and follows strict shipping regulations.
To guarantee zero loss, you'll need to coordinate with regional fulfillment centers and use refrigerated trucks throughout delivery. Keep monitoring temperature and humidity conditions during transport, and work with reliable carriers to optimize your shipping process and maintain consistent temperatures.
Insulated Container Selection
Selecting the right insulated container boils down to four essential features: thermal efficiency, durability, portability, and compliance standards.
You'll want to look for containers with high-density polyurethane walls at least 60mm thick, as they provide excellent thermal protection for your wild ice. These containers can maintain frozen temperatures using phase-change materials, ensuring your ice stays solid throughout transport.
Consider containers that offer these practical advantages:
- Modular designs that allow you to replace parts easily rather than buying entirely new units
- Waterproof inner bags you can remove and clean to maintain hygiene standards
- Reinforced handles and straps that make loading and securing the container hassle-free
When transporting wild ice, you'll need containers that meet ATP certification standards for frozen transport.
Look for models with optional temperature monitoring devices, especially if you're moving ice over long distances. The best containers combine lightweight construction with robust durability, helping you save on energy costs while ensuring your ice arrives in perfect condition.
Don't forget to check for dedicated compartments for cold packs and documentation – these small features make a big difference in practical use.
Temperature Monitoring Equipment
Consistently monitoring temperature during wild ice transport requires sophisticated equipment designed for extreme cold conditions.
You'll need monitoring devices capable of measuring temperatures as low as -196°C with accuracy within ±0.2°C to guarantee your wild ice stays at ideal preservation levels.
Select data loggers that can store between 8,000 to 40,000 readings with date and time stamps.
This extensive storage capacity lets you track temperature fluctuations throughout the entire transport journey.
You'll want devices that offer real-time monitoring through cloud services, allowing you to check temperatures from any device with a browser.
Make certain your monitoring equipment includes instant alerts for temperature deviations or sudden changes.
These notifications are essential for quick responses to potential issues during transport.
When choosing your devices, consider battery performance in extreme cold.
Look for models with lithium batteries that can operate for at least 1,000 hours at -80°C temperatures.
Devices with NFC or Bluetooth Smart LE capabilities will make data access easier while conserving power.
Remember to check that your chosen monitor's battery life matches your transport duration, with most quality units offering 1-3 years of operation.
Clean Storage Space Preparation
Before storing your wild ice, you'll need to thoroughly sanitize all freezer surfaces using a mild detergent and warm water solution to eliminate any contaminants.
Make sure to dry all surfaces completely to prevent unwanted frost buildup and potential contamination of your ice.
Remove any lingering food odors by wiping down the freezer interior with a water-vinegar solution, as these odors can transfer to and affect the quality of your stored ice.
Sanitize Freezer Surfaces First
To safely store wild ice, proper freezer sanitation stands as your essential first step. Start by emptying your freezer contents into a cooler, then turn off the unit to allow for defrosting.
While it defrosts, take inventory of your items and discard any expired products. You'll want to prepare a cleaning solution using equal parts water and vinegar, or opt for a chlorine solution if you suspect bacterial contamination.
Once defrosted, thoroughly clean all surfaces using your prepared solution. Pay special attention to corners and cracks where debris often accumulates. For stubborn stains, apply a mixture of baking soda and white vinegar, letting it foam before gentle scrubbing.
- Use fresh cleaning cloths for each section to prevent bacterial spread
- Clean the door gasket thoroughly, as it's often overlooked but essential for proper sealing
- Allow adequate contact time for sanitizers to work effectively
After cleaning, sanitize with a diluted bleach solution and let surfaces air dry for five minutes. Dry remaining moisture with a clean, soft cloth to protect the freezer walls.
Only return food items once the freezer reaches its appropriate temperature, ensuring optimal storage conditions for your wild ice.
Remove Lingering Food Odors
Lingering food odors can sabotage even perfectly preserved wild ice, making odor elimination a crucial step in storage preparation. Start by removing all expired, spoiled, or questionable food items from your freezer. You'll need to inspect every corner and crevice, discarding anything that shows signs of deterioration or has an off-putting smell.
Once you've cleared out unwanted items, thoroughly clean all interior surfaces. Remove shelves and compartments, washing them with hot water and detergent before sanitizing with a bleach solution.
Don't forget to clean the door gasket and interior walls using a baking soda solution, followed by a sanitizing rinse.
To tackle persistent odors, you've got several natural deodorizing options. Place an open box of baking soda or activated charcoal in your freezer, or use fresh coffee grounds in a shallow container.
For particularly stubborn smells, try wiping surfaces with lemon juice or placing vanilla-soaked cotton swabs inside.
Let your freezer air out completely by leaving the door open for several hours, or fill it with rolled newspapers for a few days.
Maintain freshness by cleaning spills immediately and performing monthly maintenance checks.
Sawdust Layering Techniques
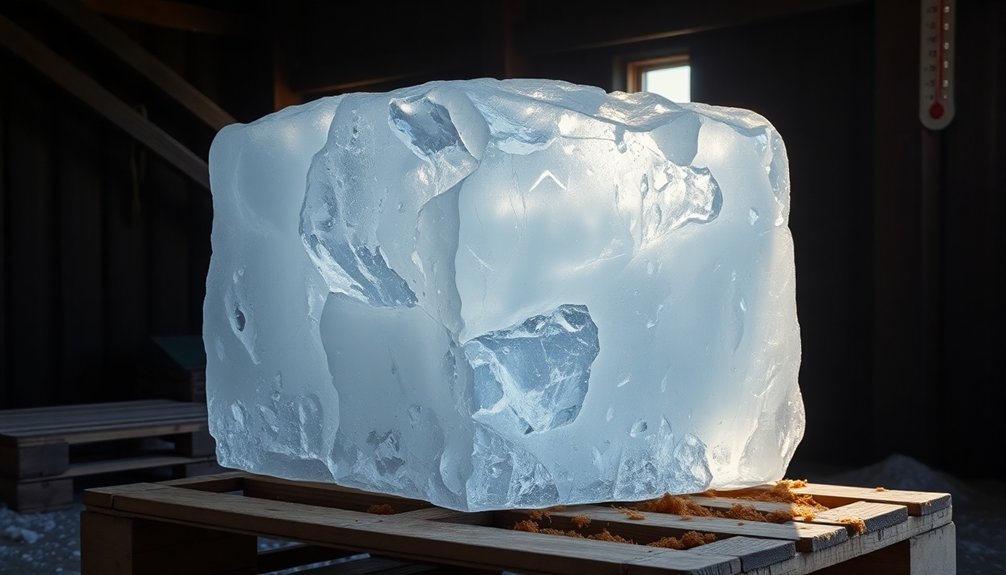
The ancient practice of sawdust layering remains an essential technique for preserving wild ice during storage and transportation. When you're storing ice blocks, you'll want to apply sawdust around the sides and on top, creating an effective insulation barrier that greatly slows down melting.
You can enhance this protection by placing paper between the top ice layer and the first sawdust layer for additional insulation. The technique isn't just about random placement – you'll need to guarantee even coverage and fill all gaps to maintain consistent temperature control.
During transportation, the sawdust-covered ice serves dual purposes: it acts as ballast for ship stability while preserving the ice for sale in warmer regions. When you're using ice for refrigeration in boxcars, combining sawdust with rock salt creates an efficient cooling system.
- Place sawdust on the sides and top of ice blocks, but avoid putting it between tiers
- Fill all gaps thoroughly to prevent warm air pockets from forming
- Adjust the sawdust layer thickness based on your storage conditions and duration
This method's effectiveness lies in its ability to reduce heat transfer, keep ice blocks separate, and maintain the quality of your stored ice over extended periods.
Drainage System Requirements
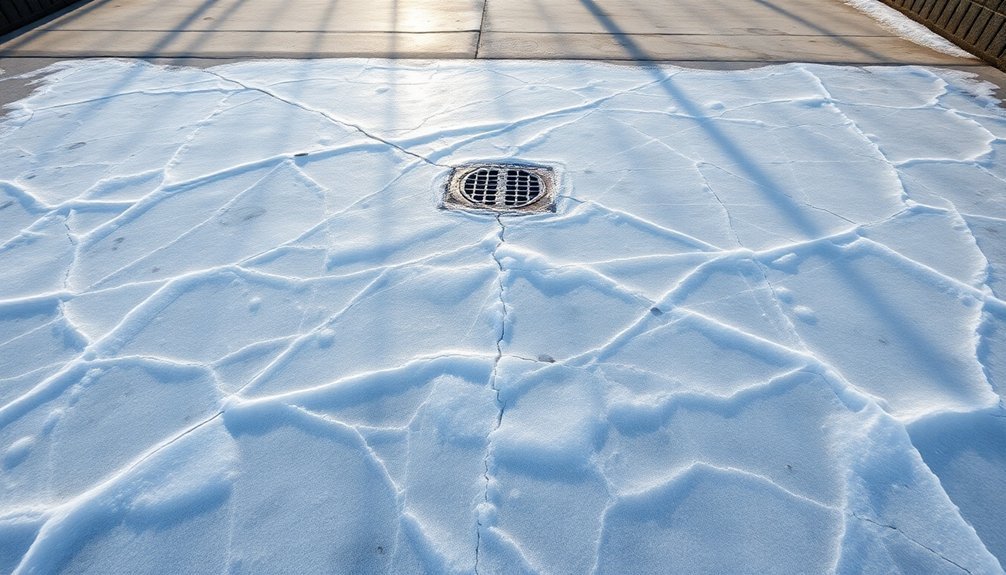
While sawdust insulation protects your stored ice, proper drainage prevents unwanted melting and water accumulation.
You'll need to design your drainage system to handle both regular melt water and storm runoff, guaranteeing water moves away from your ice storage efficiently.
Start by calculating the required water quality volume for your storage area and implement a properly sized outlet structure.
You'll want the drainage system to empty less than 50% of stored water within the first eight hours, using small orifices or weirs to prevent blockage from debris.
Make sure you position these outlets within accessible risers for easy maintenance.
Design your drainage channels using modified Manning's equations to determine proper flow rates.
Include forebays that take up at least 20% of your permanent pool surface area, with an average depth of three feet to handle sediment effectively.
You'll need berms or rock check dams to separate these forebays from the main drainage area.
Don't forget to protect your outlet structures from clogging by positioning inlets below the surface.
Install auxiliary outlets to handle excess storm events and guarantee you've got clear equipment access for regular maintenance and cleanout.
Air Circulation Methods
Proper air circulation serves as a cornerstone for successful wild ice storage, requiring strategic ventilation design and equipment placement.
You'll need to implement a combination of axial fans for general circulation in open areas and centrifugal fans for high-pressure situations where filtration is necessary. Make certain you've positioned your ventilation equipment to create even airflow throughout your storage space, preventing temperature fluctuations that could compromise ice quality.
Consider installing air curtains at entry points to maintain temperature consistency and prevent warm air infiltration. You'll want to monitor humidity levels closely, as your ventilation system should balance moisture content without causing excessive drying.
Remember that proper zoning of your facility helps manage different ventilation requirements more effectively.
- Place CO2 safety alarms strategically throughout your storage area to detect any dangerous gas buildup
- Install exhaust fans at prime positions to guarantee continuous air exchange and removal of stale air
- Set up multiple axial fans to create overlapping coverage zones, eliminating dead spots in air circulation
Seasonal Storage Transitions
Successful seasonal shifts for wild ice storage depend heavily on your preparation during key temperature change periods.
You'll need to focus especially on the shift from winter to spring, when maintaining temperatures below freezing becomes vital for coolth retention.
During these shifts, you'll want to verify your insulation systems are working at peak efficiency.
If you're using wood chips or cutter shavings as insulation, check that they're evenly distributed and haven't compacted over time.
For storage areas with OSB/foam/OSB panels, make sure they're properly sealed, particularly at the edges where warm air can infiltrate.
To prevent temperature stratification as spring approaches, you'll need to implement proper air mixing strategies.
Install fans to circulate the air, which helps maintain consistent temperatures throughout your storage space.
If you're using underground storage, you've got a natural advantage since these spaces require minimal insulation and provide stable temperatures year-round.
Remember that ice surface temperature self-regulates at 0°C, but you'll still need to monitor your storage conditions regularly.
During warmer periods, consider adding additional insulation layers or adjusting your ventilation system to maintain peak storage conditions.
Frequently Asked Questions
How Long Can Wild Ice Remain Clear Before Developing Internal Crystalline Patterns?
You'll notice wild ice can stay clear for 2-4 weeks if stored at a stable temperature below freezing. After that, internal crystallization typically begins, even with ideal storage conditions and minimal temperature fluctuations.
Can Wild Ice Be Safely Stored Alongside Regular Ice Without Cross-Contamination?
You'll want to store wild ice separately from regular ice, as they have different melting points and storage needs. Mixing them can cause uneven melting and potential cross-contamination of their distinct properties.
What Causes Some Wild Ice Blocks to Develop Unique Blue Coloration?
You'll notice blue coloration in wild ice when longer wavelengths are absorbed while blue light scatters back. The deeper ice's dense crystal structure and lack of air bubbles enhance this effect through multiple scattering events.
How Do Different Water Sources Affect the Density of Harvested Wild Ice?
You'll find that freshwater ice is less dense (0.934 g/cm³) than saltwater ice. When you harvest wild ice, its density varies depending on the water source's mineral content and trapped air bubbles.
Is Wild Ice From Different Seasons Noticeably Different in Structural Integrity?
You'll notice significant differences in ice integrity across seasons. Early season ice is denser and smoother, while mid-season shows more cracks and variations. Late-season ice becomes weakest through thaw-freeze cycles.
In Summary
You'll find that proper wild ice storage requires attention to multiple factors, from initial harvesting to seasonal changes. By following these proven techniques for selection, transport, insulation, drainage, and airflow, you're setting yourself up for success. Whether you're storing ice for practical purposes or seasonal needs, these methods will help maintain your wild ice blocks throughout their storage period. Start implementing these tips today for ideal results.


Leave a Reply