
Oil-packed vegetables last longer because the oil creates an airtight seal that blocks oxygen and prevents bacterial growth. You'll get the best preservation when you maintain a proper 2:1 ratio of oil to vinegar, which provides the acidity needed to inhibit harmful bacteria like Clostridium botulinum. The key to success lies in properly preparing your vegetables through blanching, which kills existing bacteria and preserves color and texture. When you store your oil-packed vegetables at the right temperature (below 40°F), they can last 3-6 months. Understanding the science behind these preservation methods will help you create safer, longer-lasting products.
The Science Behind Oil Preservation
That's why you can't simply replicate commercial oil-preserved products at home without proper acidification and testing.
Foodborne illnesses can occur if improper preservation methods are used in home kitchens.
Commercial producers use carefully controlled acidification processes to prevent bacterial growth, ensuring their products are safe for room temperature storage.
When you're preserving at home, you'll need to either refrigerate your oil-packed vegetables and use them within four days, or freeze them for longer storage.
If you're working with dried vegetables or herbs, you're in luck – these can be safely stored in oil at room temperature since they lack the moisture bacteria need to grow.
Essential Equipment and Materials
To successfully preserve vegetables in oil, you'll need specific equipment and materials that guarantee both safety and quality. The foundation of your preserving setup starts with a high-quality stainless steel cooking pot that won't react with acidic ingredients. Pre-refrigeration history shows why proper equipment is vital, as improper preservation methods often led to food spoilage.
You'll also need a sterilizer pot equipped with a rack to keep your jars elevated during the sterilization process. Your storage containers must be broad-mouthed glass jars with tight-fitting lids and reliable gaskets.
Whether you're using metal clips or screw cap graters, make certain they create an airtight seal. Don't forget essential tools like a thermometer to monitor sterilization temperatures and clean utensils for handling vegetables without contamination.
For the preservation process, you'll need high-quality oil as your primary preserving medium, plus vinegar or lemon juice if you're using acidification.
Keep proper cleaning tools on hand for washing and drying vegetables thoroughly. If you're not using acidification, you'll want drying equipment to crisp your vegetables before packing.
Consider refrigeration or freezing containers for storing preserved vegetables that require temperature control. Always label your containers with preparation dates for proper tracking.
Preparing Your Fresh Vegetables
When you're making oil-packed vegetables, start by selecting the freshest produce you can find and thoroughly cleaning it under cold running water.
You'll need to trim away any blemishes or damaged parts, ensuring uniform pieces for consistent preservation.
Before moving on to the oil-packing process, blanch your vegetables in boiling water to kill harmful bacteria and enhance food safety. Immediately transfer the vegetables to an ice water bath to stop the cooking process and preserve their vibrant color.
Clean and Trim First
Proper preparation of your vegetables is vital for successful oil packing. You'll want to start by selecting young, tender vegetables that are ripe and blemish-free. Avoid overmature produce, as they won't give you the best results.
Begin by thoroughly washing your vegetables under running water. Use a soft-bristle brush for firm-skinned produce, and immerse leafy greens in cold water to remove sand. For delicate items like mushrooms, use gentle friction under a steady stream of water.
| Step | Action | Benefits | Tools Needed | Quality Check |
|---|---|---|---|---|
| Select | Choose fresh, young vegetables | Better flavor | None | No blemishes |
| Wash | Clean under running water | Removes bacteria | Brush, bowl | Water runs clear |
| Remove | Cut away unwanted parts | Guarantees quality | Knife | No damaged parts |
| Dry | Pat or spin dry | Prevents spoilage | Paper towels, spinner | No excess moisture |
| Trim | Cut to size | Even preservation | Sharp knife | Uniform pieces |
After washing, drain and rinse several times to prevent dirt redepositing. Remove stems, seeds, and outer leaves as needed. Finally, pat your vegetables dry with paper towels or use a salad spinner – this step is vital for proper oil preservation.
Blanch for Food Safety
Blanching serves as an essential safety step in preparing vegetables for oil packing. By briefly immersing your vegetables in boiling water or steam, you'll destroy harmful bacteria and pathogens that could compromise food safety.
This process isn't just about killing microorganisms – it's also important for inactivating enzymes that would otherwise continue breaking down your vegetables, affecting their quality and nutritional value.
When you blanch your vegetables properly, you'll achieve four significant benefits:
- You'll eliminate dangerous bacteria like Salmonella and E. coli, making your oil-packed vegetables safe for long-term storage.
- You'll stop enzyme activity that can cause your vegetables to lose flavor, color, and texture over time.
- You'll preserve essential nutrients, especially when you use steam blanching and cool the vegetables quickly afterward.
- You'll enhance the overall quality of your vegetables, resulting in brighter colors and better texture.
Remember to cool your blanched vegetables rapidly in ice water to stop the cooking process. This quick cooling helps retain nutrients and guarantees your vegetables maintain their crisp texture.
When done correctly, blanching creates a strong foundation for safe, high-quality oil-packed vegetables that'll last for months.
Choose Quality Fresh Produce
Selecting high-quality fresh vegetables marks the foundation of successful oil packing. You'll want to use all your senses to assess produce quality before preservation. When shopping, look for vegetables with vibrant, consistent colors and avoid any with dull or pale appearances. You're looking for firm produce without soft spots or bruising, as these imperfections can lead to premature spoilage and mold growth during the preservation process.
Your best results will come from in-season, locally sourced vegetables. They're typically fresher, more flavorful, and less likely to have sustained damage during transportation. Local farmer's markets are excellent sources for quality produce, where you can personally inspect each item before purchase.
Remember to smell your vegetables – a fresh, characteristic fragrance indicates peak ripeness and ideal flavor.
Before you begin the oil-packing process, carefully inspect each vegetable and remove any damaged portions. Even small bruises or blemishes can compromise the quality of your preserved vegetables over time.
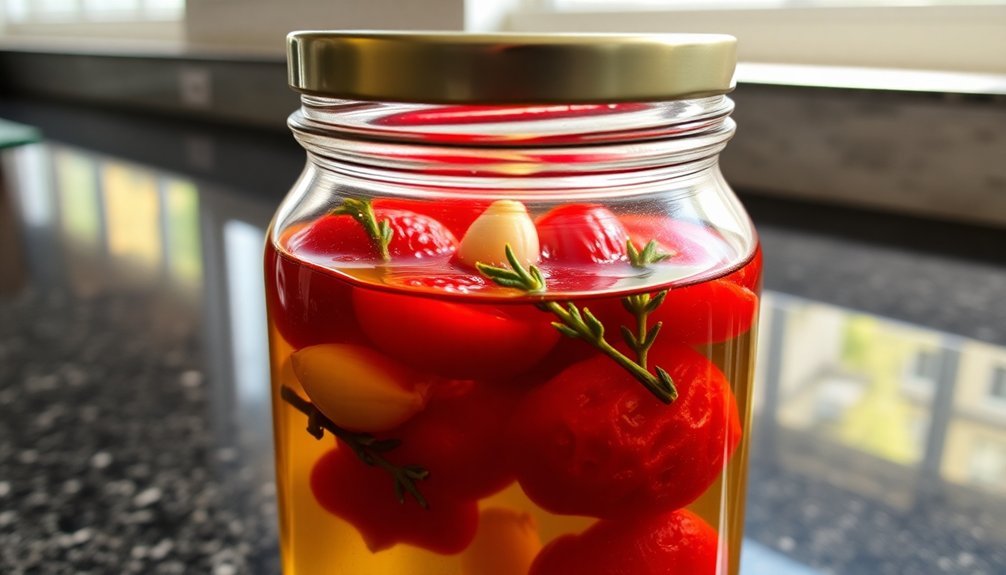
If you're working with tomatoes, be particularly vigilant about avoiding any with black or brown spots, as these are signs of decay.
Perfect Oil and Vinegar Ratios
Balancing oil and vinegar ratios stands as a vital safety measure when preserving vegetables in oil. You'll need to maintain a 2:1 ratio of oil to vinegar to create an environment that inhibits bacterial growth, particularly Clostridium botulinum. This acidic balance isn't just about taste – it's essential for food safety.
When you're mixing your marinade, remember these fundamental steps:
- Pour one part of your chosen vinegar (balsamic, apple cider, or white wine)
- Add two parts of olive oil to create the proper ratio
- Make certain all vegetables are completely submerged in the mixture
- Adjust quantities as needed while maintaining the 2:1 ratio
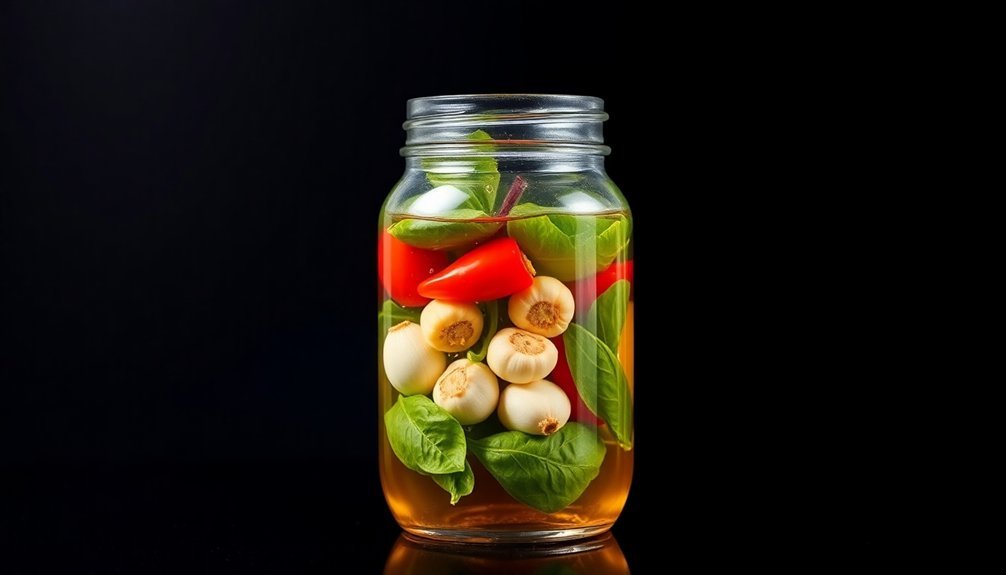
You can enhance your oil-packed vegetables with garlic, herbs, and chilies, but don't let these additions compromise the basic ratio.
If you're working with raw vegetables or choose not to maintain proper acidification, you'll need to refrigerate your mixture. Remember that cooked vegetables are generally safer than raw ones when preserved in oil.
The success of your preservation depends on consistently maintaining these ratios throughout the storage period.
Temperature Control and Storage
Proper storage temperatures make the difference between safe preservation and potential food hazards when working with oil-packed vegetables. You'll need to store your oil-packed vegetables and herbs in the refrigerator at 4°C (40°F) or below to prevent bacterial growth.
Don't keep these mixtures longer than four days before either using them, freezing them, or discarding them.
For long-term storage, freezing is your safest option. You can freeze flavored oils in ice cube trays for convenient portioning, and since many oils don't solidify in the freezer, they'll remain easy to use. The freezing process stops pathogen growth, making your preserved vegetables safe for extended periods.
Never store homemade oil-packed vegetables at room temperature, as this creates perfect conditions for botulinum toxin production.
While commercial products can safely sit on shelves because they're properly acidified, your home-prepared mixtures aren't validated for room temperature storage. Always label your containers with preparation and use-by dates, and discard any products that show signs of leakage or tampering.
If you're unsure about a mixture's safety, it's better to throw it out than risk foodborne illness.
Bacterial Growth Prevention Methods
Several proven methods can prevent bacterial growth in oil-packed vegetables, with each technique offering distinct advantages and limitations. You'll find that the most common approaches focus on controlling environmental conditions that bacteria need to thrive.
- Refrigeration and freezing are your first line of defense – store oil-packed vegetables in the fridge for up to 4 days, or freeze them for long-term storage. Remember to label containers with preparation and use-by dates.
- Acidification, while common in commercial products, isn't recommended for home use without proper research. If you're interested in this method, you'll need to achieve a pH of 4.2 or lower using citric acid, lemon juice, or vinegar.
- Drying your vegetables and herbs before adding them to oil creates an environment where bacteria can't grow. However, if you're using dried tomatoes with garlic or herbs, you'll still need to refrigerate them.
- Heat treatment shows promise but isn't yet validated for home use. While heating oil above 121°C could potentially kill bacteria, there's no guarantee it'll prevent growth if moisture remains in the vegetables.
Signs of Successful Preservation
You'll know your oil-packed vegetables are successfully preserved when they maintain their vibrant colors and firm texture without any signs of discoloration or softening.
Your preserved vegetables should remain completely submerged in oil, with no air bubbles or floating pieces that could lead to spoilage.
Properly preserved vegetables can last 3-6 months when stored in a cool, dark place, though you should check them periodically for any changes in appearance, texture, or smell that might indicate compromised preservation.
Visual Quality Indicators
Successfully preserved oil-packed vegetables exhibit clear visual indicators that signal their safety and quality. Your preserved vegetables should remain completely submerged in the oil-vinegar mixture, with the oil potentially solidifying when refrigerated – this hardening is actually a good sign, indicating proper cold storage temperatures are maintained.
When you're checking your preserves, there are several key visual indicators to monitor:
- The vegetables should maintain their original color without any unusual darkening or discoloration.
- The oil should appear clear, without cloudiness or separation from the vinegar mixture.
- The jar's contents should be free of air bubbles, which you've removed before sealing.
- All vegetables should stay below the oil's surface with no floating pieces.
You'll want to store your jars in a cool, dark place and inspect them regularly for any changes.
While visual checks aren't foolproof (dangerous bacteria aren't always visible), they're your first line of defense.
Keep in mind that proper acidification through a 2:1 oil-to-vinegar ratio is essential, and any suspicious changes in appearance should prompt immediate disposal of the product.
Storage Duration Markers
Beyond visual checks, knowing the precise timeline of your preserved vegetables is a key factor in maintaining food safety.
You'll need to be diligent about labeling your containers with two critical dates: the preparation date and a "use-by" date that's exactly four days later. This practice isn't optional – it's crucial for preventing foodborne illness, especially botulism.
When you're storing oil-packed vegetables with garlic or herbs, you can't rely on traditional preservation methods. Even if they're dried ingredients, you'll need to keep them refrigerated at temperatures below 40°F (4.4°C).
Don't assume your refrigerator's temperature is adequate – check it regularly to guarantee proper cooling. If you can't use your oil-packed vegetables within the four-day window, you'll need to freeze them.
For items like pesto, dried tomatoes, mushrooms, or chilies in oil, the same four-day rule applies unless you've properly acidified them with vinegar or lemon juice.
Remember that home refrigerators often aren't cold enough for extended storage, so you shouldn't push beyond these recommended timeframes, even if the vegetables still look good.
Maximizing Shelf Life
Through proper storage practices, maximizing the shelf life of oil-packed vegetables requires careful attention to temperature control and timing.
You'll need to refrigerate your oil-packed vegetables to slow bacterial growth, as home refrigerators often aren't cold enough for extended storage. To guarantee safety and quality, it's crucial to follow these proven preservation methods:
- Store your oil-packed vegetables in the refrigerator and use them within 4 days, or freeze them for longer storage.
- Label all containers with preparation and use-by dates to track freshness.
- Add vinegar or lemon juice when appropriate to prevent bacterial growth.
- Check regularly for signs of spoilage and discard any suspicious containers.
If you're working with specific ingredients, you'll need to adapt your storage approach.
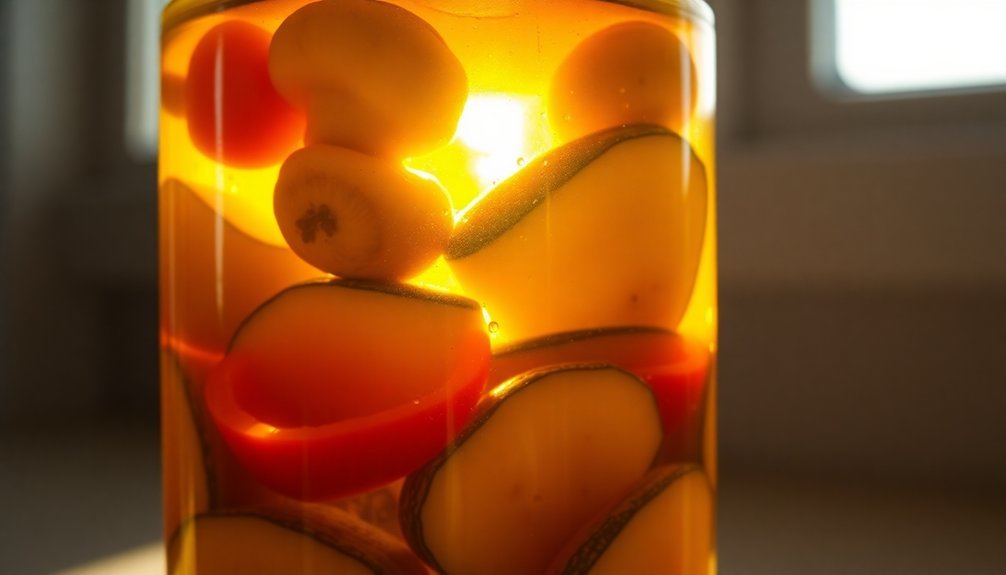
Dried tomatoes, mushrooms, and chilies in oil must stay refrigerated unless they're pickled with acidic ingredients. For pesto and other herb-based mixtures, refrigeration is vital, but you can freeze them to extend their life beyond the 4-day limit.
Frequently Asked Questions
Can I Reuse the Oil Marinade After the Vegetables Are Finished?
You can reuse the oil marinade if you store it properly in the fridge. Make sure there's no raw ingredients, and use it within a couple weeks. It's great for dressings or new marinades.
Which Vegetables Are Best Suited for Oil Preservation Methods?
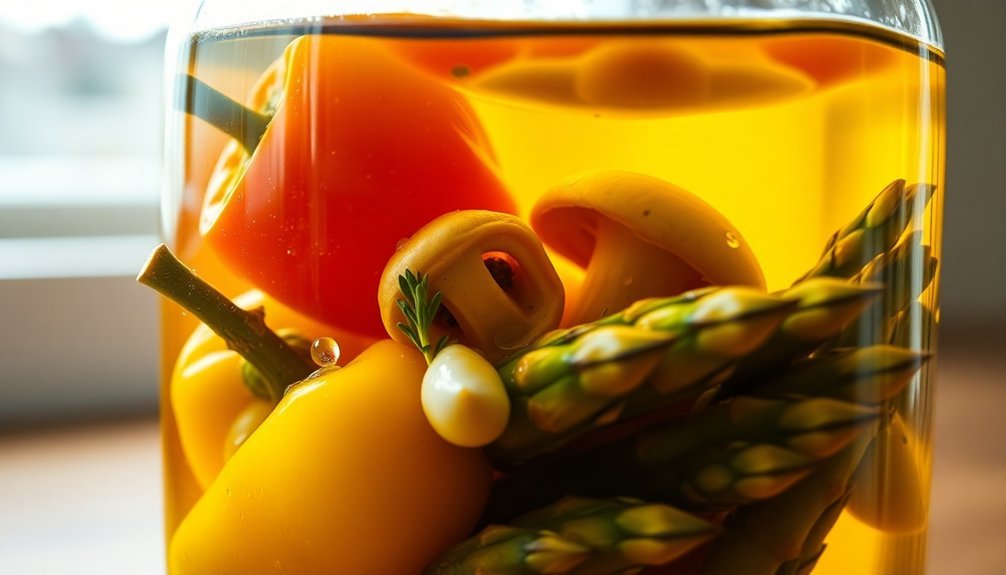
You'll get the best results preserving roasted bell peppers, eggplant, mushrooms, zucchini, and sun-dried tomatoes in oil. They're naturally suited for this method and maintain great texture and flavor.
How Long Should Vegetables Be Cooked Before Preserving in Oil?
You'll need to cook your vegetables until they're tender but still firm. Timing varies: 20-60 minutes for baking, 10-15 minutes for grilling, and 5-10 minutes for steaming, depending on the vegetable type.
Is It Safe to Add Fresh Herbs and Garlic to Oil-Preserved Vegetables?
You shouldn't add fresh herbs and garlic to oil-preserved vegetables unless you'll eat them within 4 days. They create botulism risks at room temperature, so you must keep them refrigerated or frozen.
What's the Maximum Time Oil-Preserved Vegetables Can Stay at Room Temperature?
You shouldn't store oil-preserved vegetables at room temperature at all – it's unsafe and risks botulism. Only commercial, acidified products can be stored at room temperature. Keep your homemade mixtures refrigerated for safety.
In Summary
You'll find that properly preserved vegetables in oil can last for months when you've followed the right preservation techniques. By maintaining the correct oil-to-vinegar ratio, eliminating air pockets, and storing at ideal temperatures, you're creating an environment hostile to bacteria. Remember to always check for signs of spoilage before consuming and keep your preserved vegetables in a cool, dark place to maximize their shelf life.


Leave a Reply