Start your wild fermentation journey with fresh, organic produce to guarantee abundant natural microbes. You'll need pure, non-iodized salt like kosher or pink Himalayan at a 2-3% concentration by weight. Create your brine carefully, dissolving salt completely in pure water before submerging your vegetables. Chop or grate your produce uniformly, then pack it tightly to release natural juices and eliminate air pockets. Keep your fermentation vessel at 77-91°F (25-33°C), away from direct sunlight, and monitor for bubbling activity and aroma changes. These foundational steps will open the door to successful wild fermentation techniques.
Choose Fresh Local Produce
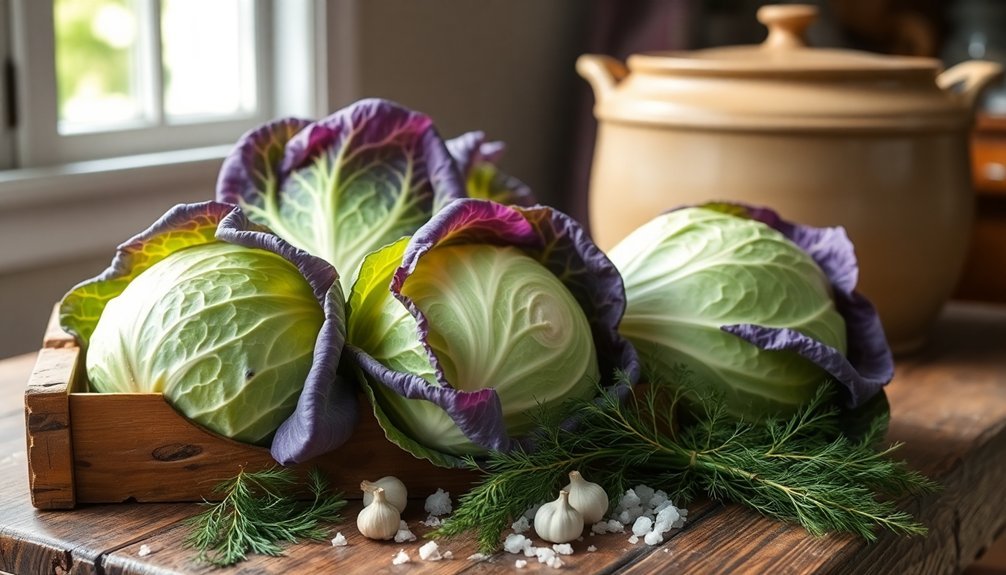
Selecting fresh, local produce forms the cornerstone of successful wild fermentation. You'll want to prioritize organic or foraged ingredients that haven't been treated with chemicals, as these can inhibit the natural fermentation process.
When you're gathering ingredients, focus on seasonal produce at its peak ripeness – this is when beneficial microbes are most abundant and active.
If you're foraging, look for wild garlic, leeks, and leafy greens in your local area. These ingredients often carry unique regional microbes that'll contribute distinct flavors to your ferments. A standard ratio of 2% salt by weight helps extract the natural juices from these wild plants.
When you're at farmers' markets or local farms, choose produce that's been recently harvested to guarantee optimal freshness and microbial activity.
Clean your produce thoroughly but gently – you don't want to strip away the beneficial microbes that'll drive your fermentation. A light rinse under cool water is usually sufficient.
Remember that high-quality ingredients directly impact your fermentation's success, so don't compromise on freshness. The natural microbial populations on fresh, local produce will kickstart the fermentation process without the need for a starter culture, leading to unique and flavorful results.
Salt Selection Matters
While fresh produce provides the foundation for wild fermentation, the salt you choose can make or break your project. You'll want to avoid table salt or refined salt with iodine additives, as these can interfere with the fermentation process.
Instead, opt for natural salts like kosher, Himalayan pink, or pickling salt. Natural salts rich in trace minerals can help beneficial microbes thrive during fermentation.
For most vegetable ferments, you'll need a 2% salt concentration, though cucumbers and squash might require 3-4%. To calculate this accurately, you'll need a kitchen scale – don't try to eyeball it.
Salt concentrations below 1% can invite harmful bacteria, while too much salt will slow down fermentation substantially.
Your salt choice affects both flavor and function. Kosher salt dissolves quickly and works well for most projects, while Himalayan pink salt offers a more subtle taste with less sodium.
Pickling salt's pure composition makes it ideal for delicate fermentations. If you're using sea salt, remember that its mineral content can impact the final flavor.
Whatever salt you choose, make certain it's free from additives to support the growth of beneficial bacteria and create the acidic environment needed for successful fermentation.
Perfect Your Brine Recipe
A proper brine recipe forms the cornerstone of successful wild fermentation. You'll need to calculate your salt proportions carefully, using 2-3% salt by weight for most ferments. Using pure, additive-free salt is essential since iodized salt can interfere with fermentation and affect the final taste.
When creating a separate brine solution, use a slightly higher percentage to account for dilution once you add it to your vegetables. Remember that your jar's volume in milliliters equals the total weight of ingredients and water in grams, making calculations straightforward.
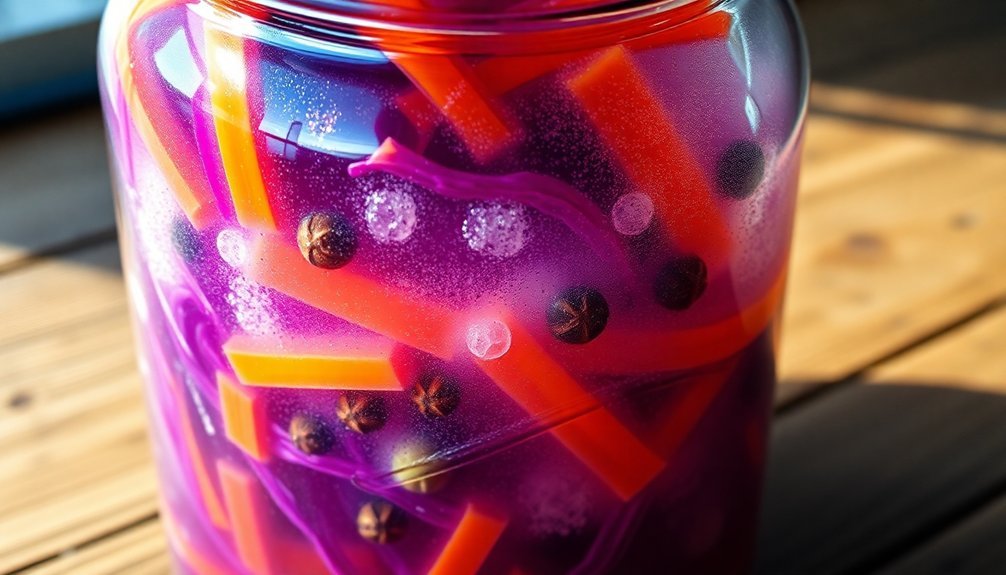
Mix your natural sea salt with water until it's completely dissolved, ensuring you don't over-salt the mixture. You'll want to cover your vegetables completely with the brine and remove any air bubbles using a butter knife. A weight will keep everything submerged, preventing unwanted exposure to air.
- Calculate your jar's volume in milliliters to determine the exact amount of salt needed
- Use 2% salt for tender vegetables and 3% for crunchier ones
- Add your seasonings to the brine before pouring it over packed vegetables
- Monitor fermentation progress by checking for bubbles and a pleasantly sour smell
Once you've mastered your brine recipe, store your ferments in the refrigerator to halt fermentation or in a cool cellar for continued slow fermentation.
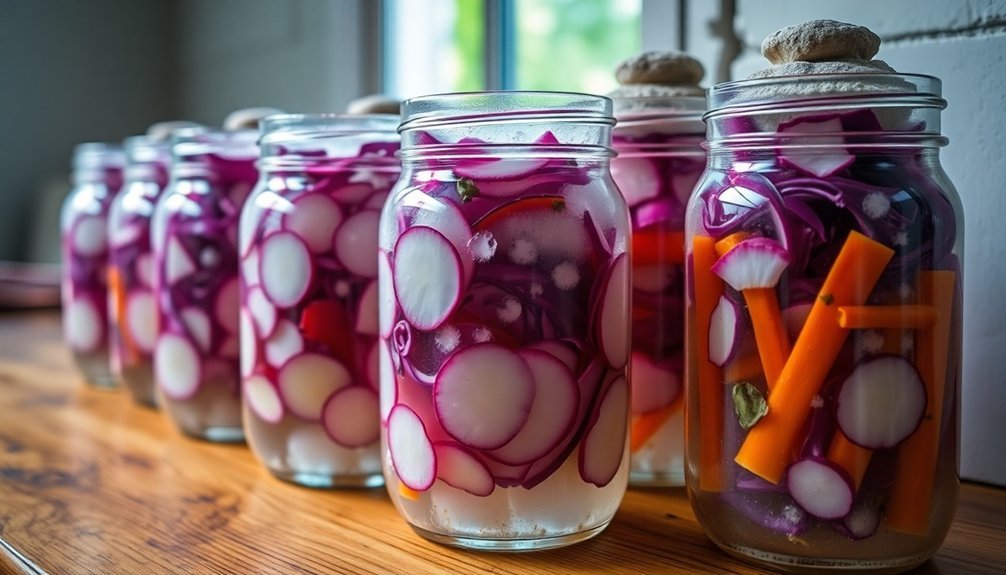
Master Vegetable Preparation Techniques
Proper vegetable preparation makes or breaks your wild fermentation success. You'll need to start by chopping or grating your vegetables to create more surface area for fermentation to occur. This increased surface area allows beneficial bacteria to work more effectively throughout your ferment.
Begin by selecting fresh, quality vegetables – you can use almost any variety you have in abundance. Whether you're working with cabbage, radishes, carrots, or a combination, make sure to chop them uniformly. The process helps create natural probiotics as the vegetables ferment.
After chopping, salt your vegetables and pound or tamp them firmly to break down their cell walls. This critical step releases natural juices through osmosis, creating the liquid environment needed for fermentation.
If you're working with vegetables that have lost moisture during storage, you may need to add a small amount of non-chlorinated water to guarantee proper submersion.
Don't hesitate to combine different vegetables in your ferments – mixing cabbage with radishes and onions can create complex, interesting flavors.
Remember to always keep your prepared vegetables submerged in their liquid using weights or a folded cabbage leaf to maintain an oxygen-free environment.
Monitor Temperature and Time
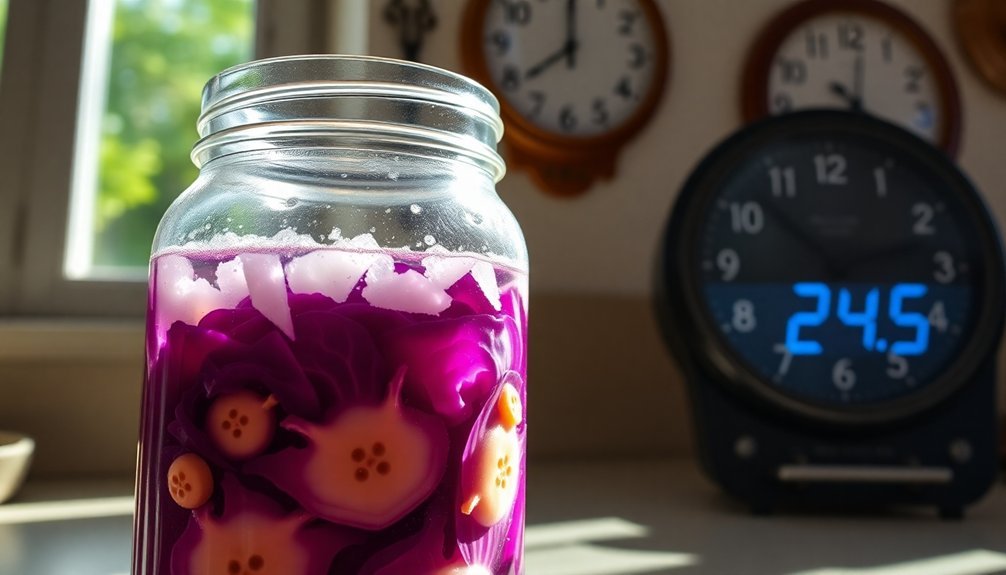
During wild fermentation, maintaining the ideal temperature and careful time monitoring will substantially impact your final product's quality. You'll need to keep your fermentation environment between 77-91°F (25-33°C) for the best results, though specific ferments may require different ranges.
Use a digital thermometer or remote temperature sensor to track conditions consistently, as uncontrolled temperatures can rise dramatically during fermentation. The risk of stewed or prune-like tastes increases significantly when temperatures approach 90°F.
Watch for signs that indicate your ferment's progress: bubbling activity, liquid rising to the top, and changes in aroma. When these signs cease, your fermentation is complete. Remember that temperature fluctuations can stress your wild cultures and affect the final flavor profile.
Monitoring and Maintenance
- Monitor your ferment twice daily using a clean, sterilized thermometer to maintain temperatures within the ideal range.
- Place your fermentation vessel away from direct sunlight and dramatic temperature swings.
- Use cooling methods like wet towels or ice baths if temperatures climb above 91°F (33°C).
- Document temperature readings and fermentation signs to develop a consistent process for future batches.
If temperatures rise too high, you'll risk killing beneficial microorganisms and producing off-flavors. Too low, and you'll face sluggish fermentation and potential contamination issues.
Frequently Asked Questions
Can I Reuse the Brine From a Previous Wild Fermentation Batch?
Yes, you can reuse your leftover fermentation brine. Just strain it, check for any off-smells or mold, and use it to jumpstart your next batch. Keep it refrigerated between uses for best results.
Why Do Some Vegetables Float Even With Weights?
Your vegetables float because of trapped CO2 from fermentation and natural air spaces in their tissues. Even with weights, gas production during the process can create enough buoyancy to lift them up.
How Do I Know if My Fermentation Has Gone Bad?
You'll know your fermentation has gone bad if you spot mold growth, notice putrid smells, see slimy textures, or observe unusual color changes. Trust your senses – if it looks or smells off, don't consume it.
Should I Seal the Jar Tightly or Allow for Air Release?
Don't seal your jar tightly! You'll need to release built-up gases from fermentation. Use an airlock or "burp" your jar daily to prevent explosions. Keep vegetables submerged but allow carbon dioxide to escape safely.
Can I Mix Different Vegetables in the Same Fermentation Vessel?
Yes, you can mix different vegetables in the same vessel! Just make sure you're keeping them all submerged in brine and packed tightly. Different vegetables will create interesting flavor combinations in your fermentation.
In Summary
You'll find wild fermentation without starter cultures becomes second nature once you've mastered these fundamentals. By selecting fresh local produce, using the right salt, perfecting your brine, preparing vegetables properly, and monitoring temperature and time, you're set up for success. Trust your senses – the bubbles, aromas, and flavors will tell you when you've got it right. Start small, experiment often, and enjoy your fermentation journey.


Leave a Reply