Start your small-batch fermentation journey with these five essential tips: Use clean glass mason jars with airlocks or pickle pipes to prevent contamination while letting gases escape. Choose kosher or sea salt without additives, using 2 tablespoons per quart of water for your brine solution. Cut vegetables uniformly and keep them fully submerged under the brine using glass weights or a large cabbage leaf. Maintain temperatures between 60-70°F (16-21°C) for ideal flavor development. Monitor your ferments daily, looking for bubbles and sampling with clean utensils to check for a pleasantly tangy taste. These fundamentals will set you up for countless successful fermentation projects.
Choosing Your Fermentation Equipment
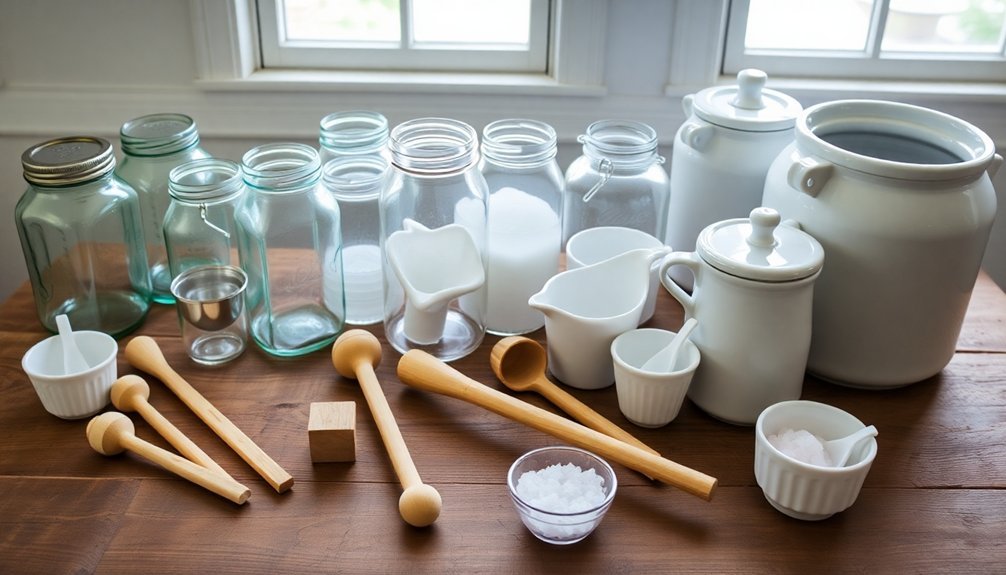
With the right fermentation equipment, you'll set yourself up for success in your vegetable fermentation journey. Start by selecting appropriate containers made from glass, food-grade ceramic, or food-grade plastic. Mason jars are particularly versatile for small batches, typically in quart or half-gallon sizes, and they're compatible with various fermentation accessories.
Your containers need proper lids that allow CO2 to escape while keeping oxygen out. Invest in airlocks or pickle pipes designed specifically for this purpose. Using loose standard lids while regularly burping your jars is another budget-friendly option for releasing gases.
Don't forget to get fermentation weights, which are essential for keeping your vegetables submerged under the brine to prevent mold growth.
If you're planning larger batches, consider traditional ceramic crocks with water barriers and half-moon weights. For those interested in modern methods, you might try the sous-vide approach using a vacuum machine and bags for controlled fermentation.
Before starting any batch, thoroughly clean and sanitize all your equipment. Keep monitoring your fermentation progress regularly, and check that water barriers or airlocks haven't dried out.
Remember to verify that your chosen weights and airlocks are compatible with your fermentation vessels to guarantee a properly sealed environment.
Salt and Brine Basics
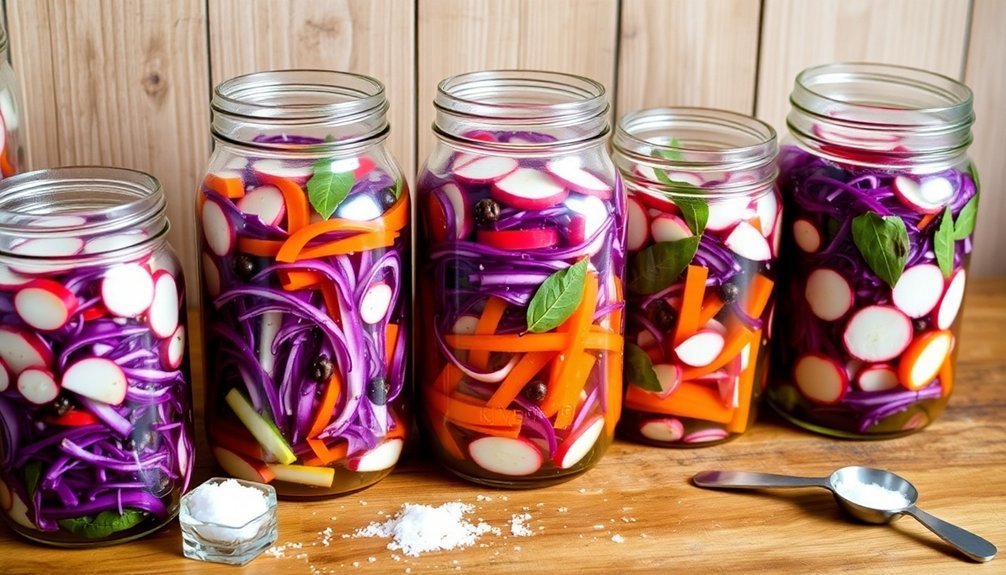
Three key factors determine successful vegetable fermentation: salt type, ratio, and brine preparation. You'll want to use kosher or sea salt without additives, as anti-caking agents can interfere with fermentation. Lactic acid bacteria thrive in this salty environment while harmful bacteria are suppressed.
For ideal results, use 1-3 tablespoons of salt per quart of water, with 2 tablespoons being the standard measure for most vegetables.
You've got two main options for creating your brine. You can either sprinkle salt directly onto shredded vegetables to draw out their natural juices, or dissolve salt in room-temperature filtered water to create a brine solution. If you're using the water method, stir thoroughly until all salt dissolves.
Once you've prepared your brine, submerge your vegetables completely to prevent mold growth. Leave 1-2 inches of headspace above the brine to accommodate fermentation gases. You'll need to keep those vegetables under the brine using fermentation weights or springs.
For proper gas release, either use an airlock lid or a regular lid that's loosely screwed on – just remember to burp it daily. Monitor your ferment at room temperature (60-75 degrees) for 3-6 days, tasting periodically until you achieve your desired flavor.
Preparing Fresh Vegetables
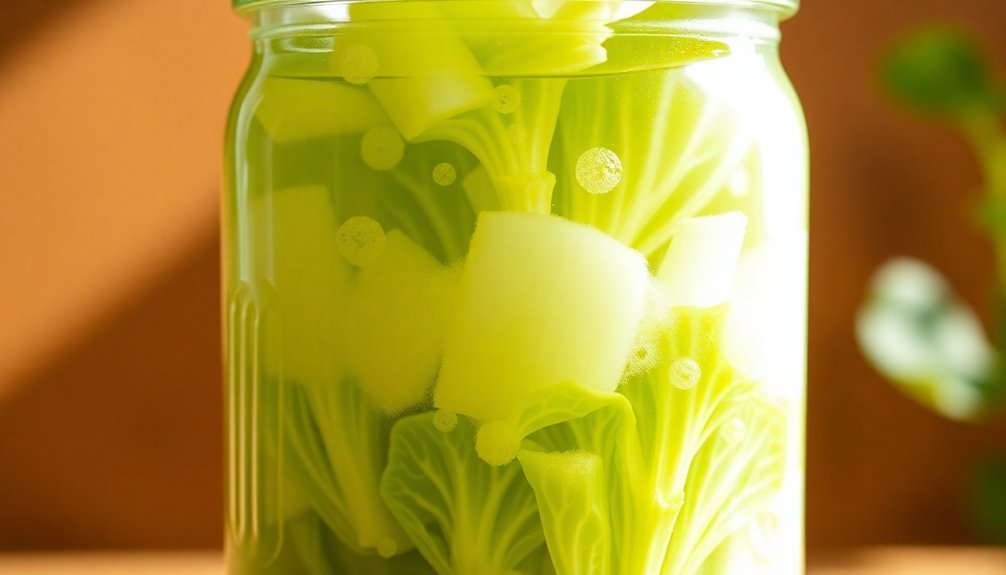
Proper vegetable preparation sets up your fermentation for success. You'll want to start by selecting fresh, quality vegetables and washing them gently under running water. Don't remove the skins, as they contain beneficial bacteria that aid fermentation. The process works best at room temperature range between 15-25°C.
| Method | Best For | Tips |
|---|---|---|
| Grating | Hard vegetables | Creates most surface area, faster fermentation |
| Slicing | Firm produce | Thin for hard, thick for soft vegetables |
| Whole | Small items | Easiest method, longer fermentation time |
When preparing your vegetables, maintain consistent sizes to guarantee even fermentation. You'll need to keep everything submerged under the brine, which you can achieve using weights or a large cabbage leaf as a natural barrier. If you notice the brine hasn't covered the vegetables by the next day, add a bit more water.
You can choose between dry salting (adding salt directly to vegetables) or brining (creating a salt solution first). For beginners, brining often proves more reliable. Remember to skim off any foam that develops during fermentation, and consider using back-slopping or culture inoculation to jumpstart the process if you're looking for consistent results.
Maintaining Proper Temperature
- Monitor your fermentation space regularly with a reliable thermometer, as temperature fluctuations can lead to unpredictable outcomes and potentially spoiled products.
- If your space is too warm (above 75°F/24°C), you'll need to either add more salt or find a cooler location to prevent mushy textures and unwanted pink coloration. The ideal fermentation range falls between 60°F and 70°F (16°C-21°C) for optimal flavor development and preservation.
- For cooler environments (below 60°F/16°C), you'll want to extend your fermentation time and check frequently for signs of mold or harmful bacteria.
- During seasonal changes, be prepared to relocate your ferments to maintain ideal temperature.
– Consider using an insulated cooler or temperature-controlled space if needed.
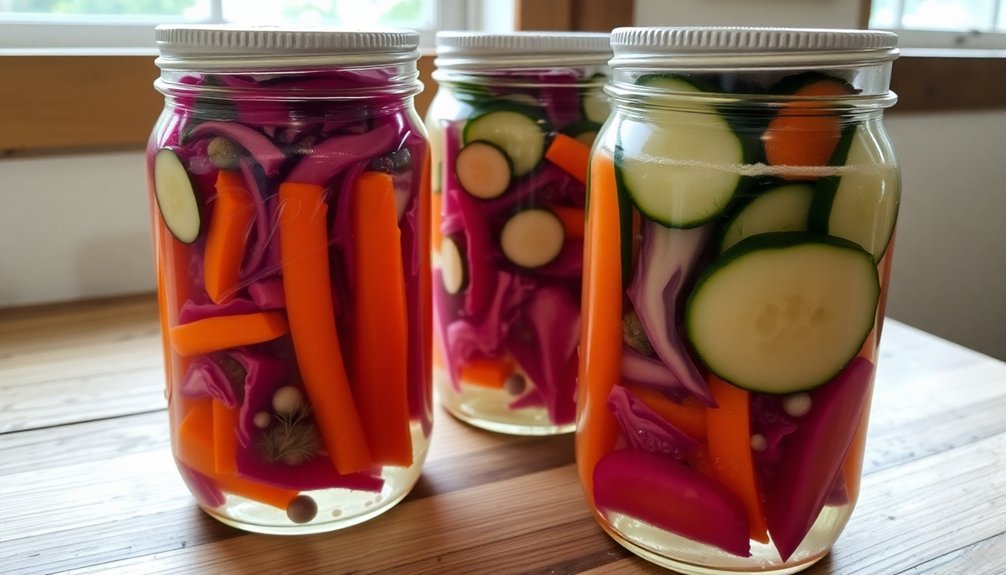
Monitoring Fermentation Progress
Successfully monitoring your fermentation progress requires regular checks of multiple indicators to guarantee both safety and quality. The most critical measurement is pH level – you'll need to maintain readings between 3 and 4 using either a digital meter or test strips.
Optimal temperature range should be maintained at 18-21°C (65-70°F) throughout the fermentation process. If your pH stays above 4.5 after day 5, you're at risk for harmful bacteria growth, so continue fermenting until it reaches 4.1 or below.
Watch for visual cues that indicate healthy fermentation. You should see bubbles forming during active fermentation, and your vegetables should remain fully submerged under clear brine using proper fermenting weights.
While some color changes are normal – vegetables may turn slightly pale yellow or light green – dramatic changes could signal spoilage. Keep your vegetables submerged using glass, ceramic, or food-grade plastic weights.
When sampling your ferment, always use clean utensils to prevent contamination. Your vegetables should develop a tangy, pleasantly acidic flavor and maintain a slightly crunchy texture.
Trust your senses – if you detect any foul odors or notice unusual color changes, these are warning signs that something's gone wrong with your fermentation process.
Frequently Asked Questions
Can I Reuse the Brine From a Previous Batch for New Fermentations?
Yes, you can reuse your old fermentation brine as a starter culture. Simply add 1/2 cup of previous brine to your new batch – it'll speed up fermentation and introduce beneficial bacteria to your vegetables.
How Long Can Properly Fermented Vegetables Last in the Refrigerator?
Your properly fermented vegetables can last up to a year in the refrigerator when stored in a covered jar. You'll get the best quality within 3-6 months, as long as they're kept under brine.
Why Do Some Recipes Recommend Adding Grape Leaves to Fermented Vegetables?
You'll want to add grape leaves because they'll keep your vegetables crisp with their natural tannins, help hold everything under the brine, and prevent surface mold while adding extra nutrients to your ferments.
Can I Mix Different Vegetables in the Same Fermentation Jar?
Yes, you can mix different vegetables in the same jar It's a great way to create diverse flavors and textures. Just make certain you're choosing vegetables with similar fermentation times and avoiding too many sugary ones.
What Causes Fermented Vegetables to Become Too Mushy or Lose Crunchiness?
Your fermented vegetables can become mushy if you've over-fermented them, used too little salt, left them exposed to air, stored them at high temperatures, or started with overripe vegetables. Proper submersion's essential for crunchiness.
In Summary
Now you're ready to start your small-batch fermentation journey. Don't let minor setbacks discourage you – fermentation is both an art and a science. Keep detailed notes of what works best, and you'll soon develop a reliable process. With proper equipment, salt ratios, vegetable prep, temperature control, and monitoring, you'll create delicious fermented foods that'll improve your health and expand your culinary horizons.


Leave a Reply