Underground meat preservation lets you maintain a steady food supply using time-tested methods. You'll find success with salt curing in cool chambers, traditional smokehouse techniques, and root cellar storage when properly modified. Natural dehydration works well in underground spaces with good airflow, while confit and lard preservation create airtight seals for long-term storage. Earth pit smoking, cold storage caves, and ancient brine curing provide additional reliable options. You can also try dry aging in temperature-controlled underground chambers or experiment with natural fermentation processes. These proven techniques hold centuries of wisdom waiting to be revealed.
Time-Tested Salt Curing Practices

Salt curing dates back thousands of years and stands out as one of the most reliable methods of meat preservation. You'll find two primary approaches: dry curing, where you'll coat the meat entirely in salt, and brine curing, where you'll submerge or inject the meat with a salt solution. Ancient civilizations valued salt so highly that it was used as payment for soldiers in Roman times.
For dry curing, you'll need to cover your meat completely with salt for 24 hours or use the equilibrium method with 3% salt by weight. You'll want to keep the meat refrigerated between 36-40°F throughout the process.
After curing, you'll rinse off excess salt and hang the meat to dry with proper air circulation.
You'll notice the salt works by drawing moisture from the cells, which prevents bacterial growth while enhancing flavor. Adding nitrates and nitrites (found in pink curing salt or Prague powder) will give your meat its characteristic red color and provide additional protection against spoilage.
Remember to maintain strict sanitation standards and watch for warning signs like foul odors.
You'll need to label your meat with dates and times, and always keep in mind that cured meat remains raw until cooked.
Smokehouse Preservation Methods
You'll need a well-designed smoke chamber with proper ventilation and temperature control to effectively preserve meat through smoking.
Your smokehouse should include blacksmith-made hooks for hanging meat and limestone weights for pre-smoking preparation in curing solutions.
When choosing between preservation methods, you can opt for hot smoking at 150°F or higher to cook while flavoring, or cold smoking below 100°F for preservation without cooking. Use a combination of corn cobs and husks to start your fire and maintain a slow, steady smoke.
Building Effective Smoke Chambers
Building an effective smoke chamber requires careful attention to design, materials, and ventilation systems. You'll need to construct a chamber that can withstand high temperatures while resisting the corrosive nature of smoke. Your structure should include screened openings with hinged covers to control ventilation and smoke escape. The Old Polish design utilized a square tower approximately 20 feet tall with external fire pits.
For proper temperature control, you'll want to maintain temperatures between 109-160°F (43-71°C), while keeping humidity levels at 70-95%. If you're building an industrial-scale chamber, consider incorporating steampipes to supplement the heat from natural fires. You'll also need advanced ventilation systems to guarantee even smoke distribution throughout the chamber.
When selecting wood for smoking, stick to hardwoods and avoid softwoods like spruce or pine, as their pitch content creates bitter flavors. You can use hickory sawdust for traditional flavoring, or experiment with specialty woods like apple wood for poultry or sugar maple for fish and beef.
If you'd like to enhance the smoke's aroma, you can add juniper berries during the smoking process. Remember, proper wood selection directly impacts your final product's flavor, color, and preservation quality.
Cold Smoking Vs Hot
When preserving meat through smoking, you'll encounter two distinct methods: cold smoking and hot smoking. Cold smoking requires temperatures below 90°F (32°C), ideally between 68-86°F (20-30°C), while hot smoking occurs at higher temperatures above the danger zone of 140°F (60°C).
With cold smoking, you'll need to cure your meat first using either a dry mix of salt, sugar, and spices, or a wet brine solution. The curing process can take days or weeks, but it's vital for food safety.
You'll use hardwoods like hickory, oak, or apple for smoking, avoiding resinous woods like pine. The process can last several hours to months, focusing on flavor development rather than cooking.
Hot smoking, in contrast, cooks the meat while adding smoke flavor. You'll need to reach specific internal temperatures to guarantee food safety, such as 150°F for fish. The process typically takes several hours to a day.
After smoking, you must cool the meat quickly and refrigerate it promptly. Both methods require proper storage – either refrigeration or freezing – though hot-smoked meats generally have a shorter shelf life than cold-smoked products.
Root Cellar Meat Storage
Root cellars, traditional storage spaces for preserving vegetables, present significant challenges for meat storage and curing.
While these underground spaces maintain cool temperatures between 32-40°F, they're not equipped with the specific conditions needed for safe meat preservation. The high humidity levels (85-95%) that benefit root vegetables can actually compromise meat quality and safety.
You'll find that root cellars lack the precise environmental controls necessary for proper meat curing. The temperature should be around 50-60°F for meat, with humidity levels near 70% – conditions that aren't naturally present in a typical root cellar.
Without specialized equipment to modify these conditions, you're risking food safety issues and potential spoilage.
If you're serious about meat preservation, you'll want to explore alternatives to root cellar storage. Your best option is to invest in a dedicated curing chamber or convert an old refrigerator with proper temperature and humidity controls.
These solutions allow you to maintain the consistent environment that meat curing demands. You'll need to monitor conditions regularly and maintain proper ventilation to guarantee your preserved meats remain safe and develop the desired flavors and textures.
Traditional Dehydration Techniques
To successfully dry your meat using traditional methods, you'll need to start with proper pre-treatment steps like uniform cutting, salting, and removing excess fat.
When using sun-drying techniques, place your prepared meat strips in a warm area with consistent temperatures and low humidity of around 30%.
For air-flow drying to work effectively, you'll want to guarantee continuous circulation by positioning your drying racks where steady airflow can reach all surfaces of the meat pieces.
Sun-Drying Methods Explained
The art of sun-drying meat stands as one of humanity's oldest preservation methods, combining simplicity with remarkable effectiveness. You'll need warm, dry conditions with about 30% humidity and minimal day-to-night temperature fluctuations for ideal results.
To sun-dry meat properly, you'll want to cut it into uniform pieces and guarantee they don't touch each other during the drying process. You'll notice the most significant water evaporation on the first day, with weight losses reaching 60-70% after 3-4 days.
It's essential to maintain proper air circulation to carry away water vapor while monitoring the moisture content by weighing your batch regularly.
For safety, you'll need to start with hygienically processed meat and maintain clean conditions throughout. You can enhance preservation by adding salt, which draws out moisture and creates an environment hostile to microbes.
Once dried, store your meat in a cool, dry place and consider vacuum sealing for extended shelf life. Traditional products like jerky and biltong demonstrate the versatility of this method.
You can also combine sun-drying with smoking to add flavor and antimicrobial properties to your preserved meat.
Air-Flow Drying Basics
Mastering air-flow drying requires understanding several critical factors that work together for successful meat preservation. You'll need warm, dry air with about 30% humidity and consistent temperatures between day and night. The process demands proper air circulation throughout your drying space, with meat pieces suspended individually to prevent contact.
| Factor | Requirement |
|---|---|
| Temperature | 145-155°F minimum |
| Humidity | Around 30% |
| Air Flow | Continuous circulation |
| Drying Time | 4-6 hours typical |
| Safety Check | 160°F internal temp |
You'll want to suspend your meat strips from one end, ensuring they don't touch each other or any supporting structures. This arrangement promotes uniform drying and prevents moisture buildup that could lead to spoilage. Monitor the process by tracking weight loss, which indicates moisture reduction.
Watch for case hardening if temperatures get too high, as this creates a barrier that traps moisture inside. Once drying's complete, you'll need to heat the meat in an oven to reach safe internal temperatures of 160°F. For long-term storage, use Mylar bags or vacuum sealing to maintain quality and prevent spoilage.
Pre-Treatment Steps Required
Before you begin air-flow drying, proper pre-treatment of meat determines your preservation success.
You'll need to select fresh meat with minimal fat content and trim away any excess fat you find. Cut the meat into uniform pieces about 1/8 to 1/4 inch thick to guarantee even drying throughout.
You must cook the meat to its safe minimum internal temperature first, eliminating harmful bacteria.
Next, prepare a water-based marinade using salt, sugar, and your chosen spices, but don't add any oils or fats. Place your meat in this marinade and refrigerate it for 6 to 24 hours.
For ground meat, you'll want to mix in some breadcrumbs to help absorb excess moisture and fat.
Before placing the meat in your dehydrator or sun-drying setup, pat it thoroughly with paper towels to remove any surface moisture or oil.
Remember to maintain strict hygiene throughout these steps to keep the microbial count low.
You'll know your pre-treatment is successful when the meat pieces are uniform in size, properly seasoned, and free from visible fat or moisture on the surface.
Confit and Lard Preservation
Throughout history, preserving meat in fat has proven to be one of the most effective methods for long-term storage.
You'll find two primary techniques: confit and lard preservation, both relying on fat as a natural barrier against spoilage.
With confit, you'll first cure your meat in salt and herbs for one to two days, drawing out moisture and inhibiting bacterial growth.
You'll then cook it slowly in its own fat for several hours, allowing the fat to break down tough collagen into tender gelatin.
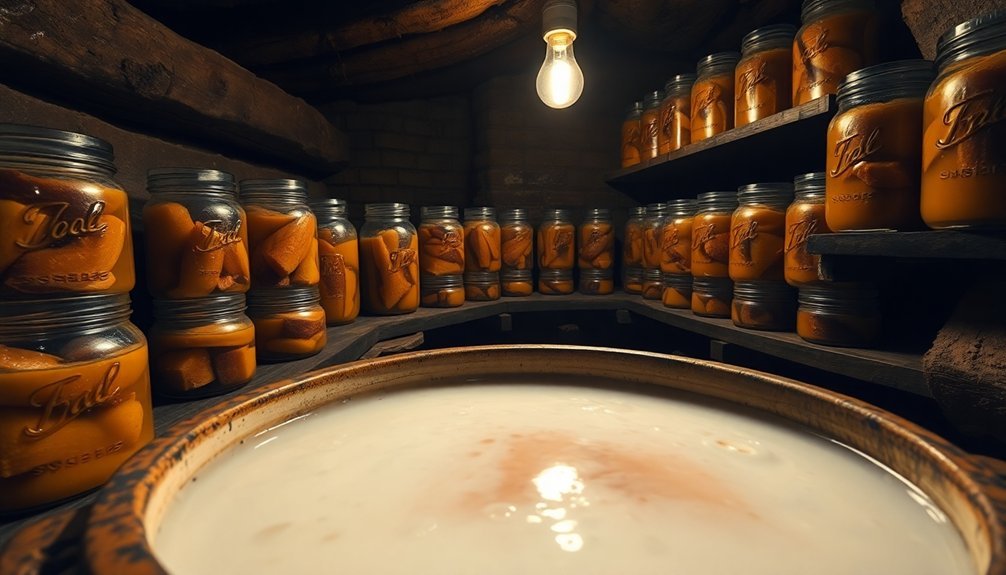
Once cooled, you can store the meat in earthenware jars or modern containers, completely submerged in the solidified fat.
Lard preservation offers a simpler approach.
You'll need to cook your meat first, then pack it in hot, rendered lard within a clean, sterilized crock.
The lard creates an airtight seal that keeps bacteria at bay.
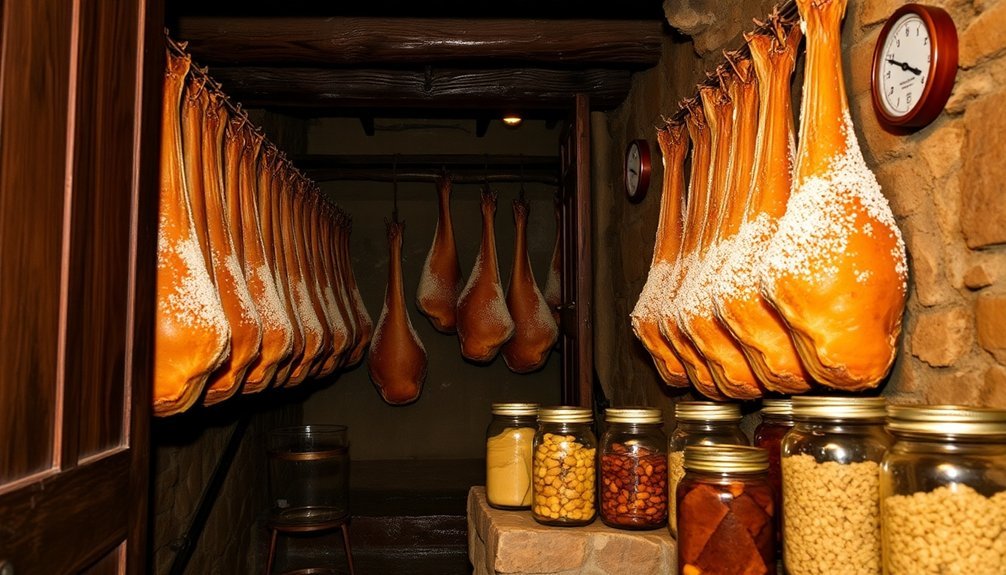
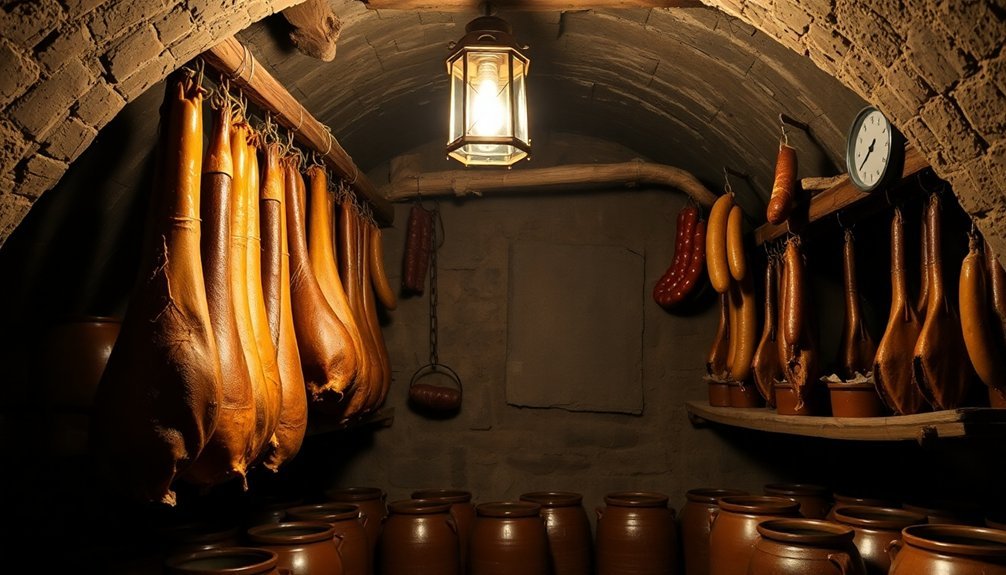
You'll want to store your preserved meat in a cool cellar or smokehouse for best results.
Both methods can keep meat edible for several months when done properly.
You can even reuse the fat for cooking other dishes, making these preservation techniques both practical and economical.
Natural Fermentation Processes
You'll find that natural fermentation harnesses beneficial wild bacteria to transform raw meat through carefully controlled processes.
By managing salt levels and allowing sufficient time, you're creating an environment where good bacteria thrive while harmful microorganisms can't survive.
Your patience during fermentation lets nature's preservative mechanisms develop complex flavors while ensuring the meat's safety and longevity.
Wild Bacteria Benefits
Natural fermentation harnesses the power of beneficial wild bacteria to preserve and enhance meat products through time-tested biological processes. When you allow lactic acid bacteria (LAB) to work on your meat, they convert carbohydrates into lactic acid, creating an environment that's hostile to harmful pathogens while extending your food's shelf life.
You'll find that LAB produce powerful antimicrobial compounds, including bacteriocins and organic acids, that effectively combat dangerous bacteria like S. aureus and fecal coliforms. They'll also fight against yeasts and molds that could spoil your meat.
What's particularly valuable is that you don't need sophisticated equipment – these bacteria work effectively at room temperature, making it an accessible preservation method.
The benefits extend beyond just preservation. You'll notice that LAB help maintain your meat's nutritional quality by preventing fatty acid oxidation. They'll also neutralize various food toxins, including bacterial toxins and heavy metals.
As the fermentation process continues, you'll experience enhanced flavors and aromas, while the texture of your meat products develops desirable characteristics that make them more enjoyable to eat.
Salt And Time Control
Salt plays a pivotal role in meat preservation, working alongside time to create a controlled fermentation process.
You'll need to carefully calculate the amount of salt – typically 2-3% of your meat's weight – to achieve proper preservation without over-salting. For best results, use coarse salt, as it dissolves slowly and gives you better control over the curing process.
When you apply salt to meat, it triggers a two-way exchange: salt moves inward while moisture moves outward through osmosis. You'll want to maintain temperatures below 40°F during this process to prevent unwanted bacterial growth.
For consistent results, try equilibrium brining by calculating exact salt amounts based on your meat's weight.
You've got several options for applying salt: you can use a pickle solution for immersion, inject the brine directly into the meat, or combine injection with a dry salt cover.
Whatever method you choose, you'll need to monitor the process for 5-7 days in cold storage. Remember to maintain proper humidity levels by covering your meat – this guarantees the salt can move freely through the tissue while preventing excessive drying.
Dry Aging in Underground Chambers
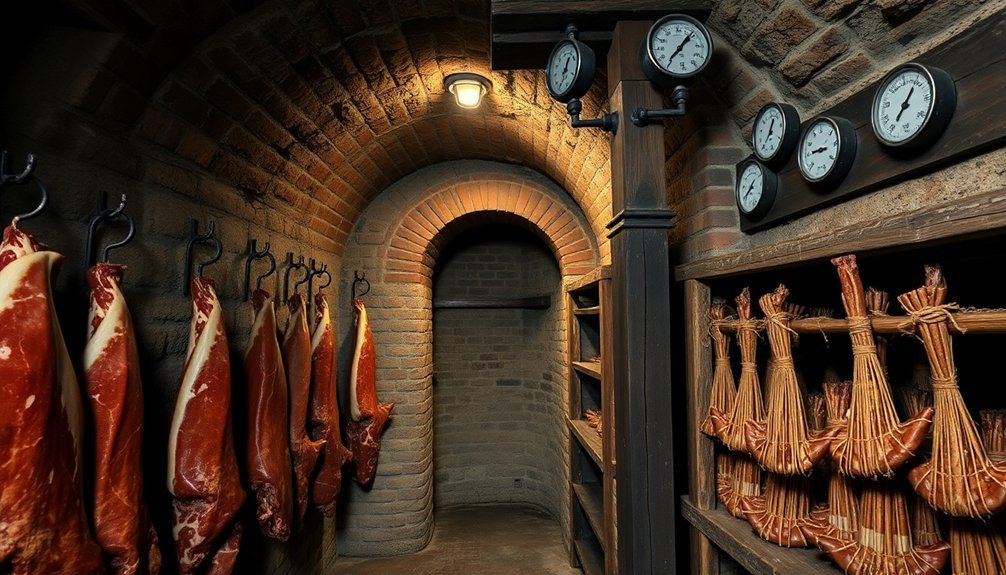
Deep beneath the earth's surface, specialized chambers provide perfect conditions for dry aging meat through carefully controlled environments. You'll find these underground facilities maintain precise temperatures between 34.7 and 35.6 degrees Fahrenheit, while humidity levels stay constant at 80-85%. The natural insulation of underground chambers helps maintain these vital conditions, making them perfect for the aging process.
- UV lighting systems kill airborne bacteria while Himalayan salt blocks create a protective microclimate, ensuring your meat ages safely without harmful bacterial growth.
- Advanced ventilation systems maintain air circulation speeds of 0.5-2 m/s, preventing moisture accumulation and promoting even drying.
- Purpose-built storage solutions, including hooks and modular shelving, allow proper airflow around large primal cuts during their weeks or months of aging.
You'll need to monitor these underground chambers regularly using thermometers and hygrometers to maintain ideal conditions.
The controlled environment allows natural enzymes to break down properly, enhancing both flavor and tenderness. Through this process, beneficial mold develops on the meat's surface, contributing to the distinct flavor profile that dry-aged beef is known for.
Earth Pit Smoking Methods
While underground chambers offer controlled aging environments, traditional earth pit smoking takes meat preservation back to its primal roots.
You'll need to start by digging a pit roughly 5 feet deep, optionally reinforcing it with cinder blocks for stability. Line the bottom with drainage rocks and a metal plate to guarantee even heat distribution.
To prepare your pit for smoking, you'll want to build a fire using hardwoods like oak, avoiding pine wood altogether. Maintain the fire for 8-10 hours until you've got a solid bed of hot coals.
Once you've reached this stage, wrap your meat in water-soaked burlap bags to retain moisture during the cooking process.
You'll then place the wrapped meat on a metal plate over the coals, seal the pit with a lid, and pack dirt tightly around the edges. Add a light sprinkle of water to help trap heat.
The meat needs to cook for 12-24 hours in this underground oven. This method's magic lies in its use of hot ash and heated earth rather than direct flame, resulting in incredibly tender meat that literally falls off the bone.
Cold Storage Cave Techniques
Through modern cold storage techniques, you'll need precise temperature control to properly preserve meat in cave environments. When setting up your cave storage system, maintain temperatures between 0°C and -1°C to prevent surface freezing while preserving meat quality.
You'll need to establish strong air circulation with speeds of 2-4 m/s and keep relative humidity between 88-92% to prevent dehydration.
- Position your meat correctly by hanging carcasses without covering them, allowing proper airflow while maintaining temperatures between 4° and 6°C during the thawing process.
- Cool meat surfaces quickly to reach 0°C within four hours, but avoid dropping below 10°C during the pre-rigor phase for beef and mutton.
- Protect your stored meat with plastic film or jute fabric after cooling, and remember to remove superficial fat before freezing to reduce rancidity risks.
For long-term cave storage, you'll want to maintain temperatures between -18°C and -30°C, depending on your meat type. This approach can preserve beef for 12-24 months, pork for 6-15 months, and lamb for 9-24 months.
Remember to leave 2-cm space at the top of storage containers to allow for expansion during the freezing process.
Ancient Brine Curing Approaches
Long before modern cold storage methods, ancient civilizations mastered the art of brine curing to preserve their meats. You'll find the earliest evidence of this practice in Mesopotamia around 3,000 BC, where people preserved cooked meats in sesame oil and created salted meat products as part of their daily diet.
If you'd followed ancient preservation methods, you'd have used either immersion curing or brine injection. In immersion curing, you'd submerge the meat in a brine solution, changing it every week to prevent spoilage.
For faster results, you'd use the injection method, pumping brine directly into the meat through arteries or by stitching.
The success of these methods often relied on natural salt impurities. When you'd use saline salts from Asian deserts, they'd contain nitrates that gave cured meats their distinctive red color.
The Romans learned these techniques from the Greeks and noticed this reddening effect, which we now know comes from nitrites. They'd further develop the process by creating brine marinades, while the Phoenicians established thriving trade routes for salted fish throughout the Eastern Mediterranean.
Frequently Asked Questions
How Do You Prevent Rodents From Accessing Underground-Stored Preserved Meat?
You'll need to seal all entry points with hardware cloth and mortar, store meat in metal containers with tight lids, use peppermint oil deterrents, and set traps around your storage area's perimeter.
What Materials Work Best for Constructing an Underground Smokehouse?
You'll want concrete well tiles for the firebox, rot-resistant lumber for the structure, and metal tubing for smoke pipes. Use cinderblocks with quickcrete for the base and metal straps for stability.
Can Preserved Meat Be Safely Stored Near Vegetables in Root Cellars?
You shouldn't store preserved meat near vegetables in root cellars. They require different humidity levels and temperatures. Keep them separate to prevent cross-contamination and maintain ideal conditions for both food types.
What Signs Indicate Underground-Preserved Meat Has Gone Bad?
You'll know your meat's spoiled if you notice strong unpleasant odors, slimy textures, discolored patches, or bulging packages. Don't consume meat that feels tacky or has a pungent, buttery smell when thawed.
How Does Humidity Affect Different Underground Meat Preservation Methods?
You'll find high humidity ruins meat in soil burials by promoting bacteria. It's less problematic in snow storage due to freezing. For underground caches, you must control humidity with desiccants to prevent spoilage.
In Summary
You'll find these ancient meat preservation methods invaluable for long-term food security. Whether you're using salt curing, smoking, or underground storage, these time-tested techniques don't rely on electricity or modern refrigeration. Start with simple methods like salt curing or dehydration, then work your way up to more complex approaches like earth pit smoking or cold storage caves. Your ancestors' wisdom can help you become more self-reliant today.


Leave a Reply