To build an underground food storage cave, you'll need to select a north-facing hillside location above the flood plain with stable, well-draining soil. Start by excavating 6-8 feet deep, adding a gravel bed and perforated drainage pipe. Install load-bearing walls using concrete or masonry, reinforced with rebar and support beams. Waterproof the structure using multiple layers of 6-mil plastic sheeting and proper sealing. Add ventilation for temperature control (ideally 12-16°C) and humidity management. Include an anteroom to regulate temperature fluctuations, and organize your storage with elevated shelves. Following these essential steps will guarantee your cave's long-term success and functionality.
Planning Your Underground Storage Location
A successful underground food storage cave starts with choosing the perfect location. You'll want to find a north-facing hill that provides natural insulation and stays consistently cool throughout the year. Make certain your chosen site sits well above the flood plain and features stable soil composition to prevent structural failures and cave-ins.
When evaluating potential locations, check the soil quality carefully. You'll want soil with good drainage properties that won't become waterlogged and freeze during winter months. The soil should act as a natural insulator, maintaining steady temperatures roughly six feet below ground while providing adequate moisture for proper humidity levels inside your storage cave. Adding gravel for drainage beneath the cellar foundation is essential for preventing water accumulation.
Your site's climate plays a vital role in the cave's effectiveness. Cold climates work best, but you'll need to know your area's frost penetration depth to dig deep enough.
Consider natural hazards like earthquakes or volcanic activity, and avoid areas that receive direct sunlight. You'll also want to guarantee easy access to the cave while maintaining proper drainage around the structure.
Remember to plan for an anteroom, which will help regulate temperature fluctuations between the main storage area and the outside environment.
Essential Tools and Building Materials
Once you've selected your ideal storage location, gathering the right tools and materials becomes your next key step.
You'll need basic digging tools like shovels and a tamper, plus a 4-foot level to ascertain proper angles. For cutting materials, you'll want wire cutters, a rebar cutter, and a small sledgehammer.
The main building components include approximately 600 sandbags at about $0.20 each, 6-mm plastic sheeting for waterproofing, and four-pointed barbed wire for structural stability. A simple bucket with cutout can significantly speed up the sandbag filling process.
You'll also need 3/8-inch rebar and dirt with adequate clay content that you'll moisten during construction.
For waterproofing and insulation, you'll require landscape plastic (six mil or heavier), chicken wire mesh, and materials for cement stucco or earthen plaster.
Don't forget to include a thick insulation layer using hay, straw, or leaves.
The structural elements include treated 2×8 boards, 2×6 lumber for framing and the hatch cover, and PVC pipe if needed for additional frame support.
You'll want a drill with 3-inch deck screws for assembly.
Keep heavy-duty tarps or parachute cord on hand as backup shelter materials during construction.
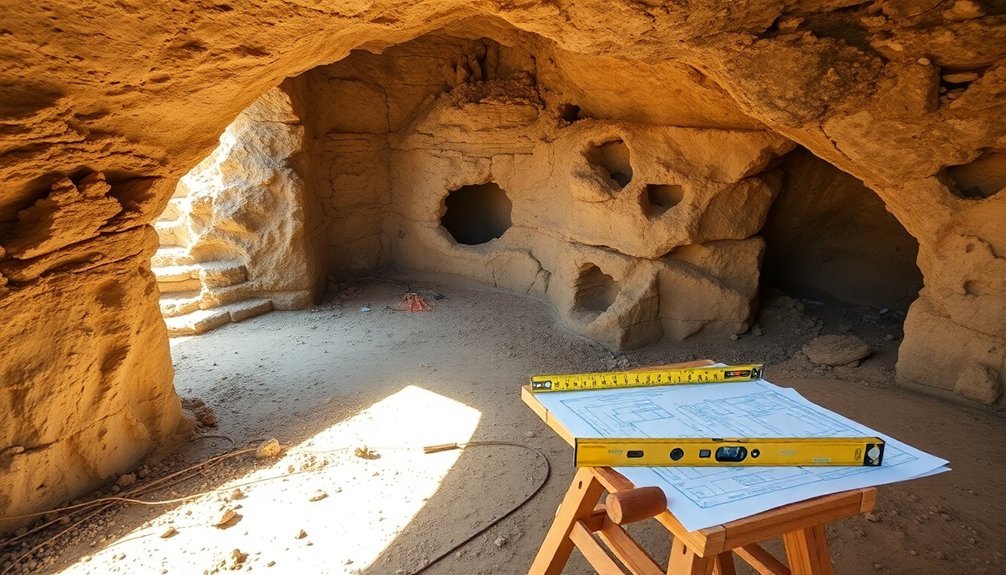
Excavation and Ground Preparation
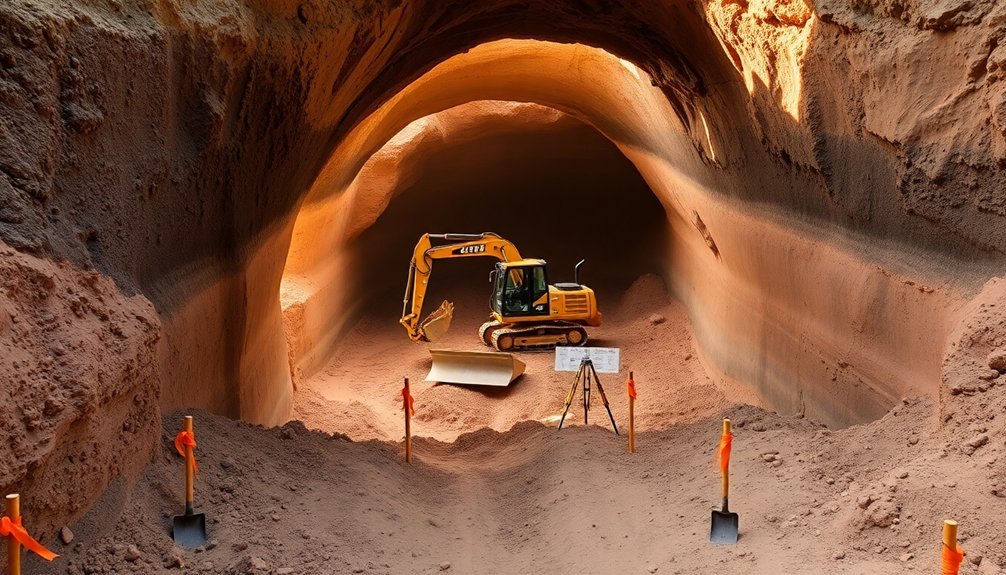
Before breaking ground on your underground storage cave, proper site preparation and excavation planning are essential for long-term structural integrity.
Select a location on a hillside that offers natural insulation, and verify it's below the frost penetration depth. Map your site carefully, considering the best size and orientation for your needs.
Start digging your hole to achieve a ceiling height of 6-8 feet, making it slightly larger than your planned dimensions to accommodate walls and insulation. You'll need to dig an extra 2-3 feet around the door area for additional cold protection. Our project required 2 tons of gravel for a stable foundation.
Once you've excavated, level the ground thoroughly and remove all rocks and debris. Add a gravel bed for stability and drainage purposes, then install a perforated drainpipe across the back, protecting it with heavy roofing paper or 6-mil plastic sheeting to prevent silt buildup.
As you backfill, compact the soil firmly but carefully to prevent future settling. The final step involves covering the structure with 2-4 feet of earth and planting grass to secure the soil.
Building Strong Support Structures
You'll need to start with installing load-bearing walls made of concrete or masonry, ensuring they're properly aligned with your excavated space's dimensions.
Next, you'll want to design and place concrete support beams across the ceiling span, making sure they're sized appropriately for the storage cave's width and expected load capacity.
Finally, position reinforced columns at strategic intervals to distribute the weight load evenly and prevent structural failure, using materials like concrete or steel-reinforced masonry that can withstand underground pressure.
Load-Bearing Wall Installation
Building strong load-bearing walls stands as one of the most critical aspects of underground food storage construction.
You'll need to start by identifying the ideal placement for your load-bearing walls by examining the structural requirements of your underground space. Mark these locations clearly and document them with photos for reference during construction.
Before installing the main load-bearing walls, you'll need to set up temporary support structures using 2x4s on both sides of your intended wall locations.
These temporary walls must be firmly secured to both the floor and ceiling to guarantee stability throughout the construction process. Once you've verified the temporary supports are solid, you can begin installing your permanent load-bearing walls.
Install sturdy posts at strategic points to support the weight-distributing beam.
You'll need to carefully position these posts using either the above-ceiling or below-ceiling method, depending on your cave's design. Secure the beam firmly to the posts and add trimmer supports beneath the beam ends to maintain structural integrity.
Remember to account for any electrical, plumbing, or ventilation systems that'll need to run through these walls during the installation process.
Concrete Support Beam Design
With your load-bearing walls in place, proper concrete support beam design will determine your underground storage's long-term stability.
You'll need to calculate ideal beam dimensions based on your cave's size and anticipated loads, including soil pressure and potential storage weight.
Start by determining the required depth and width of your support beams. You'll want to follow ACI standards while maintaining cost efficiency.
Calculate the maximum flexural reinforcement areas needed, and verify you're meeting minimum requirements for structural integrity. Your beam design must account for both vertical loads and potential lateral forces from surrounding soil.
For reinforcement, you'll need to specify both longitudinal rebar and stirrups. Space them according to code requirements, verifying proper concrete cover to prevent corrosion.
Don't forget to include shear reinforcement to handle cross-sectional forces. If you're using precast beams, plan for concrete stitches between sections.
Analyze your design under various load combinations to verify it meets both strength and serviceability requirements.
Consider the soil-structure interaction using the modulus of subgrade reaction, and verify your beams won't exceed deflection limits.
This careful planning will prevent future structural issues in your underground storage.
Reinforced Column Placement
Throughout your underground storage construction, proper column placement serves as the critical backbone of your structure's support system.
You'll need to start by drilling holes at the four corners where you've made undercuts for the main reinforcements. Make certain your corner reinforcements extend longer than the others by the specified length to guarantee proper structural integrity.
Before placing your column molds, you'll need to pre-assemble the reinforcements with anchor bolts at their predetermined positions.
When arranging the longitudinal reinforcements, maintain at least 4 cm spacing between bars, or 1.5 times the bar diameter, whichever is greater. For columns in contact with soil, maintain a 7.5 cm concrete cover, while those exposed to weather need 5 cm.
Check the column shape and cover on the concrete pouring surface before placement. You'll want to remove any smudges at the reinforcing positions and verify that your columns follow a strategic grid pattern.
This grid arrangement helps distribute loads evenly and prevents the need for extra slab thickness. Remember to secure all reinforcements with anchor bolts and verify their alignment before proceeding with concrete pouring.
Temperature and Humidity Control
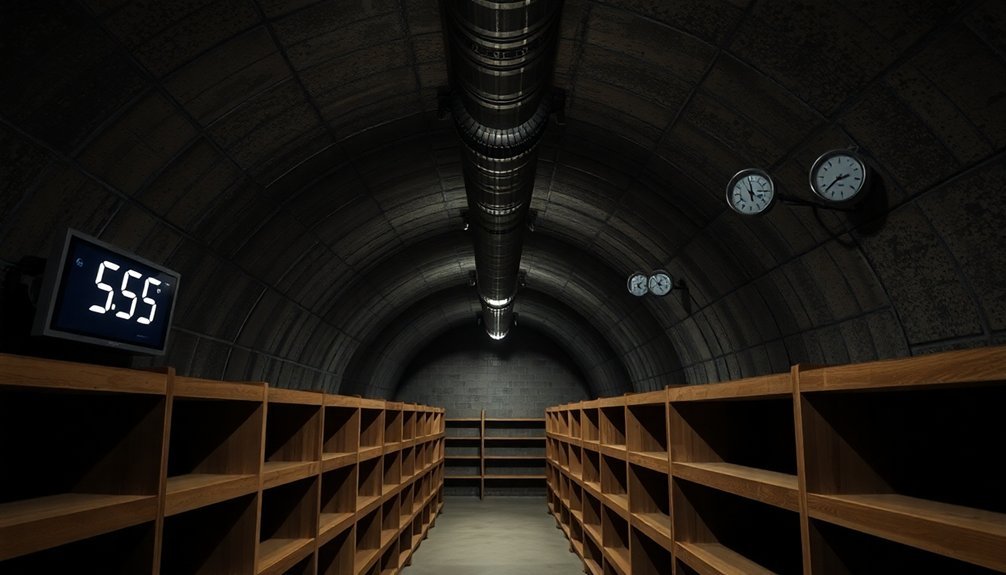
Successfully maintaining proper temperature and humidity levels stands as the cornerstone of an effective underground food storage cave. You'll need to dig at least 4 meters deep to achieve stable temperatures between 12-16°C, though ideal food storage occurs at around 4.4°C. If you're in a colder climate, consider going deeper to prevent freezing.
Install temperature and humidity gauges outside your cave to minimize unnecessary entry. You'll want to create distinct temperature zones within your storage space, as different foods require varying conditions. Place root vegetables in the coolest areas, while keeping squash and similar produce in slightly warmer sections.
- Place vents and screens strategically to maintain proper airflow while keeping pests out.
- Install insulation materials like hay or leaves to stabilize humidity levels.
- Position food storage away from doors and vents during extreme weather.
- Use uncoated rock surfaces where possible to exploit natural cooling properties.
Monitor and adjust your ventilation system regularly to maintain stable humidity. During construction, select materials that enhance temperature control and moisture regulation. Keep doors sealed when not in use, and consider adding ice storage during warmer months to maintain consistently cool temperatures.
Waterproofing Your Storage Cave
Proper waterproofing forms the critical foundation of your underground food storage cave's success.
You'll need to implement a layered approach using multiple materials to guarantee complete protection from ground moisture. Start by lining your cave with six mil landscape plastic, making sure to carefully wrap all surfaces without puncturing the material during installation.
Install PVC pipes with caps and test plugs for a watertight seal at entry points. Coat the threads with automotive grease to prevent rust and maintain long-term functionality.
Add a nonwoven geotextile clay liner for additional protection, particularly in areas prone to high moisture levels.
For thorough moisture control, place silica gel or DampRid containers throughout your storage space. You'll need to monitor and replace these regularly as they become saturated.
Apply cement-based coatings to strengthen structural integrity, and use injection waterproofing to seal any cracks or joints that may develop.
Don't forget to establish a maintenance schedule. You'll need to inspect your waterproofing system periodically, reapply coatings when necessary, and check for any signs of water ingress.
Mark your cave's location clearly to enable regular maintenance checks.
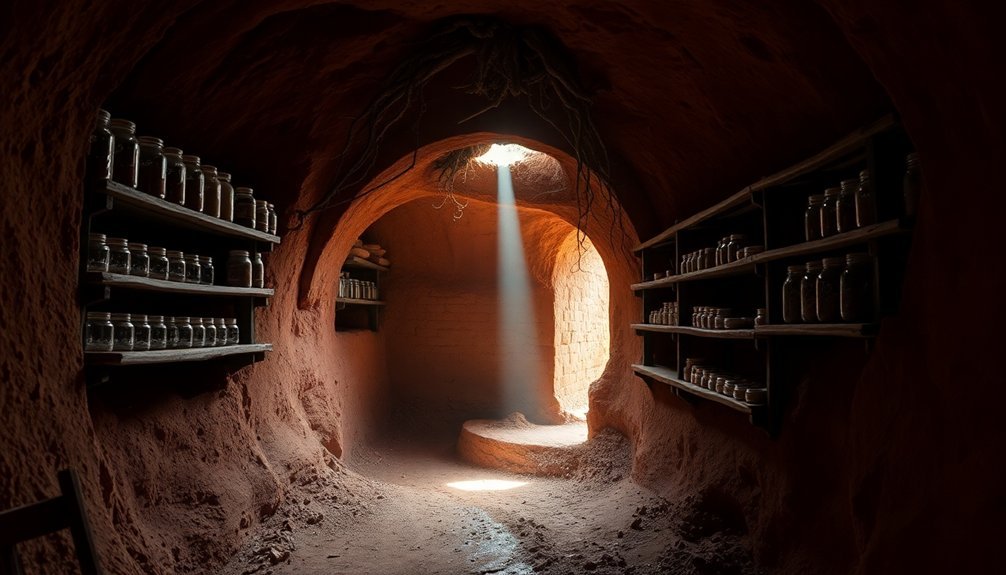
Food Organization and Storage Systems

With your storage cave now waterproofed, you'll need to implement an organized system for your stored foods. Start by elevating all items off the ground using sturdy shelves, pallets, or supports to prevent water damage.
You'll want to use non-susceptible containers like metal garbage cans, plastic drums, or storage totes to protect your food from moisture and pests.
Place ethylene-producing fruits and vegetables at the top of your storage area, as this natural ripening agent travels downward. This strategic placement will help prevent premature ripening of other stored produce.
Remember that different foods require specific storage conditions, so you'll need to organize them accordingly.
- Install adjustable metal shelving units along the walls, leaving space for air circulation
- Set up separate zones for high-humidity produce (90-95%) like carrots and potatoes
- Create a dedicated area at the top for ethylene-producing items
- Use labeled, airtight containers for organized, easy access
Keep ethylene-sensitive produce away from high ethylene producers, and maintain proper spacing between storage containers to guarantee adequate airflow.
This systematic approach will maximize your storage space while extending the shelf life of your stored foods.
Frequently Asked Questions
How Do I Handle Local Building Permits and Zoning Regulations?
First, check your property's zoning district. Then submit required permit applications with detailed site plans. Don't skip permits – you'll need building, zoning, and possibly electrical permits. Contact local authorities for guidance.
What Insurance Considerations Should I Keep in Mind for Underground Storage?
You'll need liability insurance to cover potential water damage, structural issues, and property damage. Contact insurers specializing in underground storage to discuss coverage for maintenance costs and third-party claims as required.
How Can I Protect My Storage From Potential Looters or Intruders?
You'll need multi-layered security: install cameras, alarms, and restricted access systems. Use natural barriers like deep shafts, implement visitor tracking protocols, and guarantee all storage areas have strong locks and monitoring systems.
What Are the Best Lighting Solutions for an Underground Storage Cave?
Install LED lights with battery backup and motion sensors throughout your cave. You'll want waterproof fixtures, and it's smart to use solar power with a generator backup for reliable illumination.
How Do I Safely Install Ventilation Systems Without Compromising Security?
Install secure metal grates over dual vents positioned at opposite ends, with intake near floor and exhaust near ceiling. You'll want to add mesh screens and guarantee vent pipes can't be accessed externally.
In Summary
Building your own underground food storage cave isn't a simple weekend project, but you'll reap the rewards of your hard work. You've now got a reliable, temperature-controlled space to preserve your food supplies long-term. Remember to check your cave regularly for any moisture issues, maintain proper ventilation, and rotate your stored items. With proper maintenance, your underground storage will serve you and your family for years to come.


Leave a Reply