Store your fermented vegetables at 39°F (4°C) to slow down fermentation and maintain quality. Keep vegetables fully submerged in brine with a salt concentration between 2-5%, and use glass containers with airtight lids to prevent oxygen exposure. Don't forget to press down vegetables regularly and top off brine levels when needed. Move ferments to smaller containers as you use them to minimize air space, and always check for signs of spoilage before consuming. Use clean utensils when handling, and consider freezing portions for extended storage. Monitor pH levels to guarantee safety. These basic steps will set you up for fermentation success, but there's much more to explore about maximizing shelf life.
Temperature Control Matters
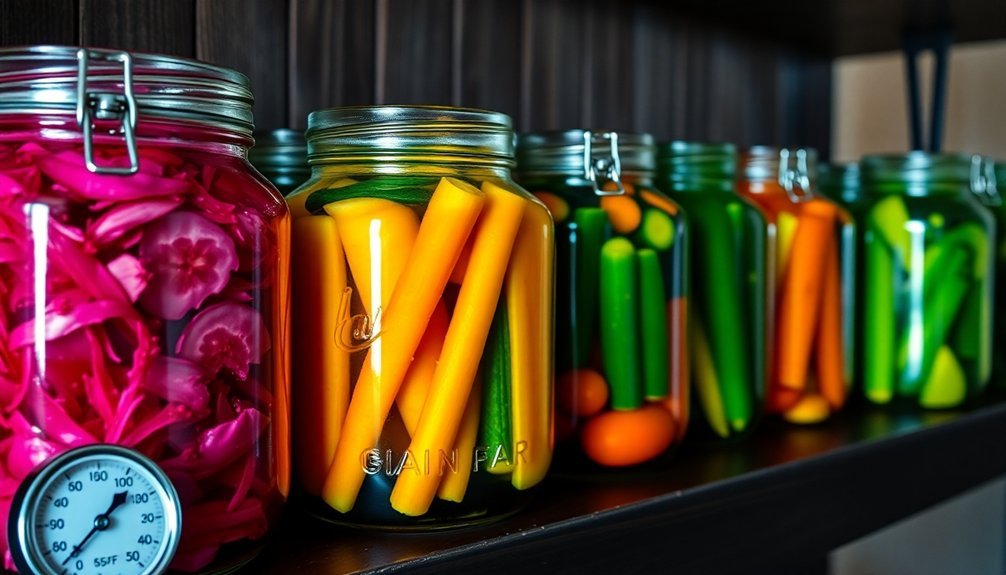
Throughout the process of fermentation, maintaining proper temperature control stands as the cornerstone of success. You'll want to keep your ferments within the ideal range of 60°F to 70°F (16°C to 21°C), with 65°F (18°C) being the sweet spot. This temperature range guarantees your vegetables develop complex flavors while retaining their signature crunch.
When you're fermenting, avoid temperature swings greater than 5°F (3°C), as these fluctuations can disrupt the process. If temperatures climb above 70°F (21°C), your ferments will process too quickly, resulting in mushy vegetables and less desirable flavors.
Conversely, if temperatures drop below 58°F (14°C), you're risking harmful bacteria and mold growth as the beneficial bacteria slow down.
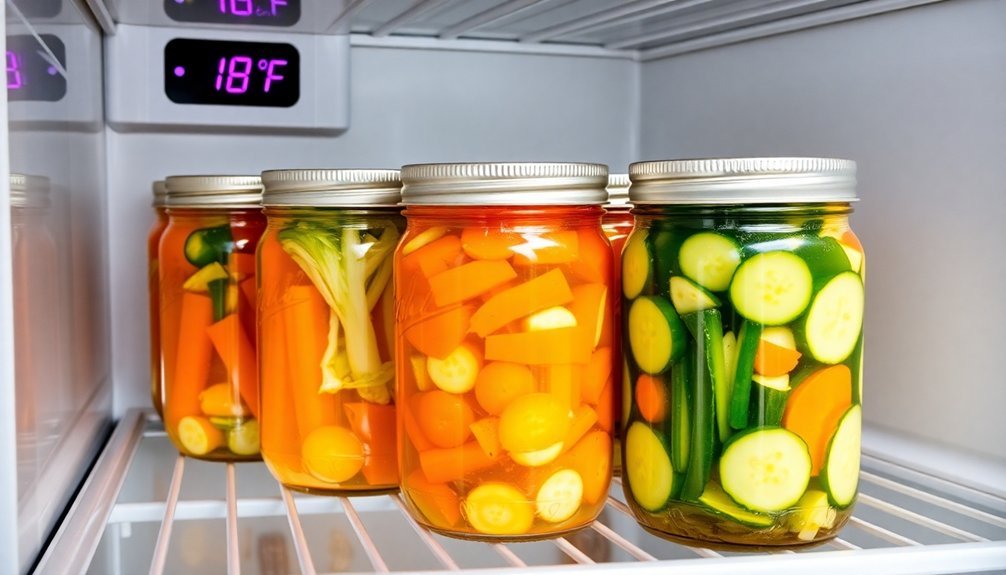
Once your fermentation is complete, you'll need to move your vegetables to cold storage. Keep them at around 39°F (4°C) in your refrigerator, or if you've got access to a basement or root cellar that stays below 52°F (12°C), that'll work too. This cooler environment slows down fermentation activity, helping your vegetables maintain their texture and flavor for longer periods. Regularly press down the vegetables to ensure they remain fully submerged in the brine during storage.
Perfect Brine Management
You'll need to keep salt levels between 2% and 5% to guarantee successful fermentation of your vegetables.
The natural process of osmosis helps create the brine needed to promote beneficial bacteria growth.
Check your ferments daily to make sure all vegetables stay completely submerged in the brine, pressing them down as needed to prevent mold growth.
For long-term storage, consider using a slightly stronger brine ratio (around 2.2%) and regularly top off any jars that show lowered brine levels.
Maintain Optimal Salt Levels
The perfect brine acts like a protective shield for your fermented vegetables, making salt levels essential for successful preservation.
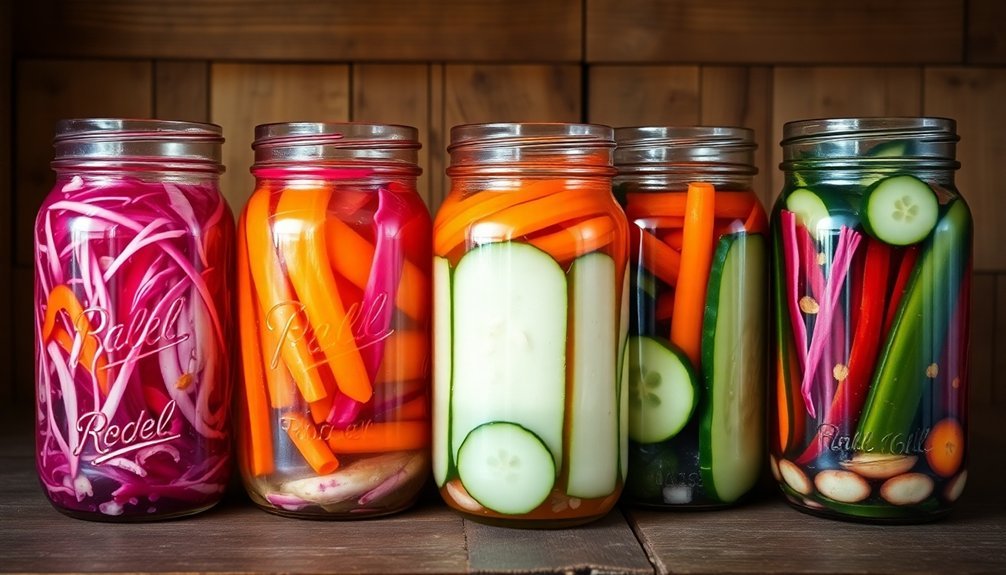
You'll want to maintain a salt concentration between 2% and 5% of your total ingredients' weight, with 2.2% being ideal for long-term shelf stability. For most vegetables, stick to 2%, while cucumbers and fruits need 3-4%, and olives require up to 10%. Digital scales provide the most accurate measurements for calculating proper salt ratios.
When preparing your brine, dissolve 1-3 tablespoons of salt per quart of water, ensuring complete coverage of your vegetables. If you're storing ferments for longer periods, use a stronger brine to enhance preservation and maintain crunchiness.
Less salt (1-2%) speeds up fermentation, while more salt (3-10%) slows it down but extends shelf life.
Keep checking your brine levels during storage. If they drop, press down on the vegetables or add more properly salted brine to maintain coverage. You can combine similar ferments into smaller jars to reduce air space and prevent mold growth.
While you can experiment with salt levels based on taste, don't go below the recommended minimums, as this could compromise your ferment's safety and stability.
Monitor Brine Coverage Daily
Successful fermentation hinges on daily monitoring of your brine coverage, as even small lapses can lead to spoilage or mold growth. You'll need to check your ferments daily, ensuring vegetables remain fully submerged beneath the brine surface. Press down floating pieces and add more brine when levels drop. Using a digital refractometer reading helps ensure your added brine maintains the correct salt concentration.
| Brine Issue | Cause | Solution |
|---|---|---|
| Low Coverage | Evaporation | Top off with fresh brine |
| Floating Vegetables | Insufficient weight | Add fermentation weights |
| Air Bubbles | Active fermentation | Press down & release trapped air |
For long-term storage success, you'll want to use proper fermentation weights and consider combining smaller batches to maintain ideal brine levels. If you notice your vegetables rising above the brine, don't wait – address it immediately by pressing them down or adding more solution. Store your ferments in cool places to slow fermentation and maintain brine stability. When repacking becomes necessary, choose smaller containers to minimize air space and maintain proper coverage. Remember to use high-quality salt and filtered water when preparing new brine, as these elements directly impact your fermentation's success.
Container Selection
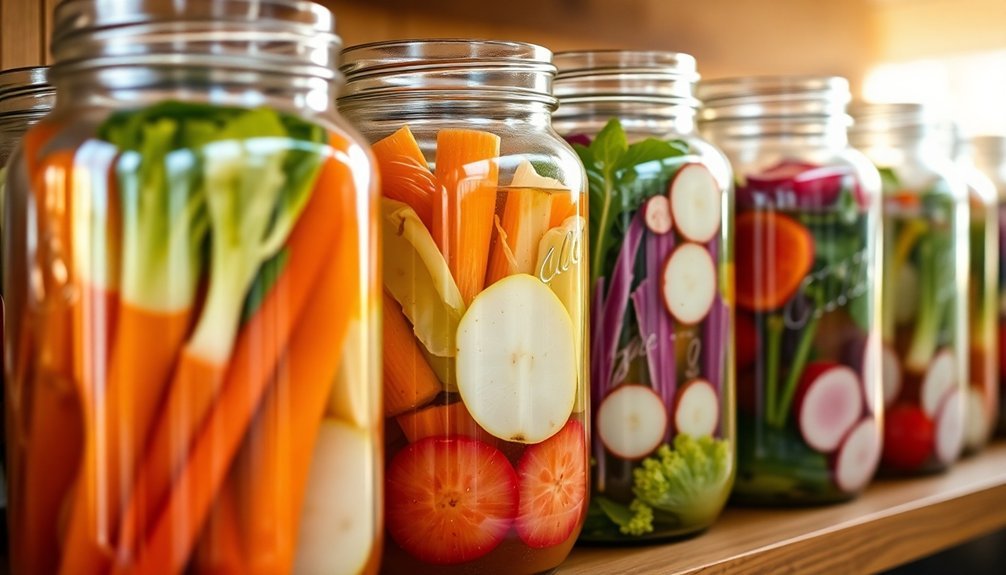
You'll find glass containers are the safest choice for fermented vegetables, offering superior durability and zero risk of chemical leaching compared to plastic options.
While food-grade plastic containers can work in a pinch, they may retain odors and can scratch over time, potentially harboring unwanted bacteria.
Your container must have an airtight seal to control the fermentation process, whether you're using a simple mason jar with an airlock lid or a specialized fermentation crock with weights. For larger batches, consider that 5-gallon stone crocks are perfect for fermenting around 25 pounds of vegetables.
Glass Vs Plastic Choices
Container selection stands at the heart of successful fermentation, with glass and plastic options each presenting distinct advantages and challenges.
While glass containers offer an eco-friendly, durable solution that's easy to clean and sterilize, they're susceptible to breakage and may require regular burping to prevent pressure buildup. Traditional water-sealed crocks provide an excellent alternative for those seeking larger batch capabilities.
You'll also need to protect glass containers from direct sunlight, which can affect the fermentation process.
Plastic containers might seem convenient, but they come with significant drawbacks you shouldn't ignore. Even food-grade plastics can leach chemicals into your fermented vegetables, and scratches on the surface can harbor harmful bacteria.
UV exposure degrades plastic over time, potentially compromising your fermentation. If you're considering plastic, you'll need to use only new, food-grade containers and keep them away from sunlight.
For the best results, you'll find glass containers are your safest choice despite their limitations. They're affordable, long-lasting, and won't contaminate your fermented vegetables.
While you'll need to manage issues like lid maintenance and regular burping, these challenges are minor compared to the risks associated with plastic containers. Just remember to handle glass containers carefully and store them in a dark location.
Airtight Seal Requirements
Proper airtight seals serve as the cornerstone of effective fermentation storage, protecting your vegetables from harmful bacteria while allowing controlled off-gassing. When selecting containers, you'll need to guarantee they're equipped with lids that create an effective seal while still permitting gases to escape during the fermentation process. Pickle Pipes and similar airlock systems provide reliable sealing solutions.
| Seal Type | Benefits | Best Uses |
|---|---|---|
| Airlock Lids | Automatic gas release, prevents contamination | Long-term fermentation |
| Mason Jar Lids | Easy to use, readily available | Small batch storage |
| Crock Lids | Traditional, heavy-duty sealing | Large batch fermentation |
For ideal results, you'll want to check your container seals regularly for signs of wear or damage. Make sure you're using food-grade materials that won't react with the acidic environment of fermented foods. Keep your vegetables submerged 1-2 inches below the brine and minimize headspace in the container. If you're using traditional mason jars, consider "burping" them daily during active fermentation to release excess pressure. Remember that even with airtight seals, you'll need to transfer your fermented vegetables to smaller containers as you use them to maintain quality and prevent excess exposure to air.
Preventing Mold Growth
Mold is the nemesis of successful fermentation, but preventing its growth starts with proper preparation and maintenance. You'll need to guarantee all your vegetables, tools, and surfaces are clean before starting, and use only fresh ingredients to avoid introducing harmful bacteria. The lactic acid bacteria naturally present during fermentation help create an environment that inhibits harmful pathogens.
Creating the right salt concentration in your brine and maintaining proper coverage over your vegetables is vital for success.
During the fermentation process, you'll want to focus on these critical steps:
- Keep all vegetables completely submerged under the brine using fermentation weights, checking daily for any floaters.
- Use airlock lids or specialty fermentation lids with one-way valves to prevent oxygen from entering while allowing gases to escape.
- Pack your vegetables tightly to eliminate air pockets, and regularly check brine levels to maintain coverage.
For long-term storage, keep your fermented vegetables in a cool environment like a refrigerator or root cellar. As you consume your ferments, consider combining smaller batches into larger containers to minimize air space. Don't forget to maintain proper brine levels during storage – if needed, you can create a stronger brine solution for additional protection against mold growth.
Long Term Storage Solutions
After completing the fermentation process, you'll need reliable storage solutions to preserve your vegetables for the long haul. The key to long-term storage lies in maintaining consistent cold temperatures between 32 and 50 degrees Fahrenheit, which effectively slows down fermentation while preserving the beneficial bacteria.
Your refrigerator provides an ideal environment, but if space is limited, you can use a cool basement or root cellar that maintains temperatures between 45-65 degrees.
As you consume your ferments, repack them into smaller containers to maintain proper brine levels and minimize air exposure. Always use tight-fitting lids to create an oxygen-free environment and prevent contamination.
For extended storage periods, consider using a stronger brine concentration to inhibit unwanted microorganisms. You'll need to monitor your ferments regularly, checking for proper brine levels and any signs of spoilage.
If you want to completely halt the fermentation process, you can freeze your vegetables using multiple layers of protection. When stored properly in cold conditions with adequate brine coverage, your fermented vegetables can last a year or longer while maintaining their probiotic benefits and distinctive flavors.
Quality Preservation Methods
To preserve the quality of your fermented vegetables, follow these essential steps:
- Keep your vegetables fully submerged in brine and use plastic lids to prevent rust formation. Don't disturb the ferments with unsterilized utensils, as this can introduce harmful bacteria.
- Store your ferments at a consistent temperature between 18-20°C during initial fermentation, then move them to a cool, dark location or refrigerator for long-term storage.
- Monitor the pH regularly, ensuring it stays at 4.4 or lower for unpasteurized products under refrigeration, or achieve 4.6 or lower if you're planning to pasteurize at 74°C for 15 minutes.
For extended shelf life, consider repackaging your ferments with fresh brine and using a gas flush technique.
Remember to check your containers regularly for signs of spoilage and maintain proper sealing to prevent oxygen exposure, which can compromise both quality and safety.
Frequently Asked Questions
Can I Mix Different Fermented Vegetables in the Same Jar?
Yes, you can mix different fermented vegetables in the same jar. Try combining cauliflower, carrots, celeriac, and cabbage together. Just make certain they're all submerged in brine and stored properly in cool conditions.
How Do I Know When Fermented Vegetables Have Gone Bad?
Look for pink or fuzzy mold, repulsive odors, mushy texture, and unusual color changes in your ferments. If they cause stomach upset or don't smell pleasantly sour, they've likely gone bad.
Should I Rinse Fermented Vegetables Before Eating Them?
You don't need to rinse fermented vegetables before eating them. The brine contains beneficial bacteria and preserves the ferment. However, if you prefer less saltiness, a quick rinse won't harm the fermentation benefits.
Can I Reuse the Brine From Finished Ferments for New Batches?
Yes, you can reuse brine from finished ferments for new batches. Simply add 1/2 cup to smaller jars or 1 cup for gallon jars. You'll need to top it off with fresh saltwater solution.
Why Do Some Fermented Vegetables Float While Others Sink?
Your vegetables float mainly due to trapped CO2 bubbles during fermentation. Dense veggies typically sink, while lighter ones or those producing more gas will rise unless you're using proper weights to keep them submerged.
In Summary
You'll find that proper storage of fermented vegetables isn't complicated once you've mastered these key principles. Keep your ferments at the right temperature, maintain ideal brine levels, and choose appropriate containers to extend their shelf life. Remember to check regularly for mold and follow quality preservation methods. With these storage tips, you're now equipped to enjoy your fermented vegetables at their peak freshness for months to come.


Leave a Reply