You'll find several effective DIY root cellar shelf options to maximize your storage space and keep produce fresh longer. Basic plywood shelves offer an economical solution, while ventilated slatted designs promote essential airflow. Pull-out bins make accessing vegetables convenient, and adjustable height systems let you customize space as needed. Consider stackable crates for flexibility, multi-tier racks specifically designed for potatoes, or wall-mounted organizers to save floor space. Rolling carts provide mobility, and corner solutions help utilize every inch. A proper storage system will extend your harvest's life and maintain quality – let's explore these options in detail to transform your root cellar.
Basic Plywood Storage Shelves
DIY enthusiasts can build sturdy root cellar shelves using basic plywood and lumber materials. You'll need 3/4-inch plywood sheets, pine boards in various sizes, and 1/2-inch plywood for drawer bottoms. Start by ripping the plywood into 16-inch-wide strips that match your cellar's height.
Create the shelf standards by gluing plywood strips together and securing them with drywall screws. Use a story stick to mark consistent spacing for the cleats, then attach the standards to your walls, ceiling, and floor using L-brackets. Regular cleaning and maintenance of the shelves is crucial, as proper hygiene helps prevent mold and pest issues.
For the shelf frames, cut your lumber to size and assemble them with screws, checking for square corners. Next, cut your plywood shelves to size, leaving a 4-inch gap between the wall and shelves for proper air circulation.
Attach the shelves to your support frames using 1-inch drywall screws. Don't forget to add vertical supports at the back for extra stability.
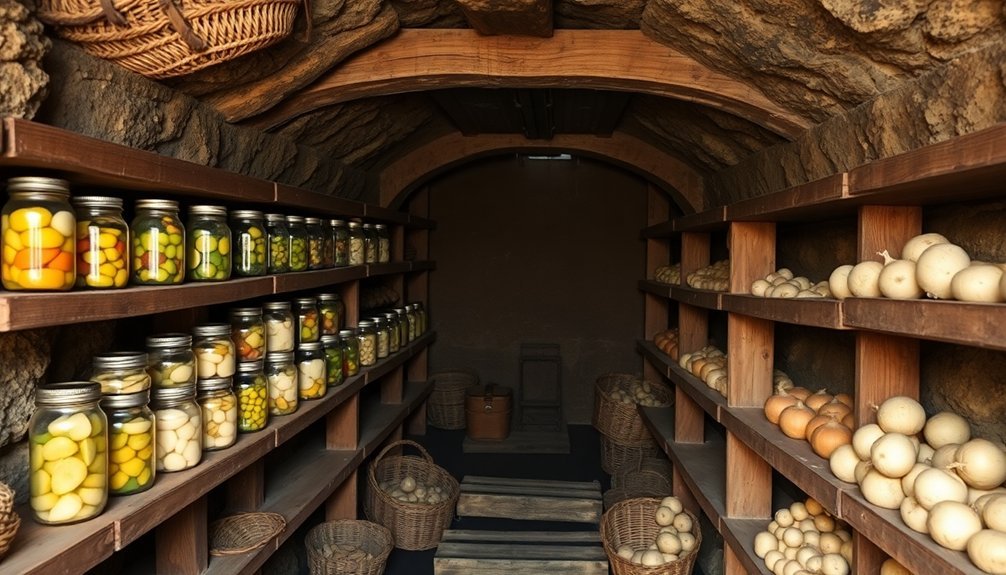
The completed shelving system provides a solid foundation for storing root vegetables, preserves, and other items that require consistent temperature and humidity levels.
Ventilated Slatted Root Shelves
Your slatted root cellar shelves need precise 1/8-inch gaps between slats, which you can easily maintain using a 16d nail as a spacer.
You'll get maximum ventilation benefits when you position these properly spaced slats across the 1×3 side supports, allowing air to flow freely around your stored produce.
The consistent spacing prevents moisture buildup and helps maintain the ideal storage conditions for your fruits and vegetables. This design helps to maintain cold-weather preservation throughout the seasons when combined with proper insulation techniques.
Optimal Slat Spacing
Proper ventilation in root cellar shelves starts with ideal slat spacing, which calls for precise 1/8-inch gaps between each wooden slat.
You'll want to maintain consistent spacing throughout your shelving system to guarantee proper air circulation for your stored produce. Using a 16d nail as a spacer between slats will help you achieve this uniform gap as you build. Choose untreated wood materials for your shelving, as they provide natural antibacterial properties.
To create perfectly spaced slats, you'll need to focus on three key steps:
- Use a story stick to mark your cleat and slat positions, guaranteeing uniform spacing across all shelf levels.
- Position your slats slightly shorter than the distance between standards, allowing for proper fit and alignment.
- Verify that your supports remain square to the slats during installation to maintain consistent spacing.
Don't forget to leave a 1-2 inch gap between the shelf back and the wall for additional airflow.
When you're installing the shelves, guarantee your cleats are evenly spaced and securely attached to the standards. This spacing system creates ideal ventilation throughout your root cellar, helping to prevent moisture buildup and extend the storage life of your produce.
Air Flow Benefits
Building on the precise spacing of slatted shelves, let's explore how this design maximizes air circulation in your root cellar. When you construct shelves with proper gaps, you'll create an environment where warm air naturally rises and cool air falls, establishing a continuous flow that's essential for vegetable storage. This natural movement helps regulate temperature and removes harmful ethylene gas produced by ripening produce.
Your slatted design will work best when you leave a gap between the shelves and walls, allowing air to flow freely on all sides. By elevating your storage crates a few inches above the shelf surface, you'll create additional pathways for air movement underneath your produce. This extensive circulation pattern helps prevent condensation from forming on your vegetables and maintains the ideal humidity level of 90-95% without creating standing water.
You'll notice improved storage life when your shelves work with, rather than against, natural ventilation patterns. The slatted design lets you position produce so air must travel across the entire storage space, ensuring even distribution of cool temperatures and preventing isolated pockets of moisture that could lead to spoilage.
Pull-Out Vegetable Bins
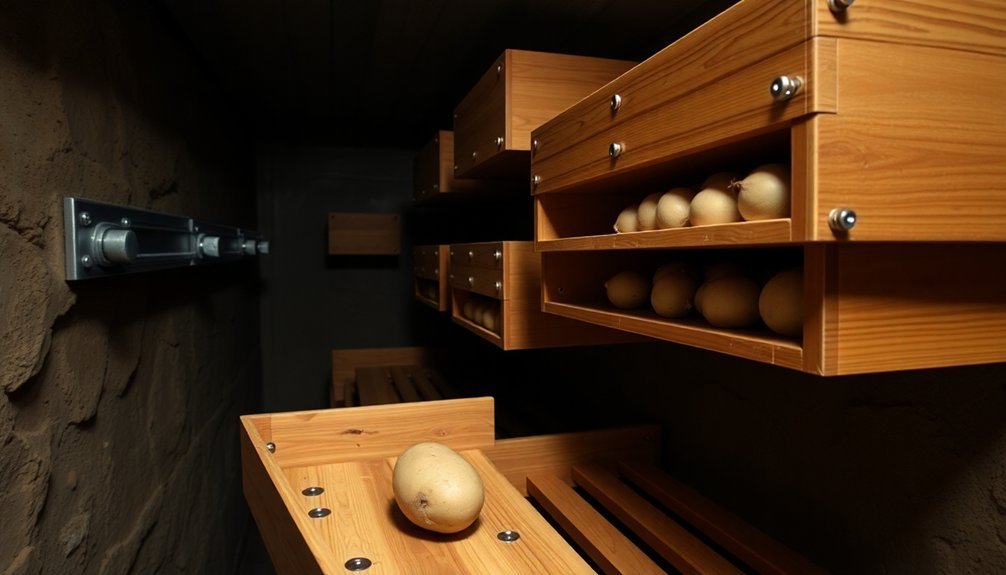
Want to maximize storage space while keeping your root vegetables easily accessible? Pull-out vegetable bins offer the perfect solution for organizing your root cellar while ensuring proper air circulation and easy access to stored produce.
Build your bins starting with 1×10 lumber for the sides, cutting them to your desired length and angle. You'll need 2×2 runners as the base, secured with wood glue and screws for stability. For the bin structure, use 1×3 slats spaced evenly for the bottom, front, and back, ensuring adequate ventilation.
To create a uniform and functional storage system:
- Make a story stick to mark consistent spacing on the standards, allowing 1½ inches for cleats with 1¾ inches between them.
- Position slats using spacers to maintain even gaps, securing them with wood glue and screws.
- Install bins with enough wiggle room to slide smoothly while maintaining a snug fit.
Remember to maintain your bins by regularly checking stored produce, removing any spoiled items, and cleaning the bins before each harvest season.
Cover the bins to prevent light exposure and maintain ideal storage conditions for your vegetables.
Adjustable Height Storage System
Designed for versatility and long-term functionality, an adjustable height storage system transforms your root cellar into a highly efficient space.
You'll want to construct your shelves using rot-resistant woods like white oak, cedar, or fir, while avoiding pine or cottonwood that can deteriorate in humid conditions. Build your support frames using 2" x 3" lumber, and don't forget to notch the tops for added strength.
To create your adjustable system, install 1" x 3" x 6" spacers at regular intervals along the support frames. This allows you to modify shelf heights as needed while maintaining stability.
Keep a 1-2 inch gap between the shelves and wall to guarantee proper air circulation, which is essential for produce preservation.
When installing your system, make certain it's accessible for cleaning and maintenance. Your shelves should support over 2,000 pounds of weight when properly constructed.
If you're working with limited space, pre-build the support frames outside and assemble them in the cellar.
Remember to position your shelves strategically to maximize storage capacity while maintaining easy access to all your stored produce.
Stackable Storage Crates

To maximize your root cellar's vertical space, stackable storage crates offer a practical and efficient solution for organizing produce. You'll find several material options, from 3/4-inch plywood boxes to repurposed plastic vessels, each providing unique benefits for long-term storage.
When building your crates, focus on proper insulation using materials like sawdust or peat moss, and don't forget to incorporate ventilation holes to control humidity.
For successful implementation of your stackable storage system, follow these key steps:
- Size your crates precisely to fit your space and produce needs, ensuring they're not too heavy when full.
- Install drainage holes in the bottom and line with paving slabs to prevent pest access.
- Layer your produce with damp insulating materials to maintain ideal moisture levels.
You'll want to group compatible produce together, such as potatoes and carrots, while keeping your crates easily accessible for regular checks.
Label each container clearly to track contents and storage dates. Remember to maintain proper ventilation throughout your stacking system, as this prevents moisture buildup and extends your produce's storage life.
Humidity-Controlled Cabinet Design
Building a humidity-controlled cabinet requires careful attention to both moisture retention and air circulation. You'll need to maintain 90-95% humidity for most vegetables while ensuring proper airflow to prevent mold growth.
Start by constructing shelving units with slats spaced 1/8 inch apart, and leave a 2-inch gap between the cabinet walls and shelves for air movement.
To control humidity levels, install a digital hygrometer to monitor conditions. You can add moisture by placing water pans at the bottom of the cabinet or using damp burlap bags. For especially moisture-sensitive produce, pack them in damp sawdust or moss to prevent dehydration.
Install ventilation slots at the top and bottom of your cabinet to create natural air circulation and remove ethylene gas.
Maintain temperature control by insulating your cabinet with urethane or Styrofoam sheets. You'll want to keep temperatures between 35°F and 55°F for ideal storage.
Consider adding adjustable vents that you can open or close to fine-tune humidity levels. For protection against excess moisture, apply waterproof coating to the interior surfaces and use plastic sheeting as needed to manage condensation.
Multi-Tier Potato Storage Racks
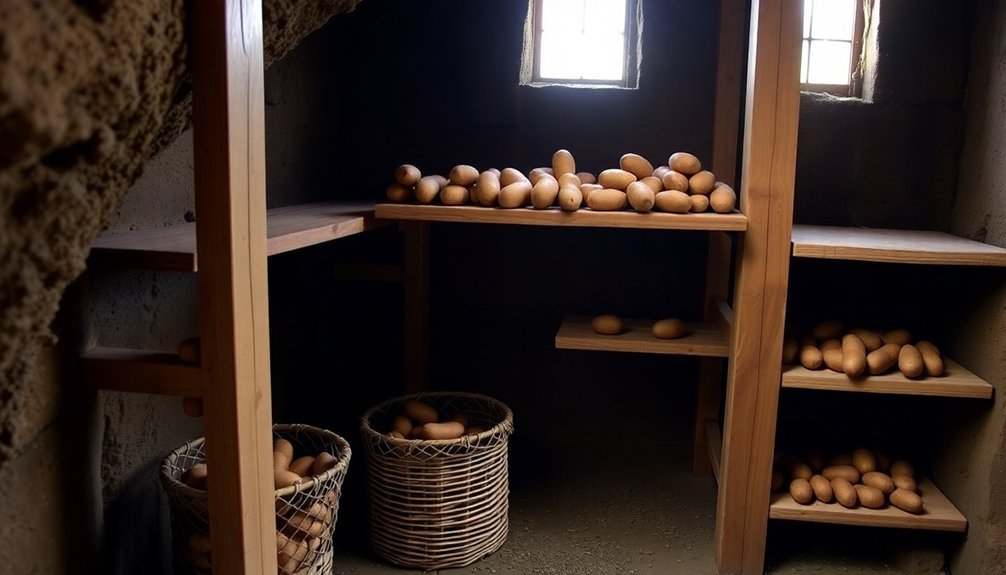
Your multi-tier potato storage rack needs precisely spaced shelves with 8-10 inches between each tier to promote ideal air circulation.
You'll want to construct each tier using slats or wire mesh that's spaced 1/2 inch apart, allowing air to flow freely around your stored potatoes.
Mount the tiers at a slight forward tilt using rot-resistant wood cleats, which will let you easily monitor your potatoes while ensuring proper ventilation throughout the entire rack system.
Building Ventilated Tier Sections
When constructing ventilated tier sections for your root cellar, proper airflow remains the key to successful potato storage. You'll want to build your shelving units with gaps between the wall and shelves to guarantee consistent air movement.
Position these units strategically to work with your cellar's natural thermal gradient, taking advantage of the cooler temperatures near the floor for long-term storage.
For ideal ventilation in your tier sections:
- Elevate your bottom shelf at least 6 inches off the gravel floor using durable wooden supports, allowing cool air to circulate underneath the stored potatoes.
- Space shelving slats approximately 1 inch apart to promote vertical airflow between tiers while preventing potatoes from falling through.
- Leave a 3-inch gap between the back of each shelf and the wall to create a chimney effect that draws cool air upward.
Use rot-resistant wood for your shelving construction and make sure each tier is properly braced to handle the weight of fully loaded potato bins.
You'll need to incorporate these ventilation features while maintaining the 32-40°F temperature range that's essential for potato preservation.
Position your tier sections near low inlet vents to maximize exposure to fresh, cool air.
Spacing for Maximum Airflow
Proper spacing between storage racks plays an essential role in maintaining ideal airflow throughout your root cellar's potato storage system. You'll need to leave 1-2 inches between the wall and your shelves, using cleats to maintain this vital gap. Keep your shelf depth between 16-20 inches to guarantee proper air circulation while maintaining easy access to your stored produce.
| Storage Level | Temperature Range | Ideal Contents |
|---|---|---|
| Top Shelf | 45-50°F | Short-term storage |
| Upper Middle | 40-45°F | Mixed vegetables |
| Middle | 35-40°F | Main potato storage |
| Lower Middle | 32-35°F | Long-term storage |
| Bottom | 32-34°F | Root vegetables |
When designing your multi-tier system, incorporate slats instead of solid shelving to promote vertical airflow. You'll want to elevate your storage crates a few inches off the shelf surface to allow air movement underneath. Position your shelves to work with your ventilation system – remember that warm air rises, so you'll need more space at the top where warm air and ethylene gas collect. Monitor the temperature gradient from floor to ceiling to make the most of your storage space while maintaining ideal conditions for your potatoes.
Wall-Mounted Produce Organizers
Installing wall-mounted produce organizers transforms kitchen storage while preserving valuable counter space. You'll find these versatile organizers available in bamboo, metal, and wood options, each offering unique aesthetic benefits. Metal baskets with grey or black finishes create a modern, rustic appeal, while bamboo provides an eco-friendly alternative that's both sustainable and durable.
To maximize your root cellar's vertical space, consider these essential installation tips:
- Mount baskets at varying heights to create ideal airflow between produce items and establish visual interest.
- Secure multiple basket tiers firmly to support heavier vegetables and fruits while keeping them organized.
- Position organizers strategically above workspaces or storage areas to maintain efficient workflow.
You can enhance functionality by selecting organizers with additional features like hooks for hanging tools or wooden lids that double as shelves. The wire or wicker designs promote proper air circulation while keeping your produce visible and accessible.
When choosing your organizers, verify they match your existing storage solutions and complement your root cellar's overall design. Remember to check weight capacity and use appropriate mounting hardware for secure installation.
Rolling Root Vegetable Cart
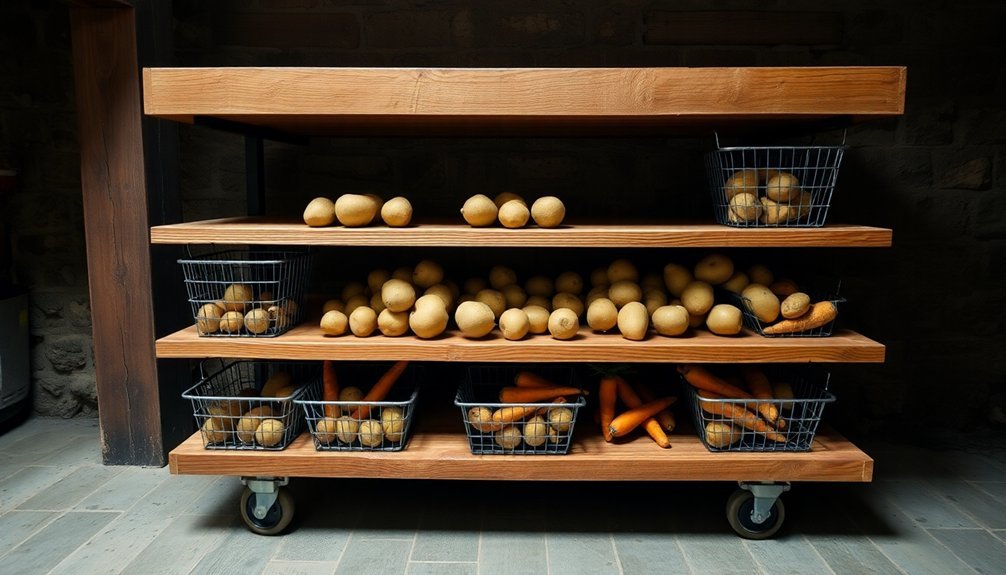
Building on the concept of organized storage, a rolling root vegetable cart offers unmatched flexibility in your root cellar setup. You'll want to construct the frame using moisture-resistant wood or metal, ensuring it's sturdy enough to handle heavy loads of root vegetables.
Install large, durable wheels with a robust axle system that can navigate your cellar's terrain while maintaining stability.
Design your cart with multiple adjustable tiers to maximize storage capacity. Include removable bins and baskets for easy organization, and don't forget to add clear labels to track your inventory efficiently.
Incorporate mesh panels or ventilation slots between shelves to promote proper airflow, which is essential for preventing mold and extending vegetable shelf life.
Make maintenance a breeze by using easy-to-clean materials and designing the shelves with removable parts. Add a reliable locking mechanism to keep the cart stable when parked, and install a sturdy handle for smooth maneuvering.
Consider integrating pest-deterrent features like tight-fitting compartments and sealed edges. Keep the overall design compact enough to fit through doorways while ensuring the weight distribution prevents tipping when fully loaded.
Corner Storage Solutions
You'll get the most from your root cellar's corners by installing L-shaped shelving units that wrap snugly around these often-underutilized spaces.
Stack your corner bins vertically to maximize storage capacity while maintaining easy access to your preserved goods.
These corner systems work especially well with adjustable shelving heights, letting you customize the space for different-sized produce throughout the growing season.
L-Shaped Maximizing Design
Making the most out of your root cellar's corners starts with a well-designed L-shaped shelving system. When you're maximizing corner storage, you'll want to take into account both stability and functionality in your design. By using rot-resistant cedar wood and proper anchoring methods, you'll create a lasting storage solution that won't contaminate your produce.
To guarantee your L-shaped shelves work efficiently, focus on these key elements:
- Install secure L-brackets and concrete anchors at multiple points along the walls, ceiling, and floor to prevent any movement or sagging under heavy loads.
- Create multiple shelf levels with adjustable heights, allowing you to accommodate different produce sizes and optimize vertical space.
- Include ventilation gaps between slats and ensure there's adequate space between shelves for air circulation.
Don't forget to integrate storage bins and crates into your design, elevating them slightly for better airflow.
You'll want to maintain consistent spacing between shelf levels using a story stick, which helps create a professional look while maximizing storage capacity.
Remember to label your storage areas clearly and keep frequently accessed items at comfortable reaching heights.
Stacked Corner Bin Systems
Strategic corner placement of stacked bin systems transforms underutilized root cellar spaces into efficient storage zones.
You'll want to position your bins against exterior soil-contacting walls in the dampest corner, ensuring a 2-inch gap between the wall and shelving for proper air circulation.
When building your corner system, use natural materials like wooden crates or stackable recycling bins, keeping shelf depth to a maximum of 16 inches. Make sure you're securing the shelves firmly to the walls and elevating bins a few inches off the floor.
Install adjustable shelf brackets to accommodate different bin sizes and maintain flexibility in your storage setup.
You'll need to prioritize ventilation by creating clear pathways for cool air to enter through lower intakes and warm air to escape through higher outlets.
Don't overcrowd your bins – proper spacing is essential for air movement. Monitor your stored vegetables regularly, keeping damaged produce separate from unblemished items.
If humidity drops, you can sprinkle water on gravel beneath the shelves. Arrange your bins so that vegetables needing earlier consumption are easily accessible, helping you maintain an organized rotation system.
Frequently Asked Questions
How Long Should I Let New Wooden Shelves Air Out Before Storing Produce?
You'll need to let your new wooden shelves air out for several weeks in a well-ventilated area. Keep checking them for dampness and guarantee they're completely dry before storing any produce.
Can Metal Brackets Affect the Taste of Stored Vegetables?
You don't need to worry about metal brackets affecting your vegetables' taste. They're not reactive with stored produce, and unlike cookware, brackets don't leach metals or influence flavor during storage.
What's the Best Wood Finish That Won't Harm Stored Produce?
You'll want to use pure tung oil for your wood finish. It's food-safe, provides excellent water resistance, and won't affect produce taste. Though it requires multiple coats, it's worth the effort for long-lasting protection.
Should Different Varieties of Apples Be Stored on Separate Shelves?
Yes, you'll want to store different apple varieties separately since they ripen at different rates. To prevent premature ripening, keep them on different shelves and check them regularly for spoilage.
How Often Should Wooden Shelves Be Replaced Due to Moisture Damage?
You'll need to replace wooden shelves every 10-25 years with proper care. However, if you notice signs of rot, warping, or structural weakness, don't wait – replace them immediately for safety reasons.
In Summary
Building your own root cellar shelving doesn't have to be complicated or expensive. Whether you've chosen the basic plywood shelves or opted for a more advanced system like the rolling cart, you'll now have an organized space for storing your harvest. Remember to maintain proper ventilation and spacing between items, and you'll enjoy fresh vegetables throughout the winter months with your custom storage solution.


Leave a Reply