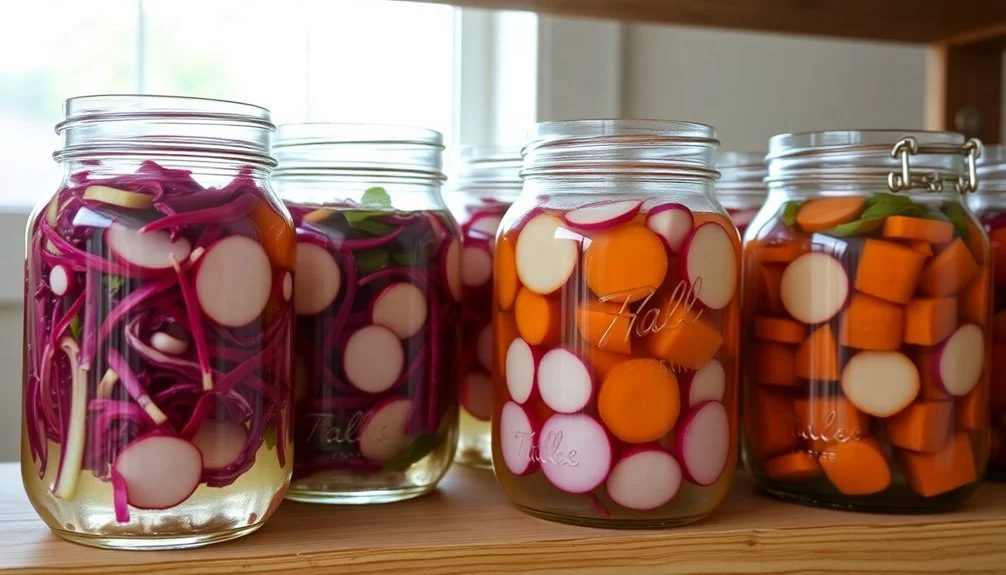
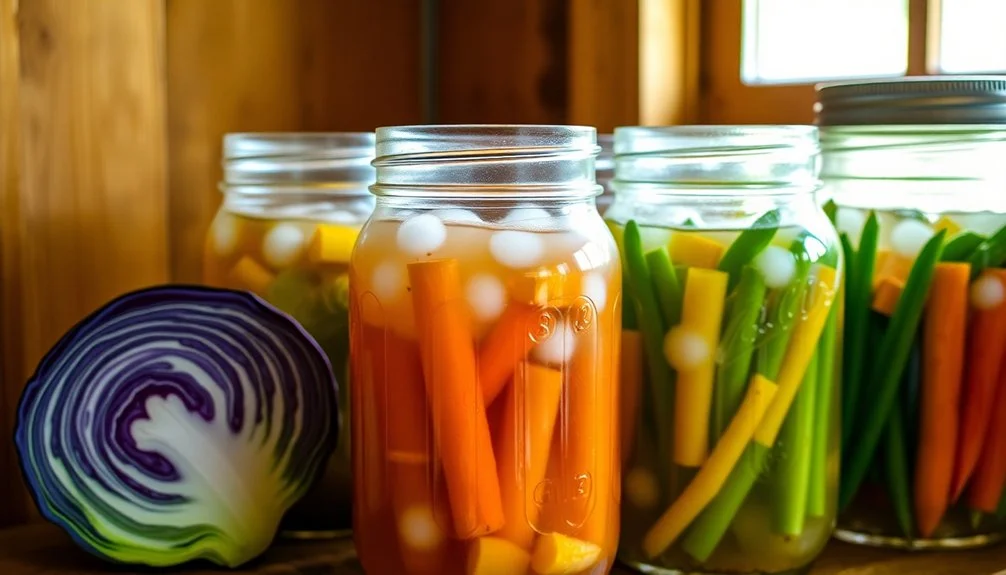
Three reliable methods can help you preserve your fall harvest through fermentation. First, try classic brine fermentation using a 2-5% salt solution with filtered water to create the perfect environment for beneficial bacteria. Second, opt for a salt-only method where you'll massage salt directly into vegetables like cabbage to create their own brine. Third, boost your success rate by adding live culture starters, using one sachet per 5 pounds of vegetables. Each method requires proper temperature control (60-80°F) and submersion of vegetables below the brine. These time-tested techniques will reveal a world of probiotic-rich preservation possibilities.
Classic Brine Fermentation
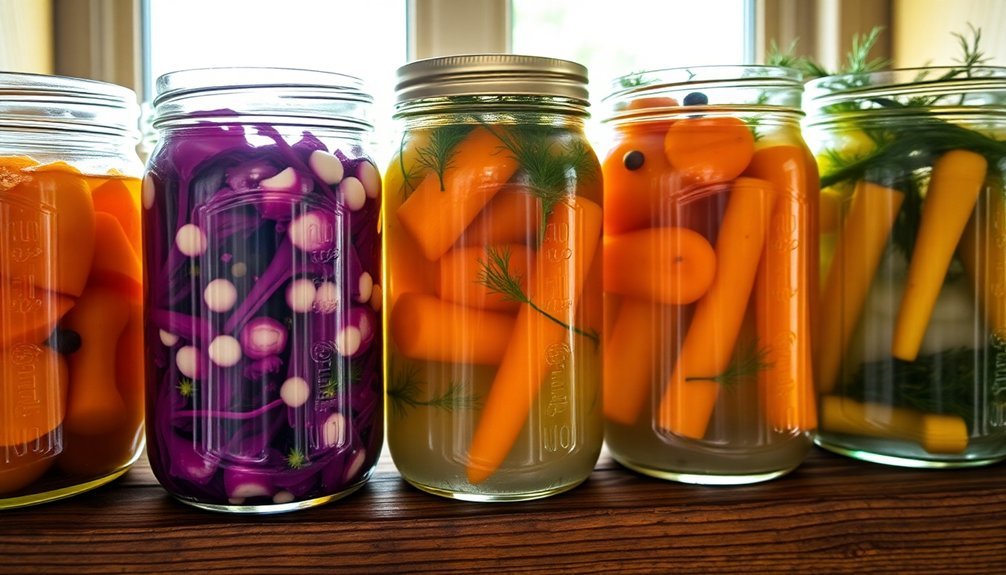
Creating a classic brine fermentation starts with the fundamental salt-water solution that forms the backbone of many preserved vegetables.
You'll want to use filtered or spring water to avoid chlorine interference, and measure precisely using a kitchen scale to achieve a 5% salt solution – that's 5% of your water's weight in salt. The salt solution should be shaken until all grains are fully dissolved.
Once you've prepared your brine, pack your cleaned and prepared vegetables tightly into a jar, minimizing air spaces. You'll need to guarantee the vegetables stay completely submerged, so consider using a weight or small jar to keep them under the brine. For whole vegetables or those with low water content, this brining method is essential for successful fermentation.
Secure your jar with an airlock system to release gases while keeping air out, then place it in a cool, dark spot where the temperature stays between 60-80°F.
Watch for signs of successful fermentation like bubbling and cloudy brine. If you spot any mold or Kahm yeast, simply skim it off.
When fermentation reaches your desired sourness level, transfer the jar to the refrigerator with a tight-fitting lid, making sure to label and date it.
Salt-Only Vegetable Preservation
When preserving vegetables without traditional brining, salt-only methods offer versatile and effective alternatives. You'll find several proven techniques that can extend your harvest's shelf life while maintaining quality and flavor.
For quick preservation of delicate produce like berries and leafy greens, try the saltwater soak method. Simply dissolve one tablespoon of salt per gallon of water, soak your vegetables for 5-10 minutes, and rinse thoroughly. You'll effectively reduce harmful microbes while preserving texture. The solution works by pulling water out of microbial cells, creating an inhospitable environment for bacteria.
If you're working with root vegetables, you can create a protective environment by lightly sprinkling them with salt before storage. Pack your carrots or turnips in a salt layer, and they'll stay fresh longer thanks to reduced moisture and bacterial growth.
For potatoes, wrap them in paper towels after salting and store in a cool, dark place.
The dehydration method works exceptionally well for tomatoes, mushrooms, and bell peppers. Sprinkle salt over your sliced vegetables, let them sit for a few hours, then dry them in a dehydrator or low-temperature oven.
Store your dried produce in airtight containers, and you'll have preserved vegetables ready for future use.
Using Live Culture Starters
Live culture starters transform your fall vegetable fermentation into a predictable and foolproof process. These specialized bacterial cultures guarantee consistent results while speeding up fermentation and protecting against unwanted contamination.
You'll achieve reliable flavor profiles and maximize the nutritional benefits of your preserved harvest. Make sure to use pure, unchlorinated water when preparing your brine solution for optimal bacterial growth.
When selecting a starter culture, match it to your specific vegetable ferments. For traditional items like sauerkraut and pickles, choose lactic acid bacteria (LAB) starters.
You'll need one sachet per 5 pounds of vegetables, and don't forget to activate the culture in water for 10 minutes before use.
Keep your fermenting vegetables fully submerged in brine and maintain room temperature conditions around 70°F. If you're working in warmer environments, you might need to adjust your starter ratio or find a cooler spot, as temperatures above 85°F can compromise quality.
Let your ferments develop for 7-10 days, remembering to burp the jars regularly to release built-up pressure.
Monitor your fermentation closely and watch for signs of proper development. You won't need to add more starter culture when topping up with brine – the initial dose provides all the beneficial bacteria required for successful fermentation.
Frequently Asked Questions
How Long Should I Let My Fermented Vegetables Age Before Eating Them?
You'll want to ferment your vegetables for at least 3 days, but you can wait up to several weeks depending on your taste preferences. Keep checking flavor and texture until they're just right for you.
Can I Reuse the Brine From a Previous Fermentation Batch?
Yes, you can reuse brine from previous ferments! It acts as a starter culture, making your next batch ferment faster. Just strain it, store it in a clean jar, and use about 1/4 cup per quart of new ferment.
What Signs Indicate My Fermented Vegetables Have Gone Bad?
You'll know your fermented vegetables are spoiled if you spot mold, notice a mushy texture, smell a putrid odor, experience stomach upset after eating, or see unnatural colors and fuzzy growth.
Should Fermented Vegetables Be Stored in the Refrigerator After Fermentation Is Complete?
Yes, you'll want to refrigerate your fermented vegetables after fermentation is complete. It'll slow down the process, maintain crunchiness, and help your ferments last longer – typically up to 6-7 months when properly stored.
Can I Mix Different Types of Salt When Fermenting Vegetables?
While you can mix different unrefined salts like sea salt and Himalayan pink salt, it's best to avoid combining refined and unrefined salts. Stick to one type for consistent fermentation results and predictable outcomes.
In Summary
You've now learned three reliable ways to preserve your fall bounty through fermentation. Whether you're using a traditional brine, salt-only method, or live culture starters, you'll be able to transform fresh vegetables into probiotic-rich foods that'll last through winter. Start with small batches to perfect your technique, and don't forget to taste your ferments along the way. Soon you'll master these time-tested preservation methods.


Leave a Reply