
Honey fermentation offers you a fascinating glimpse into nature's own preservation system. You'll find that when raw honey's moisture content rises above 17.1%, beneficial yeasts naturally convert sugars into alcohol and carbon dioxide, creating complex flavors while maintaining honey's therapeutic properties. This process, perfected by ancient civilizations like the Egyptians and Sumerians, harnesses honey's rich composition of amino acids, minerals, and bioactive compounds. You can recreate this time-tested method at home using simple equipment and careful monitoring of temperature and moisture levels. The secrets of this ancient craft continue to reveal new possibilities for modern food preservation.
Understanding Raw Honey Properties
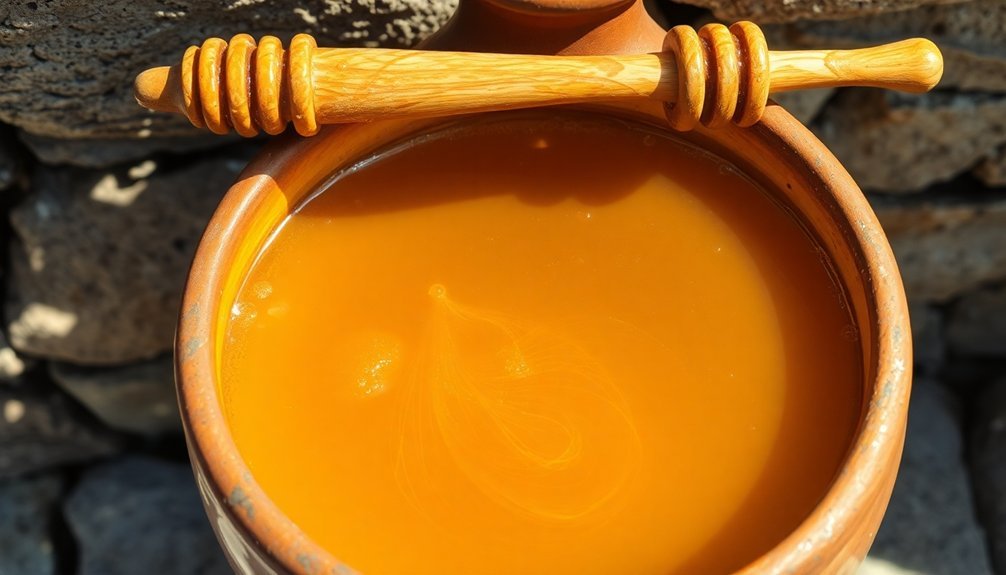
A jar of raw honey contains a treasure trove of natural compounds that make it one of nature's most remarkable foods. When you're examining raw honey, you'll find it packs an impressive 22 amino acids, 31 different minerals, and a wide spectrum of vitamins and enzymes.
It's particularly rich in polyphenols, which act as powerful antioxidants in your body, helping reduce inflammation and protect against heart disease and certain cancers. The high osmolarity and pH of raw honey contributes significantly to its natural antibacterial properties.
What sets raw honey apart from its processed counterpart is the preservation of its natural elements. You'll find nearly 30 types of bioactive plant compounds and up to 4.3 times more antioxidants in raw honey compared to processed varieties.
While commercial honey often undergoes ultrafiltration and pasteurization, which destroys beneficial compounds, raw honey is only strained before bottling. This minimal processing guarantees you're getting all the beneficial nutrients, including bee pollen and natural enzymes.
You should know that over 75% of commercial honey samples contain no pollen due to aggressive processing methods.
Raw honey's phytonutrients provide significant antibacterial and antifungal properties, making it particularly valuable for both nutritional and medicinal purposes.
The Science Behind Fermentation
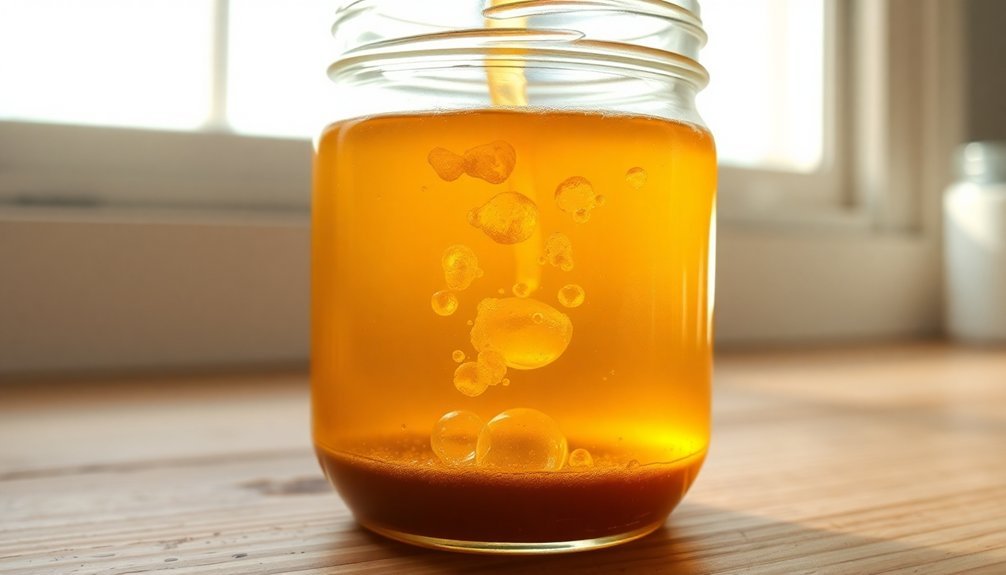
When you ferment honey, naturally occurring yeasts break down its simple sugars into alcohol, carbon dioxide, and other compounds.
You'll notice this transformation as the honey mixture begins to bubble and develop a more complex, tangy flavor profile.
The yeast's metabolic process continues until the sugars are depleted or the environment becomes too acidic, creating unique fermentation byproducts that contribute to the final product's taste and character. This biochemical reaction draws on principles used in microbiology and biochemistry, which form key components of modern fermentation science education.
Breaking Down Simple Sugars
The complex process of honey fermentation begins with the breakdown of simple sugars by osmophilic yeasts. In honey with moisture content above 17.1%, these specialized yeasts convert glucose and fructose into ethanol and carbon dioxide. You'll find that this process only occurs when the storage temperature rises above 52°F and the total carbohydrate content falls below 83%. Like traditional lactic acid fermentation, this process relies on microorganisms converting sugars into different compounds.
| Sugar Type | Role in Fermentation |
|---|---|
| Glucose | Primary sugar used by yeasts |
| Fructose | Readily fermentable sugar |
| Sucrose | Broken down by invertase |
| Maltose | Secondary fermentable sugar |
| Oligosaccharides | Complex sugars that break down |
The breakdown process starts when the enzyme invertase converts sucrose into its simpler components: glucose and fructose. You'll notice that bees naturally prevent this process by reducing the honey's moisture content to 16-18.5% during production. When you're processing honey, you can mimic this natural preservation method using a hot room or dehydrator. If you're concerned about fermentation, heat treating your honey at 170°F for 2 minutes will eliminate unwanted yeasts while maintaining the honey's essential qualities.
Yeast's Chemical Transformation Process
Building on our understanding of sugar breakdown, let's explore how yeasts orchestrate the chemical transformation process. These microscopic fungi are nature's master chemists, converting simple sugars into alcohol and carbon dioxide through fermentation.
When you dilute honey, you're activating dormant yeasts from the honey bees' microbiome, initiating a complex series of chemical reactions.
The transformation process thrives under specific conditions that you'll need to monitor:
- Temperature should stay around 30°C – any higher and you'll risk killing the yeast
- Proper moisture levels must be maintained to prevent mold while enabling fermentation
- A well-sealed container is essential to trap the carbon dioxide produced
- Regular agitation enhances yeast cell division and fermentation efficiency
As yeasts consume the sugars, they're producing ethanol and CO2 as byproducts. The ethanol contributes to both flavor development and preservation, while the CO2 creates pressure in sealed containers.
You'll notice the ferment becoming less sweet and more complex as the process continues, developing savory and vinegary notes. This transformation can continue for months when properly managed, resulting in a stable, preserved product.
Ancient Honey Preservation Methods
Ancient civilizations mastered the art of preserving honey through methods that we still study today. You'll find remarkable evidence of their expertise in Egyptian tombs, where honey has remained preserved for over 3,000 years, including the famous discovery in King Tut's tomb.
The preservation techniques they used relied on honey's natural properties and the vital role of bees. When you examine their methods, you'll notice they understood how bees reduced moisture content through wing-flapping and multiple regurgitations of nectar. This process, combined with honey's natural acidity and hydrogen peroxide content, created an environment where bacteria couldn't survive.
You can see how ancient cultures capitalized on honey's preservation powers in various ways. The Assyrians used it for mellification, while Bronze Age societies in Georgia preserved burial offerings like berries and nuts.
The Sumerians recognized honey's antimicrobial properties, incorporating it into 30% of their medicinal prescriptions. These civilizations also discovered honey's fermentation potential, creating beverages like mead by harnessing natural yeasts. They'd often use crude honey containing pollen and wax, which enhanced the fermentation process and resulted in stable, preserved products.
Essential Equipment and Tools
While ancient civilizations managed honey fermentation with basic tools, modern-day fermenters benefit from specialized equipment that improves both process control and final product quality.
You'll need several essential items to guarantee successful fermentation and prevent contamination. For your primary fermentation vessel, you can choose between glass carboys, food-grade plastic containers, or even repurposed wine jugs. Whatever you select must be properly sized for your batch and capable of maintaining an airtight seal.
You'll also need airlocks and rubber stoppers to allow carbon dioxide release while preventing contamination.
Here are the core items you'll need for successful honey fermentation:
- Primary fermentation vessel (glass carboy recommended)
- Airlock and properly sized drilled rubber stopper
- Siphoning equipment (5/16-inch food-grade vinyl tubing and racking cane)
- Cleaning tools (long-handled spoon, bottle brushes, sanitizing equipment)
Remember to prioritize cleanliness throughout the process. Your tools must be thoroughly cleaned and sanitized before use, and your fermentation vessels should be sealed properly with water-filled airlocks to prevent mold growth and maintain ideal fermentation conditions.
Moisture Control Techniques
Proper moisture control stands at the heart of successful honey fermentation, requiring careful attention to temperature, humidity, and storage conditions.
You'll need to maintain temperatures between 15°C and 25°C to prevent unwanted crystallization while avoiding excessive moisture absorption.
To regulate moisture effectively, you can use a bucket heater to raise honey temperatures from 70°F to 125°F over six hours. If crystallization occurs, you'll need to heat the honey in a water bath to restore its original viscosity.
For consistent results, install a dehumidifier in your processing area and maintain humidity levels at 30% or lower to prevent uncontrolled fermentation.
Create proper air circulation by setting up a DIY climate-controlled enclosure using an old refrigerator fitted with a light bulb and small fan. You can also use industrial fans to move air through stacks of supers, enhancing moisture reduction.
Monitor moisture content regularly with a refractometer to verify quality control.
For storage, keep your honey in sealed jars in a dry environment away from light. You can freeze honey immediately after harvesting to preserve its quality and prevent unwanted fermentation.
Always maintain a protected environment in your honey house and packing area.
Preparing Your Fermentation Vessel
You'll want to start with a thoroughly sterilized glass jar to prevent any unwanted bacteria from compromising your honey ferment.
For effective fermentation, equip your vessel with either a breathable cloth cover secured by a rubber band or an airlock lid that allows gases to escape while keeping contaminants out.
Essential tools for the process include a wide-mouth glass jar, sterilization solution, a stirring utensil, and your chosen lid setup – all of which should be sanitized before use.
Sterilizing Your Glass Jars
Sterilizing your fermentation vessels stands as one of the most critical steps in honey fermentation.
You'll need to guarantee your glass jars are completely free from harmful bacteria to prevent unwanted contamination of your honey ferments. While there are several effective methods, you'll want to choose the one that best fits your kitchen setup and available time.
- Oven Method: Heat your jars at 140°C for 15 minutes, but remember to remove rubber seals as dry heat will damage them. This method's particularly efficient for batch sterilization.
- Water Bath Method: Submerge your jars in boiling water for 10 minutes while separately simmering lids at 82 degrees. This method's ideal if you're working with rubber seals or metal lids.
- Dishwasher Method: Run your jars through a hot cycle without detergent. It's convenient but guarantee your jars are dishwasher-safe.
- Boiling Water Method: Give jars a five-minute rolling boil, but keep lids at a simmer to protect their sealant. This method's perfect for smaller batches.
Whatever method you choose, always let your jars cool completely before filling them with honey to prevent thermal shock.
Choosing Proper Lid Types
The right lid selection plays a vital role in successful honey fermentation, working alongside proper sterilization to secure ideal results. When choosing your fermentation lid, you'll want to prioritize well-sealing options that prevent mold entry while allowing CO2 to escape.
For honey fermentation, it's important to avoid metal lids, as they can corrode when exposed to fermentation contents. Instead, opt for HDPE plastic lids that offer durability and chemical resistance. One-way valve systems, such as Easy Fermenter or Sofiko lids, are particularly effective as they release gases while keeping air from entering your fermentation vessel.
If you're using larger containers, consider airlock and grommeted lids, which let you monitor the fermentation process while maintaining a secure seal. These systems are especially useful for long-term fermentation projects, offering better control over the environment than loose lids.
Don't use pickle-pipes or similar designs that might leak and compromise your ferment. Always make certain your chosen lid creates a proper seal while allowing gases to escape.
Essential Tools Required
Successfully preparing honey ferments invariably starts with gathering the right collection of tools and equipment. You'll need a suitable fermentation vessel, either a glass jar or ceramic crock, as these materials won't react with your honey mixture. A one-gallon jar is perfect for beginners, offering enough space for proper fermentation while remaining manageable.
Essential tools you'll need for successful honey fermentation include:
- Measuring equipment: Accurate cups and spoons for precise ingredient portions
- Mixing tools: A long-handled spoon or hand mixer for thorough combination and aeration
- Transfer equipment: Siphon hose and bottle filler for clean, efficient bottling
- Sanitizing supplies: Food-grade sanitizer and cleaning materials for all equipment
Your fermentation vessel must be thoroughly cleaned and sterilized before use. You can achieve this by washing with hot, soapy water, followed by a 10-minute boil or running through your dishwasher's sanitizing cycle.
Remember to place your vessel in a controlled environment, keeping the temperature between 68-75°F, and leave about 20% headspace for gas expansion during fermentation. Cover the opening with breathable material or an airlock lid to protect your ferment while allowing gases to escape.
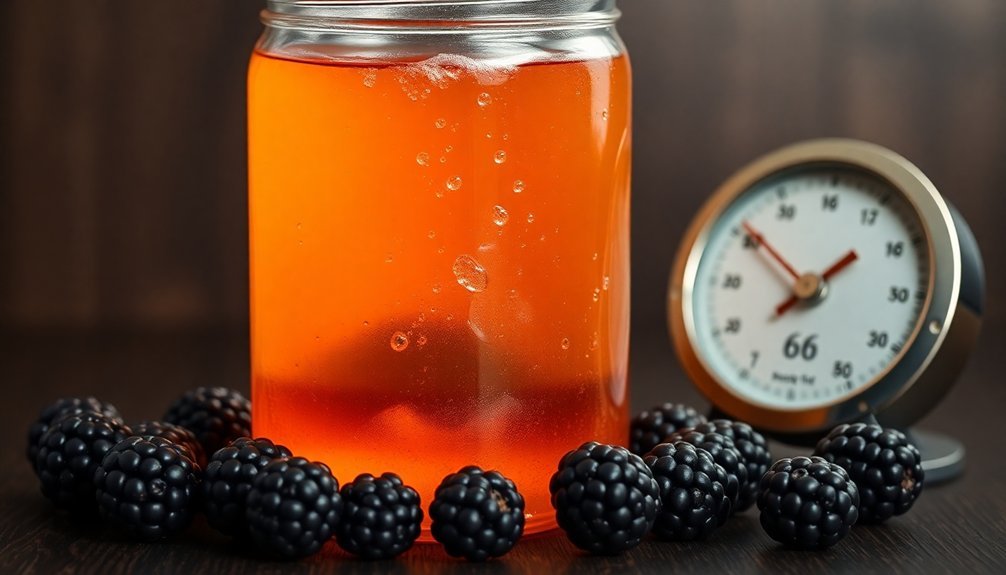
Working With Fresh Ingredients
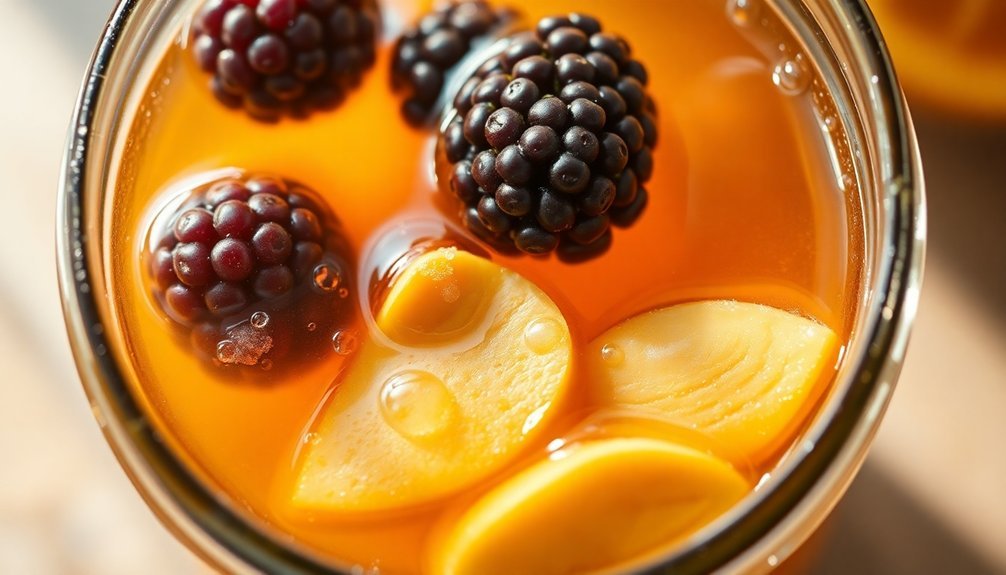
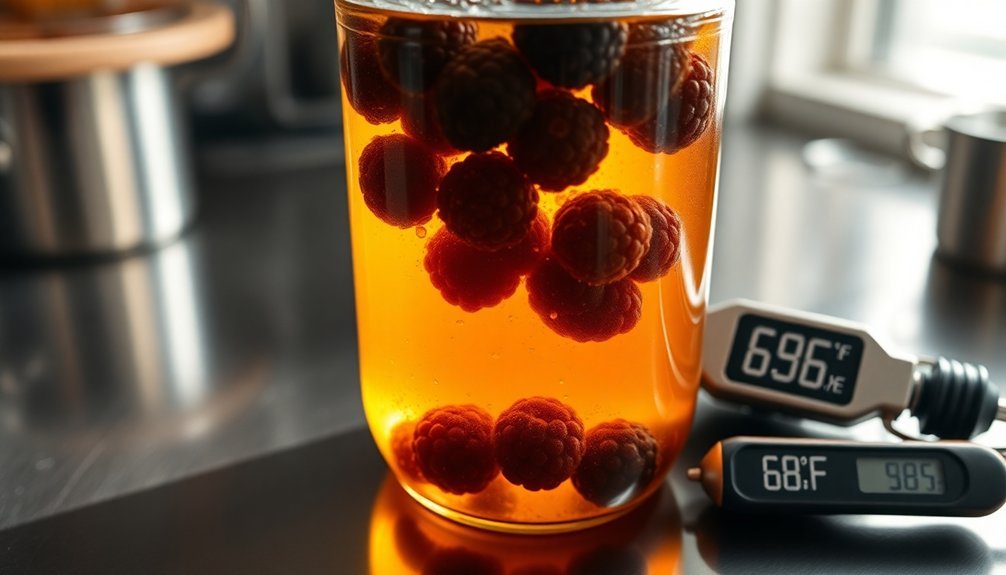
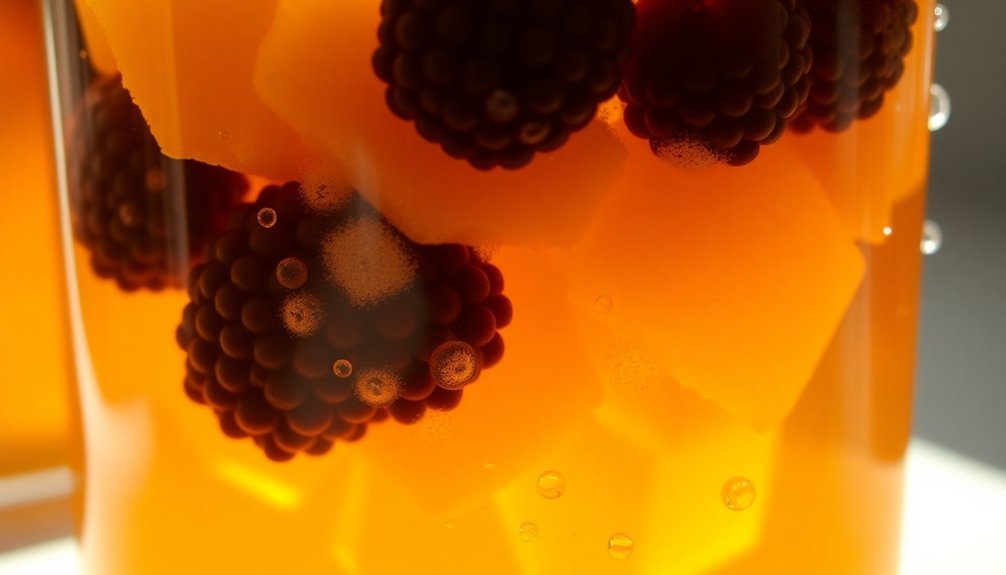
Throughout the honey fermentation process, working with fresh ingredients stands as a vital foundation for success. You'll need to start with raw, unpasteurized honey that contains natural enzymes and beneficial microbes essential for fermentation. Pasteurized honey won't work as it lacks these vital elements.
When selecting produce, opt for organic ginger and unwaxed citrus fruits like Meyer lemons or limes. These ingredients provide natural yeasts that support the fermentation process. You'll want to slice your fruits and vegetables thinly using a mandoline for consistent results, ensuring even honey coverage.
Before combining ingredients, sterilize your jar thoroughly with hot soapy water or in the dishwasher, then dry it in a preheated oven. Layer your cleaned and sliced ingredients in the jar, making sure they're completely submerged in honey.
The moisture content should reach 19-20% for successful fermentation – honey will naturally pull liquid from your fresh ingredients to achieve this balance. Don't forget to leave headspace in your jar for expansion during fermentation. Use a clean utensil to gently push ingredients down, ensuring honey reaches every crevice.
Managing the Fermentation Process
Managing your honey fermentation requires careful attention to several critical factors that work together to guarantee success. By understanding and controlling these elements, you'll create an environment where beneficial microorganisms can thrive while preventing unwanted fermentation.
Key aspects you'll need to monitor and control include:
- Yeast health and nutrition – Rehydrate your yeast with Go-Ferm at 104°F, then maintain its health through staggered additions of Fermaid K and DAP every 12 hours until you reach 50% sugar depletion.
- Temperature control – Use a sous-vide circulator or water bath to maintain ideal temperature for your specific yeast strain, preventing off-flavors from high temperatures or stalled fermentation from low temperatures.
- Moisture content management – Keep moisture levels below 19% to prevent unwanted fermentation, and monitor carefully when working with crystallized honey.
- Contamination prevention – Store your honey properly and use clean equipment to minimize unwanted yeast growth.
You'll need to regularly check fermentation progress and make adjustments as needed.
When you notice signs of unwanted fermentation, such as white feathery patterns, take immediate action by refrigerating the honey to halt the process.
Safety and Best Practices
To prevent honey fermentation, you'll need to maintain rigorous hygiene standards, including sanitized equipment and clean storage facilities with proper temperature control below 10°C.
You should regularly test your honey's moisture content and monitor for signs of fermentation like bubbles or vinegary smells, especially if the moisture content exceeds 17%.
For the best results, you'll want to process only fully capped honey frames and conduct osmophilic yeast tests, ensuring counts remain below 10 yeasts per gram.
Contamination Prevention Guidelines
Protection against contamination stands as a vital cornerstone in honey fermentation. To maintain the purity of your fermented honey, you'll need to implement strict safety protocols across all aspects of your operation, from equipment selection to personal hygiene practices.
When handling honey for fermentation, it's essential to use food-grade containers that won't react with the honey or introduce harmful substances. You'll want to clean and sanitize all equipment thoroughly using steam or potable water before each use, and regularly inspect for any signs of damage that could compromise your product.
Here are the fundamental contamination prevention steps you must follow:
- Keep your processing area spotless by mopping daily, removing cobwebs, and maintaining clean surfaces that are properly sanitized.
- Store only necessary maintenance and cleaning chemicals in your processing area, avoiding pesticides or antibiotics.
- Make sure all handlers wash hands thoroughly and wear clean clothing with proper hair restraints.
- Remove feeders and sugar syrup sources from near the hives before harvesting honey for fermentation.
Maintain separate areas for eating and drinking, and never handle honey when ill or with open wounds to prevent contamination.
Fermentation Risk Management
Building upon proper contamination protocols, successful honey fermentation requires careful attention to multiple risk factors that can make or break your final product.
You'll need to closely monitor moisture content, as levels between 17-19% increase fermentation risk, while anything above 19% makes fermentation highly likely.
You must test for osmophilic yeasts, as they're particularly concerning in honey fermentation. If you find more than 10 yeasts per gram, you're facing significant risks, especially with higher moisture content.
Consider heat treating at 68°C for a minute or 72°C for 20 seconds to eliminate these yeasts if needed.
Keep your honey storage temperature in check. While temperatures between 10-27°C promote fermentation, you can halt the process by storing below 10°C.
Be extra vigilant with crystallized honey, as it's more prone to fermentation due to increased moisture content. You'll want to use a hot room or dehydrator to manage moisture levels effectively.
Regular testing is essential – don't rely solely on moisture meters. Validate your readings with lab tests, particularly for osmophilic yeast counts.
Remember to maintain clean extraction processes and properly handle crystallized honey to minimize contamination risks.
Common Problems and Solutions
Beekeepers often face the challenge of uncontrolled fermentation in their honey stores, which can greatly impact both quality and profits.
When you're managing honey production, you'll need to watch for key warning signs and take immediate action to prevent losses.
Here are the most common problems you'll encounter and their solutions:
1. High Moisture Content: If your honey's moisture level exceeds 18.6%, use dehydrators or heated rooms with controlled air movement to reduce moisture.
You can also divide honey into smaller containers to manage moisture more effectively.
2. Temperature Fluctuations: Store your honey at 52°F or lower to halt fermentation.
If you notice crystallization, don't panic – it's actually easier to maintain proper storage temperatures with crystallized honey.
3. Improper Storage Conditions: Keep honey in airtight containers and avoid humid environments.
If you're dealing with large quantities, store the bulk in cool conditions and only keep what you need at room temperature.
4. Visual Signs of Fermentation: Watch for white feathery patterns or foam.
If you spot these indicators, immediately separate affected honey and consider using it for non-food purposes to prevent further losses.
Recipes and Creative Applications
Countless exciting recipes await when you're ready to experiment with fermented honey. You'll find this versatile ingredient adds complexity to both beverages and dishes.
Start by incorporating your fermented honey into hot or cold teas, where it'll create a unique fizzy sweetness. For smoothies, add a tablespoon to enhance flavor depth while introducing beneficial probiotics.
You can transform ordinary salad dressings by whisking fermented honey with mustard, lemon juice, and your favorite herbs. It's particularly effective in marinades, where its acidity helps tenderize meat while adding complex flavors.
For cocktails, you'll discover it makes an excellent sweetener that brings subtle fermented notes to your drinks.
Don't overlook dessert applications – drizzle your fermented honey over yogurt, ice cream, or fresh fruit salads. The tangy sweetness pairs exceptionally well with dairy products and adds an unexpected dimension to frozen treats.
For a spicier variation, create hot honey by fermenting with chili peppers, then use it to glaze roasted vegetables or brush onto grilled meats.
You'll find each batch of fermented honey offers slightly different flavor profiles, making every culinary creation unique.
Frequently Asked Questions
Can I Use Crystallized Honey for Fermentation Projects?
Yes, you can use crystallized honey for fermentation. It's perfectly safe and maintains all its beneficial properties. You'll just need to gently warm it in a water bath to make it easier to work with.
How Do Different Honey Varieties Affect the Final Fermented Flavor?
You'll find that different honey varieties create unique flavor profiles. Light honeys like acacia give delicate, smooth notes, while darker varieties like buckwheat produce bold, robust flavors in your fermented products.
Does Altitude Impact Honey Fermentation Time and Process?
Yes, altitude greatly impacts your fermentation process. You'll notice longer fermentation times at higher elevations due to lower oxygen levels. What takes 9 days at sea level could take 3 weeks at 7,000 feet.
Can Fermented Honey Be Used to Start New Fermentation Batches?
Yes, you can use fermented honey as a starter culture for new batches. It'll speed up fermentation since it contains active cultures. Just add a few tablespoons of your previous ferment to kickstart the process.
What Happens if My Fermented Honey Accidentally Freezes?
If your fermented honey freezes, don't worry! The beneficial compounds and fermentation cultures will remain intact. You'll just need to thaw it slowly at room temperature to resume normal fermentation activity.
In Summary
You've now learned how raw honey's unique properties make it an ideal medium for fermentation and preservation. With proper moisture control, the right tools, and careful monitoring, you'll be able to create delicious fermented honey products safely at home. Whether you're following ancient methods or experimenting with new flavors, you're participating in a time-honored tradition that bridges the past and present of food preservation.


Leave a Reply